Rezolvare eroare driver Smart Card security logon
In cazul utilizarii unui smart card pentru logare, exista riscul sa apara anumite erori legate de versiunea driverului sau un conflict de drivere.
[mai mult...]Soluții pentru problemele tale IT
In cazul utilizarii unui smart card pentru logare, exista riscul sa apara anumite erori legate de versiunea driverului sau un conflict de drivere.
[mai mult...]Daca nu mai este disponibila arhiva Vault din Outlook.
[mai mult...]If the Outlook client starts behaving oddly, one of the first things to do is see whether add-ins are causing the problem. Here’s how to disable them so you can tell if they’re the issue.
Add-ins are extra bits of functionality that software providers create to hook their application into Outlook. You can install add-ins yourself by opening Outlook and clicking Home > Get Add-ins, which will show you some of the add-ins available to you.

However, most add-ins are installed automatically when you install a piece of software on your computer. You may never use the add-ins, or even be aware that they’re there, but they aren’t (usually) malware or anything nasty. They’re intended to make it easier for you to use a product. For example, when you install Adobe’s Acrobat PDF reader, it installs an Outlook add-in that lets you make PDFs out of emails.
There’s usually no need to remove add-ins, but if Outlook starts behaving oddly—especially if it freezes, crashes, or refuses to open—then disabling the add-ins will tell you if they’re the problem.
Troubleshooting is all about finding the cause of a problem. The best way to do this is to gradually narrow down the possible issues until you’re left with just the cause of the problem. In the case of Outlook problems, this means disabling all the add-ins and, if the problem goes away, re-enabling the add-ins one by one to identify which one is causing the problem. This is particularly true if Outlook is encountering problems at startup.
The easiest way to disable all of the add-ins at once is to open Outlook in Safe Mode. This disables all the add-ins but doesn’t change anything else, so if one (or more) of the add-ins is causing the problem, everything will work as expected in Safe Mode. There are several ways to open Outlook in Safe Mode, depending on what version of Outlook and which version of Windows you’re using. There are a couple of methods that generally should work across all the combinations of supported versions of Outlook and Windows, but if these don’t work then search online for your particular combination.
This works whether you click an icon on your taskbar, desktop, or from the Windows menu. Hold down the CTRL key on your keyboard while clicking the Outlook icon (or double-clicking if your icon is on the desktop). A confirmation message will be displayed.

Click “Yes” to open Outlook in Safe Mode.
In Windows 10 press the Windows key, or in Windows 7 or 8 press the Windows key + R. In Windows 10 this will bring up the Windows menu where you can type commands directly, and in Windows 7 or 8 this will bring up the Run dialog, where you can also type run commands. Either way, type “outlook.exe /safe” (without the quote marks) and then hit Enter. This will bring up the Profile Chooser.

Choose the profile you want to open (for most people there will only be a single “Outlook” profile to choose) and then click “OK.” This will open Outlook in Safe Mode.
Whichever method you choose, Outlook will be open in Safe Mode. The name of the program in the header bar will change from “Microsoft Outlook” to “Microsoft Outlook (Safe Mode).”

All of the add-ins will be disabled, EXCEPT some core Microsoft Office add-ins. These are very unlikely to be the cause of an Outlook issue, but you can disable them manually once Outlook is open. Next time you open Outlook as usual (i.e., not in Safe Mode), the add-ins will be enabled again, unless you’ve manually disabled them.
Starting in Safe Mode will tell you if one of your add-ins is the problem, but if you want to disable a single add-in—such as one that’s just been installed or a core Microsoft add-in that isn’t disabled in Safe Mode—you can do that too. Click File > Options, and then click the “Add-Ins” category on the left.

This will open the Add-ins section. To enable or disable add-ins, make sure that “COM Add-ins” is selected in the dropdown (it’s the default, so you shouldn’t need to change it) and then click “Go.”

This opens up the COM Add-ins dialogue, where you can enable or disable add-ins.

Enabling and disabling is a tick-box exercise—a tick means the add-in is enabled; no tick means the add-in is disabled. To disable an add-in, untick it and then click “OK.”

Important: Make sure that you don’t click “Remove.” This will uninstall the selected add-in, not disable it!
When you go back into File > Options > Add-ins, the add-in you disabled will be visible in the disabled add-ins section.

The add-in will remain disabled until you enable it again. Test to see if your problem occurs when the add-in is disabled; if it does, keep disabling your add-ins one by one until you find the culprit.
Once you’ve worked out what add-in is causing the problem (if any of them are), you can re-enable any other add-ins that you disabled. Enabling individual add-ins is as simple as disabling them: click File > Options > Add-Ins, make sure that “COM Add-ins” is selected in the dropdown, and then click “Go” to open up the COM Add-ins dialogue.
Tick the add-ins you want to enable and then click “OK.” You might have to restart Outlook for the add-ins to load, and it’s generally a good idea to do that anyway to make sure everything is working correctly.
You can disable and enable add-ins whenever you’re troubleshooting an Outlook problem. They’re not always the cause, but if Outlook has been working fine and then a problem occurs after a new add-in has been installed, it’s a good place to start looking.
[mai mult...]
Windows 10’s setup and upgrade process sometimes fails and says your PC “can’t be upgraded” but “no action is needed.” Windows knows the problem, but Microsoft hides the details from you. Here’s how to identify and fix the problem yourself.

Microsoft should provide more descriptive error messages. The message we saw while attempting to upgrade to Windows 10’s May 2019 Update with Microsoft’s Update Assistantwas:
This PC can’t be upgraded to Windows 10.
Your PC has a driver or service that isn’t ready for this version of Windows 10. No action is needed. Windows Update will offer this version of Windows 10 automatically once the issue has been resolved.
Microsoft says a “No action is needed” message means you shouldn’t do anything.
That’s all well and good, but what if you don’t want to wait? Why doesn’t Windows tell us which “driver or service” is causing the problem? Windows 10 does know the problem, but it doesn’t display it here—you’ll have to dig it out of the log files and fix it yourself. Here’s how to do it.
The log files are hidden in this folder on your PC:
C:$WINDOWS.~BTSourcesPanther
To find them, open a File Explorer window and copy-paste that address into the address bar.

Look for a filename beginning with “CompatData_” and ending with “.xml” in this folder. If you see several, you should choose the most recent one—that’s the one at the bottom.

Open the file to view its contents. Without any additional software, we recommend right-clicking the file and selecting Open With > Microsoft Edge.
You can also use Notepad++ to view it nicely. Notepad and WordPad will display the file, but it will be difficult to read without the additional formatting provided by Edge and Notepad++.

This file will tell you why Windows won’t upgrade—if you can decode it.
For example, to find drivers that aren’t compatible, look under “DriverPackages” for any lines that include:
BlockMigration="True"

This tells us that the drivers associated with the files oem81.inf and oem80.inf are incompatible with the new version of Windows. They’re the reason Windows is refusing to upgrade.
But what are those files?
To learn more, you’ll have to open the INF files mentioned in the log. You’ll find them at:
C:WindowsINF
Look through the folder and find the .inf files you need to examine. In our case, that’s oem80.inf and oem81.inf.

You can double-click them to open them in Notepad. Once you do, you’ll likely see a comment near the start of each file explaining what it is.
In our case, we found that oem80.inf was “The Microsoft Print To PDF install file” and oem81.inf was “The Microsoft XPS Document Writer install file.” In other words, Microsoft’s own XPS and PDF printer drivers—part of Windows 10 itself—are blocking the installation process for some reason.

Now that we know the problem, we can resolve it by uninstalling the offending drivers.
In this case, we can do that by heading to Control Panel > Programs > Turn Windows Features On or Off. Uncheck both “Microsoft Print to PDF” and “Microsoft XPS Document Writer” and click “OK.” We can reinstall them later, after the upgrade.
If you had other hardware drivers or applications blocking the upgrade, you could temporarily uninstall them.

You might expect that you can click the “Refresh” button in the Windows 10 Setup window after you’ve solved the problem. Sorry! That doesn’t work. The Refresh button won’t do anything.
Instead, you’ll need to head back to the C:$WINDOWS.~BTSourcesPanther folder. Locate the compatscancache.dat file and delete it.

After you’ve deleted this cache file, you can click the “Refresh” button, and the installation process will continue.

While this is the process Microsoft has given us, it isn’t great. As Brad Sams puts it, this error reporting system is a “cryptic mess.” The name of the “Panther” folder dates back to Windows Vista—that’s how old this is!
Windows 10’s May 2019 Update was supposed to offer better setup error messages, but we aren’t seeing them yet. At least this is better than the old “Something Happened” messages.

Funcția “Request read receipt” cere destinatarului detaliile citirii unui mail în vederea obținerii unei confirmări de livrare a acestuia. O confirmare de citire confirmă faptul că mesajul dvs. a fost deschis.
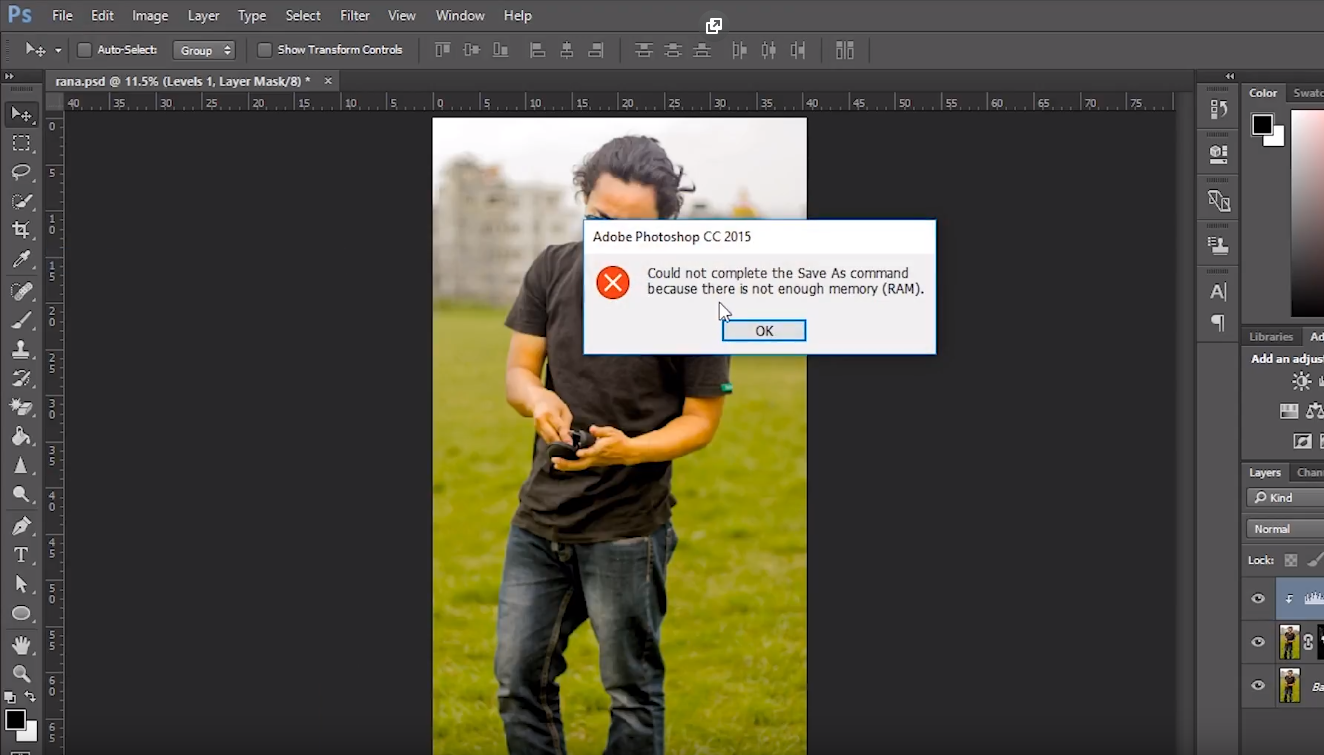
[mai mult...]In cazul in care primiti eroarea Not enough memory (RAM), cand incercati sa salvati o fotografie in Photoshop, urmati instructiunile urmatoare pentru a rezolva aceasta problema: