Cum activam modul DTS pentru SteelSeries Arctis 5?
Ne aflam in situatia in care dorim sa activam modul DTS, pe castile SteelSeries Arctis 5, pentru o mai buna calitate a sunetului.
[mai mult...]Soluții pentru problemele tale IT

Ne aflam in situatia in care dorim sa activam modul DTS, pe castile SteelSeries Arctis 5, pentru o mai buna calitate a sunetului.
[mai mult...]Ne aflam in situatia in care dorim adaugarea unei imagini sau al unui text, pe ecranul unui mouse SteelSeries Rival 710.
[mai mult...]Ne aflam in situatia in care dorim adaugarea unei imagini sau al unui text, pe ecranul unui mouse SteelSeries Sensei Pro-Grade.
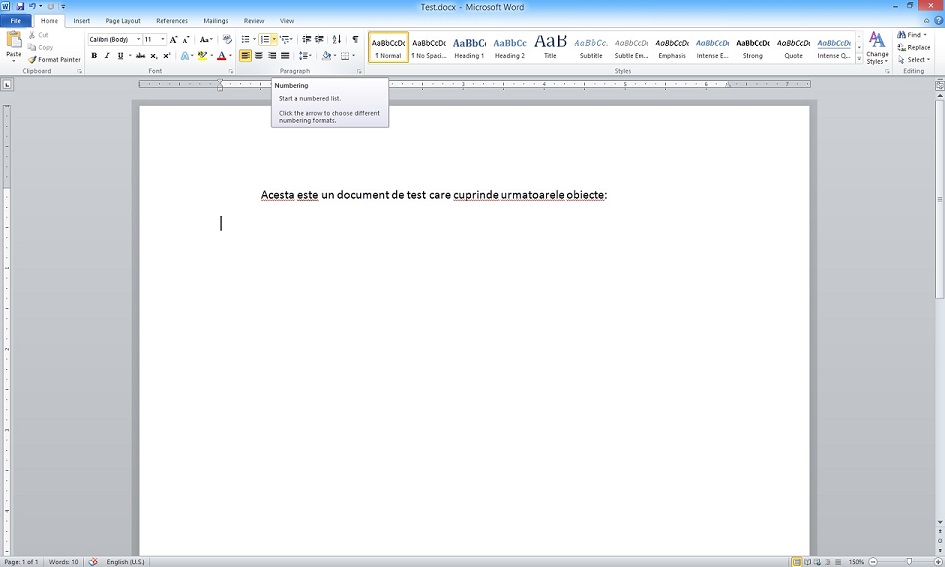
[mai mult...]Pentru a introduce o lista numerotata in Microsoft Word, trebuie doar sa ne ducem in tab-ul Home – grupul Paragraph si sa selectam optiunea Numbering.
Dupa cum puteti observa avem mai multe optiuni de numerotare:
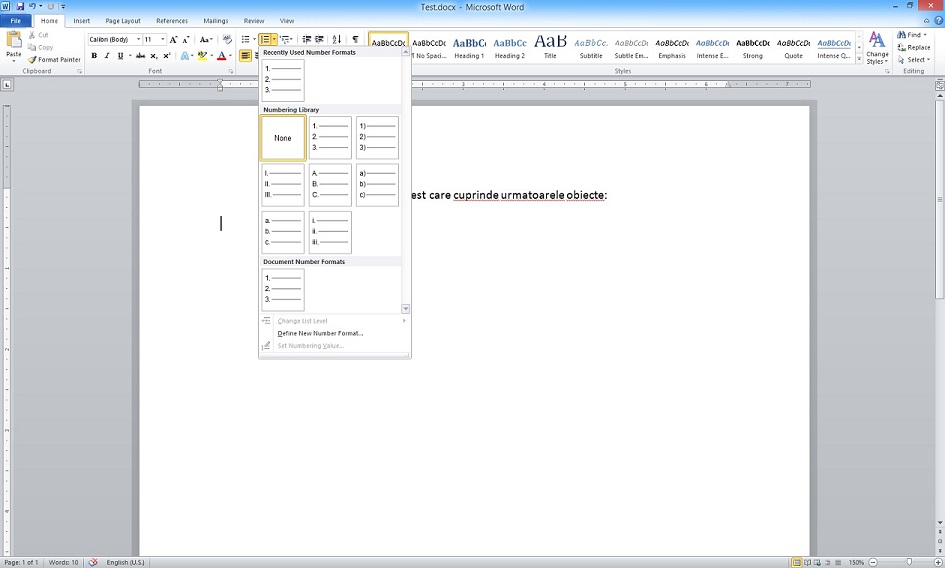
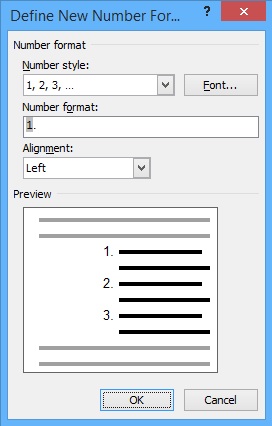
Daca optiunile default nu se potrivesc cu documentul vostru, puteti defini unele custom selectand optiunea Define New Number Format.
Pentru lista noastra vom folosi una dintre optiunile default, cea cu cifre arabe.
[mai mult...]Ne aflam in situatia in care dorim sa instalam un program sau sa rulam un script, iar Windows Defender SmartScreen ne blocheaza accesul din diverse motive.
[mai mult...]Sa presupunem scenariul in care avem un text pe care l-am scris si ne hotaram sa inlocuim un cuvant cu un altul care este mai potrivit. Daca cuvantul nostru apare in text sa zicem de 10 ori, nu trebuie sa facem 10 modificari care ne vor consuma timp, ci cu ajutorul comenzii Replace vom face o singura operatie.
Comanda Replace este localizata in tab-ul Home – grupul Editing. Dupa cum puteti vedea exista si un shortcut pentru accesarea ei: Ctrl+H.