Situatie
Backup
Step 1: Install SleuthKit and Autopsy
First, ensure that SleuthKit and Autopsy are installed on your Kali Linux system. They might already be pre-installed, but if not, you can install them using the following commands:
sudo apt update
sudo apt install sleuthkit autopsy
Step 2: Starting Autopsy
After installation, you can start Autopsy by launching it with sudo autopsy
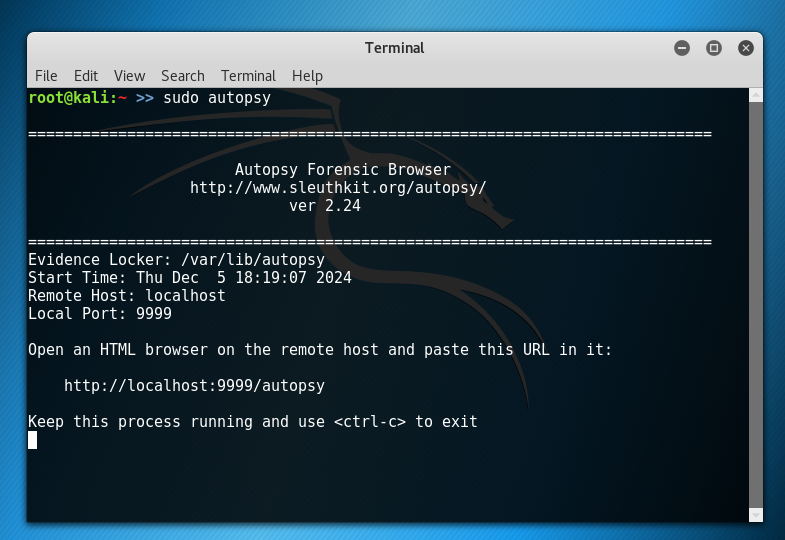
This will start the Autopsy web interface, which runs on localhost:9999 by default. Open your browser and navigate to: http://localhost:9999/autopsy
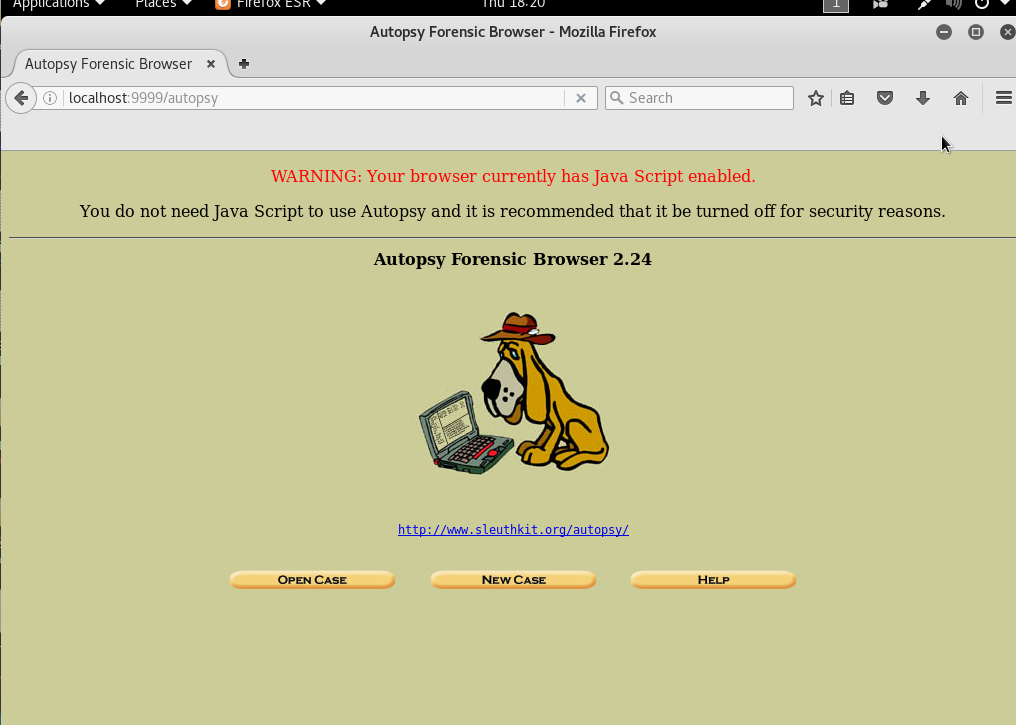
You’ll see the Autopsy homepage. If it’s your first time, you may need to create a new case.
Step 3: Create a New Case in Autopsy
- Click on “Create New Case.”
- Enter a case name, for example, Sample_Forensics_Case
- Choose a location to store the case data and click “Next”

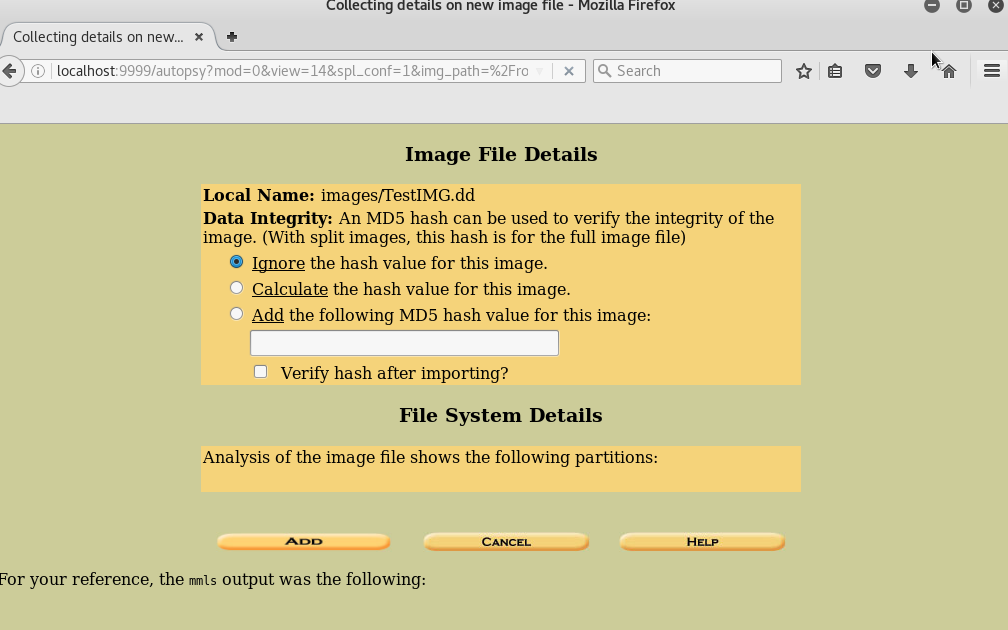
Step 4: Add a Disk Image
Once the case is created, you can add a disk image or raw disk to analyze:
In the “Add Data Source” section, select “Disk Image or VM File.”Browse to your disk image file (e.g., .dd, .E01, .img) and select it. Autopsy will then parse the disk image and show its details.
Step 5: Analyze File System and Partition
Autopsy will automatically detect partitions and file systems on the image. You’ll see a list of partitions (e.g., NTFS, FAT32, EXT4). You can click on each partition to explore its contents.
File System Analysis: Navigate the file system to examine files and directories. Autopsy provides a visual representation of the file structure.
Step 6: Recover Deleted Files
One of the powerful features of SleuthKit and Autopsy is the ability to recover deleted files:
In the left panel, go to “Data Artifacts” or “File Type”.
Look for “Deleted Files” under the File Type category. These files were deleted but are still recoverable from the disk image.
Autopsy will list these files, and you can attempt to recover them.
Step 7: Search for Keywords
Autopsy offers the ability to perform keyword searches, which is useful when looking for specific pieces of information across large volumes of data:
Navigate to the “Keyword Search” module.
Enter a search term (e.g., an email address, suspicious filenames, or phrases) to look through the disk image.Results will show instances where the keyword appears, allowing for detailed investigation.

Step 8: Timeline Analysis
The Timeline feature is a powerful tool to understand the sequence of events in a case, such as file creation, modification, and deletion times:
Go to the “Timeline” section of Autopsy. This will show a chronological view of file and system activity, which helps identify suspicious activity or establish a timeline for events.
Step 9: Analyze and Export Results
Once your analysis is complete, you can export the results for reporting or further investigation:
In the “Case Summary” section, click on “Export Report.”
Choose the report format (HTML, CSV, or plain text). Autopsy will generate a detailed report that includes information on found files, recovered data, timeline events, and more.
Leave A Comment?