Situatie
Method 1: Through Settings Application
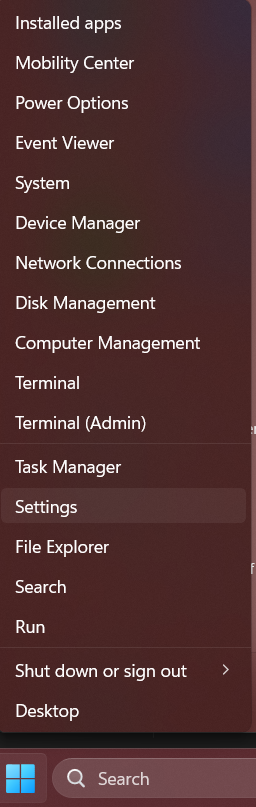
Step 1: Right click on the Windows Start Menu icon and click on the Settings option to launch the Settings application.
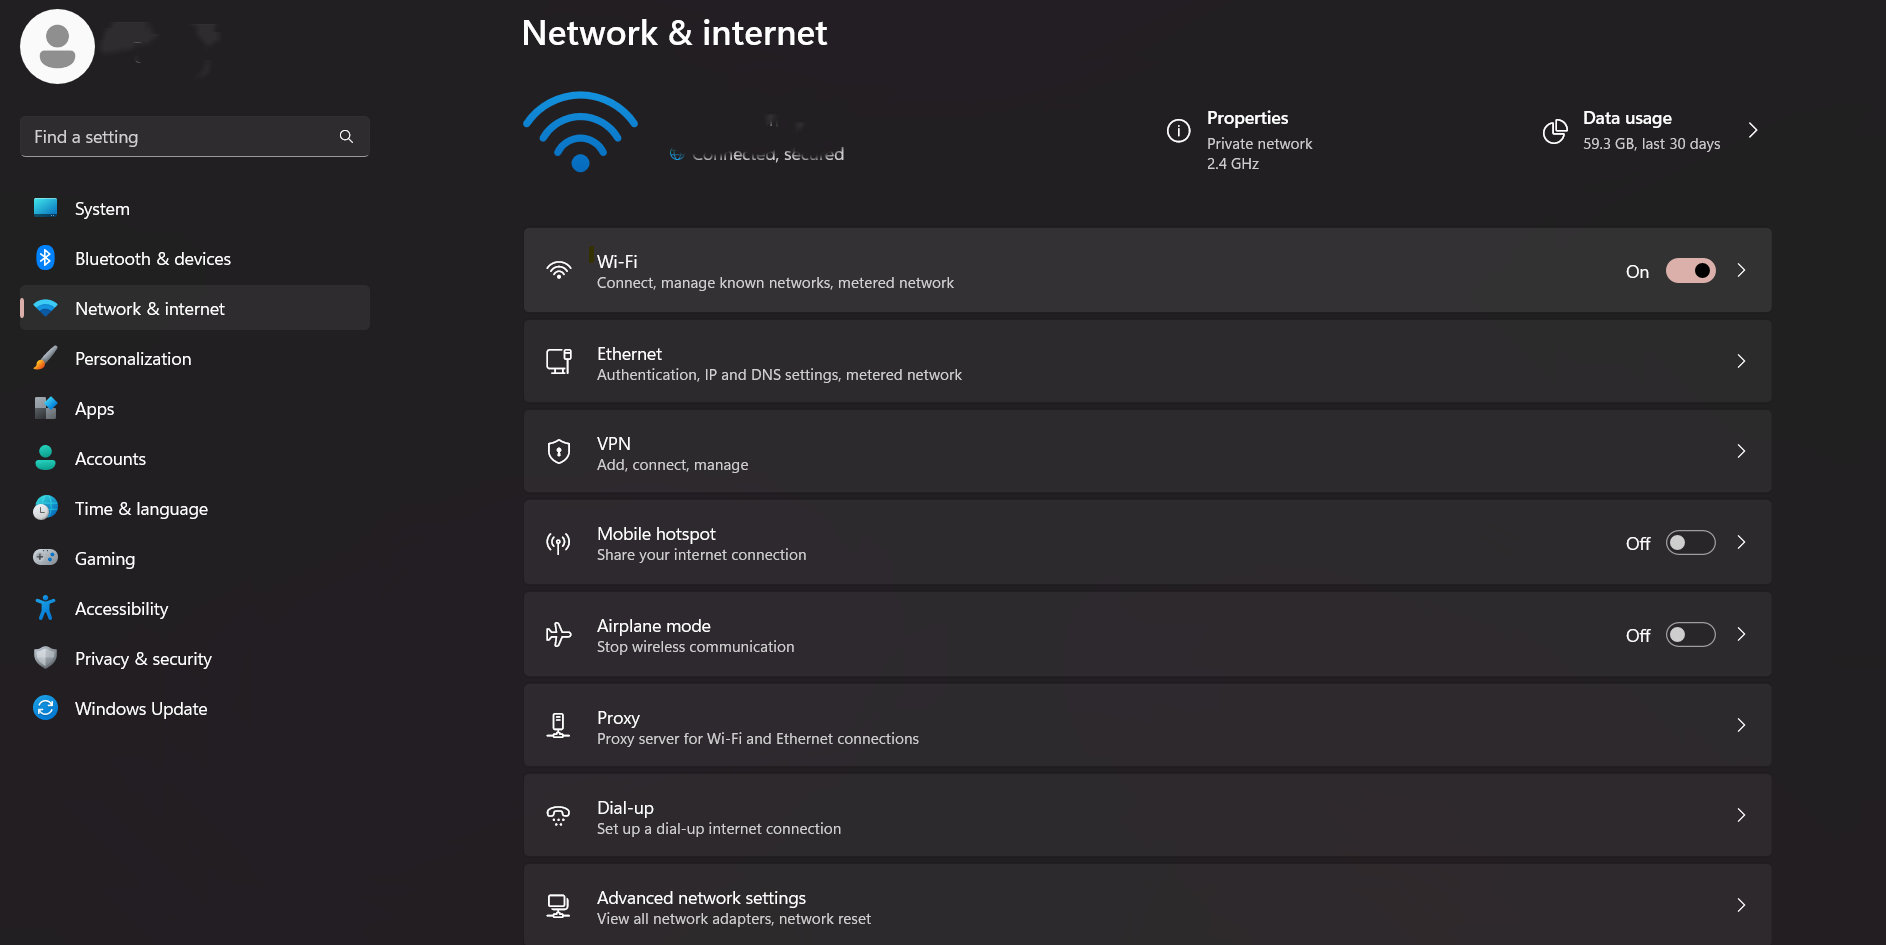
Step 2: On the left pane of the Settings window, click on Network & internet tile and on the right side of the window, click on the Wi-Fi tile.
Method 2: Through Quick Settings Panel Wi-Fi Icon
At the bottom right corner of your taskbar, click on the quick settings panel icon comprising of the Wi-Fi icon, Speaker icon and Battery icon.
As next, right click on the Wi-Fi icon in the quick settings panel and then click on the Go to Settings option to launch the Wi-Fi Settings window with no delay.
Step 1: On the taskbar, hit the Search icon.
Step 2: Now on the Search bar, type in wifi settings and click on the Wi-Fi settings option from the Best match section. This would instantly launch the Wi-Fi settings window for you.
Method 4: Through Quick Settings Panel More Wi-Fi Settings
Step 1: Firstly, click on the quick settings panel icon located at the bottom right corner of your taskbar. The quick settings panel icon is comprised of the Speaker icon, Wi-Fi icon and Battery icon.
As next, click on the right arrow icon associated with the Wi-Fi icon.
Step 2: Now, under the list of the available Wi-Fi networks, click on the link that says More Wi-Fi settings.
Leave A Comment?