Situatie
Solutie
Before you wipe everything and start over, it is worth running a handful of built-in repair commands from the Command Prompt. These tools can fix damaged system files, repair the Windows image, clean up update components, and resolve common disk issues. When run in the right order, they can bring a sluggish or unstable system back to life and save you from doing a full reinstall that you never needed in the first place.
Get your system ready for repair
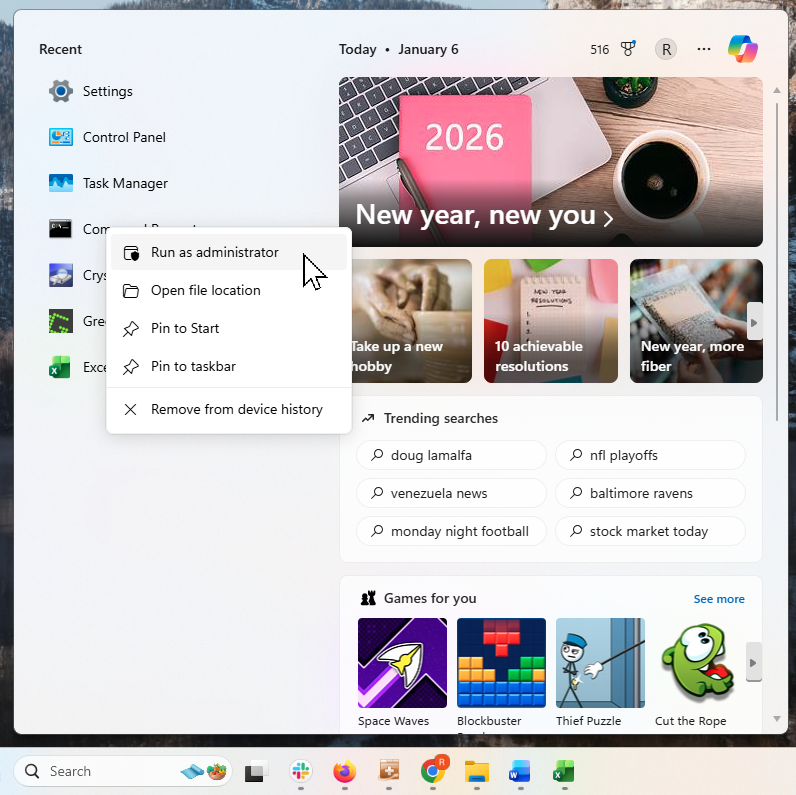
Before you run any of these commands, you have to take a minute to set things up properly. First, open Command Prompt as an administrator, since most of these tools can’t make repairs without elevated permissions. If I’m on a laptop, I make sure it is plugged in and not running on battery, as some of these checks can take a while and could trigger a reboot.
The order of the steps that follow matters more than you might realize. Disk errors can interfere with file repairs, and corrupted system components can cause other tools to fail or report misleading results. Running these commands out of sequence often leads people to think nothing worked, when in reality the foundation was never fixed first.
The sections below walk through each repair in a safe and I hope, logical order, starting with the least disruptive checks and moving toward deeper system repairs. If you are going through these, please follow them as written, and you’ll give Windows the best chance to fix itself before you consider reinstalling anything.
How a quick disk scan fits into the repair process
Even though this scan will not fix problems on its own, it plays an important role in the process. If Windows is trying to repair system files or update components on top of a damaged file system, those tools can fail or produce unreliable results. Running this quick check first helps confirm that the drive itself is in the right state before moving on to deeper repairs. If it reports errors, that is your signal to proceed to the next step and allow Windows to repair the disk properly. This scan is safe to run while Windows is active.
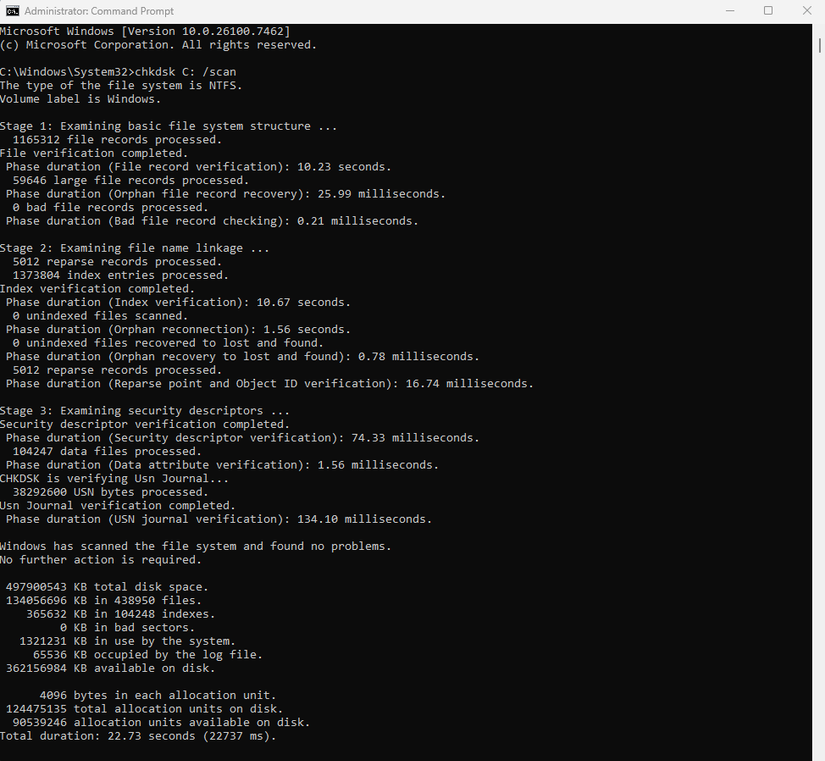
Open Command Prompt as an administrator, confirm your Windows drive letter (usually C:). Now run the following command.
chkdsk C: /scan
If you see a message stating that no problems were found, you can move on to the next step.
Fix corrupted system files before doing deeper repairs
Once you know the drive itself is not the problem, it is time to check Windows’ core system files. This is where the System File Checker comes in. SFC scans the protected files that Windows depends on to function properly and compares them against known-good versions stored on the system. If it finds files that are missing, damaged, or corrupted, it replaces them automatically.
This can resolve a surprising number of issues, including broken Windows features, unexplained crashes, settings that refuse to stick, and system behavior that slowly degrades after a bad update or an unclean shutdown.
This step comes next for a reason. SFC is good at fixing individual files, but it depends on the underlying Windows image being intact. Running it now gives you a clear signal about the state of the system.
Open Command Prompt as an administrator and run sfc /scannow.
sfc /scannow
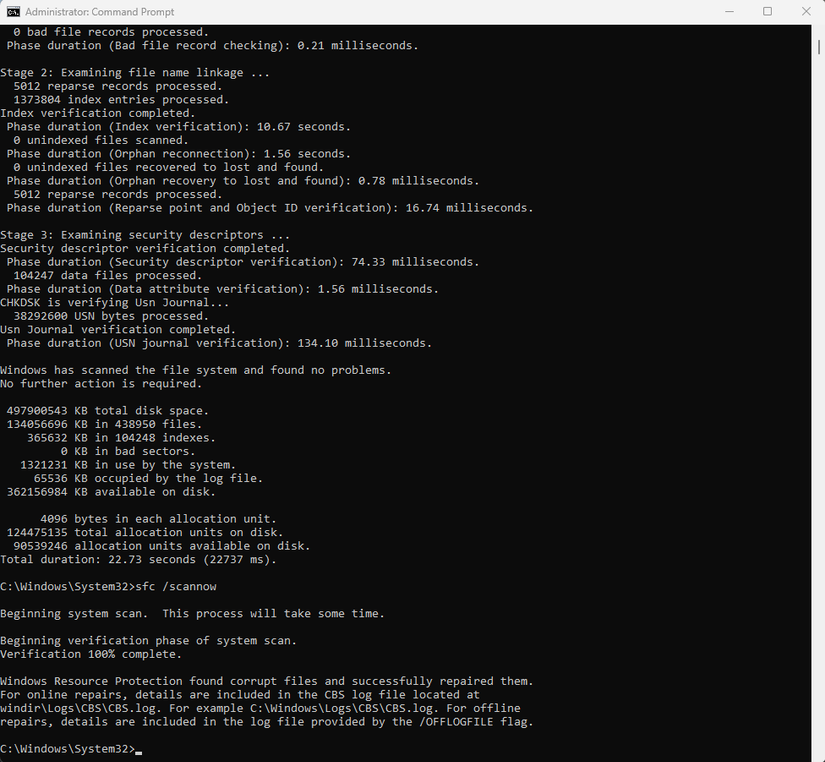
If it says it could not fix some files, or there are lingering issues like updates keep failing or errors return, that is not a dead end. It simply means the Windows image itself needs repair, which is exactly what the next step addresses.
Check and repair the Windows system image
If you do need to run it, open Command Prompt as an administrator and start with a health check using this command.
DISM /Online /Cleanup-Image /CheckHealth.
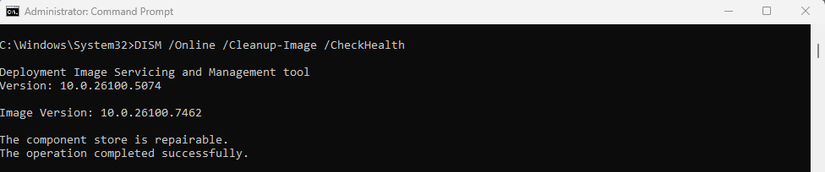
If issues are detected, follow up with DISM /Online /Cleanup-Image /RestoreHealth.
DISM /Online /Cleanup-Image /RestoreHealth
This process can take a while and may appear to pause, which is normal. Once it completes, reboot your system and then rerun SFC to confirm everything is now in a good state before moving on.
Reset Windows Update when installs keep failing
This process stops the core update services, renames the update cache folders, and then restarts everything cleanly. To do it, open Command Prompt as an administrator and stop the update services using this command.
net stop wuauserv
Then, run this command.
net stop bits
ren C:\Windows\SoftwareDistribution SoftwareDistribution.old
ren C:\Windows\System32\catroot2 catroot2.old
Renaming the folders is intentional. It forces Windows to rebuild them from scratch while keeping the originals available if you need to roll back.
Now restart the services using the following commands.
net start wuauserv
net start bits
Leave A Comment?