Situatie
Backup
The upgrade might fail if an application writes to the storage account during the upgrade. To prevent such write activity:
- Quiesce any applications or services that might perform write operations.
- Release or break existing leases on containers and blobs in the storage account.
- Acquire new leases on all containers and blobs in the account. The new leases should be infinite or long enough to prevent write access for the duration of the upgrade.
After the upgrade has completed, break the leases you created to resume allowing write access to the containers and blobs.
Warning
Breaking an active lease without gracefully disabling applications or virtual machines that are currently accessing those resources could have unexpected results. Be sure to quiesce any current write activities before breaking any current leases.
Solutie
Pasi de urmat
Perform the upgrade
- Sign in to the Azure portal to get started.
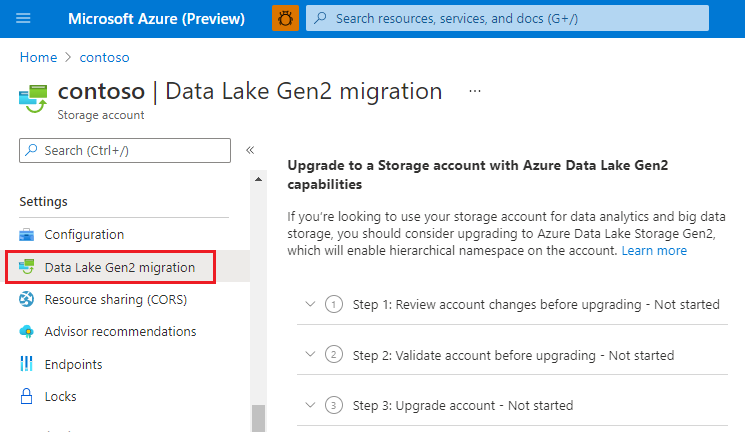
- Locate your storage account and display the account overview.
- Select Data Lake Gen2 migration.
The Upgrade to a Storage account with Azure Data Lake Gen2 capabilities configuration page appears.
- Expand the Step 1: Review account changes before upgrading section and click Review and agree to changes.
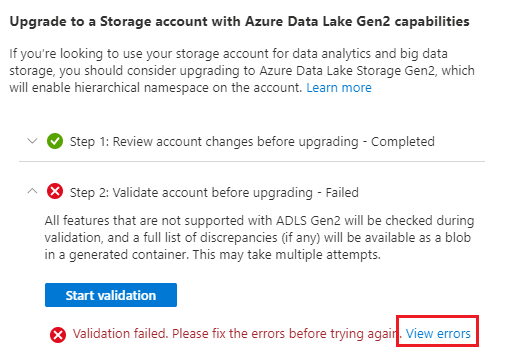
- In the Review account changes page, select the checkbox and then click Agree to changes.Expand the Step 2: Validate account before upgrading section and then click Start validation.
If validation fails, an error appears in the page. In some cases, a View errors link appears. If that link appears, select it.
Then, from the context menu of the error.json file, select Download.
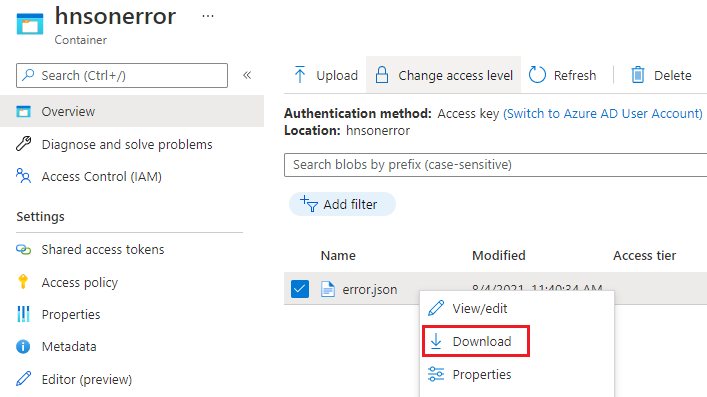
Open the downloaded file to determine why the account did not pass the validation step. The following JSON indicates that an incompatible feature is enabled on the account. In this case, you would disable the feature and then start the validation process again.
JSON
{
 "startTime": "2021-08-04T18:40:31.8465320Z",
 "id": "45c84a6d-6746-4142-8130-5ae9cfe013a0",
 "incompatibleFeatures": [
     "Blob Delete Retention Enabled"
 ],
 "blobValidationErrors": [],
 "scannedBlobCount": 0,
 "invalidBlobCount": 0,
 "endTime": "2021-08-04T18:40:34.9371480Z"
}
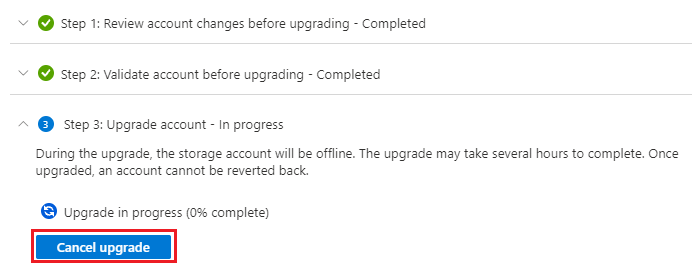
After your account has been successfully validated, expand the Step 3: Upgrade account section, and then click Start upgrade.
Write operations are disabled while your account is being upgraded. Read operations aren’t disabled, but we strongly recommend that you suspend read operations as they might destabilize the upgrade process.
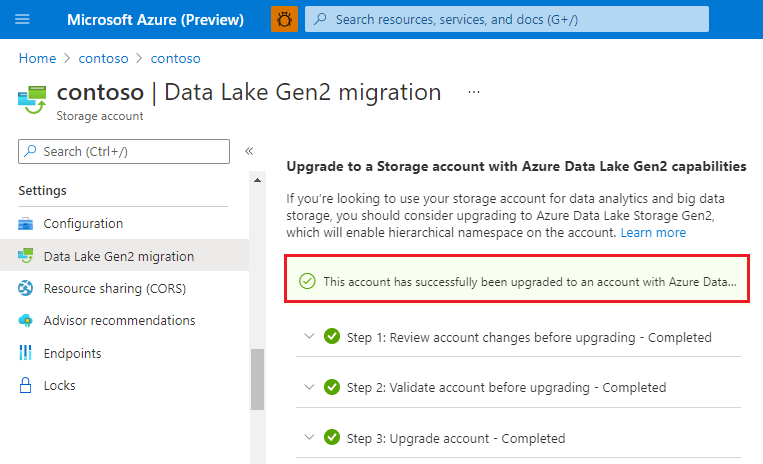
When the migration has completed successfully, a message similar to the following appears.
You can stop the migration before it completes. To stop the upgrade before it completes, select Cancel upgrade while the upgrade is in progress.
Leave A Comment?