Situatie
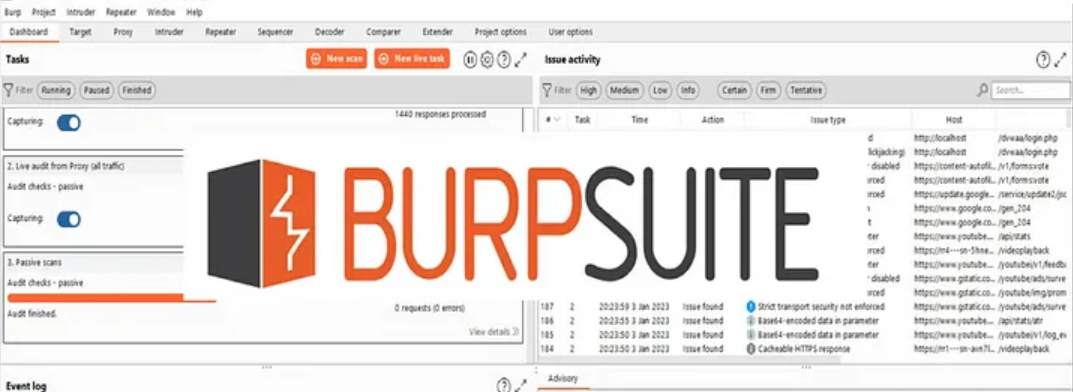
Burp Suite is a comprehensive suite of tools used for web application security testing. It helps identify vulnerabilities such as SQL injection, cross-site scripting (XSS), and other common security flaws in web applications. Burp Suite has a free version (Burp Suite Community) and a professional version (Burp Suite Professional) with more advanced features.
Solutie
Installation Steps
- For Windows: Download the installer and run it.
- For macOS: Download the .dmg file and follow the installation steps.
- For Linux: Download the .sh installer or use the package manager for your distro.
Setting Up Burp Suite
-
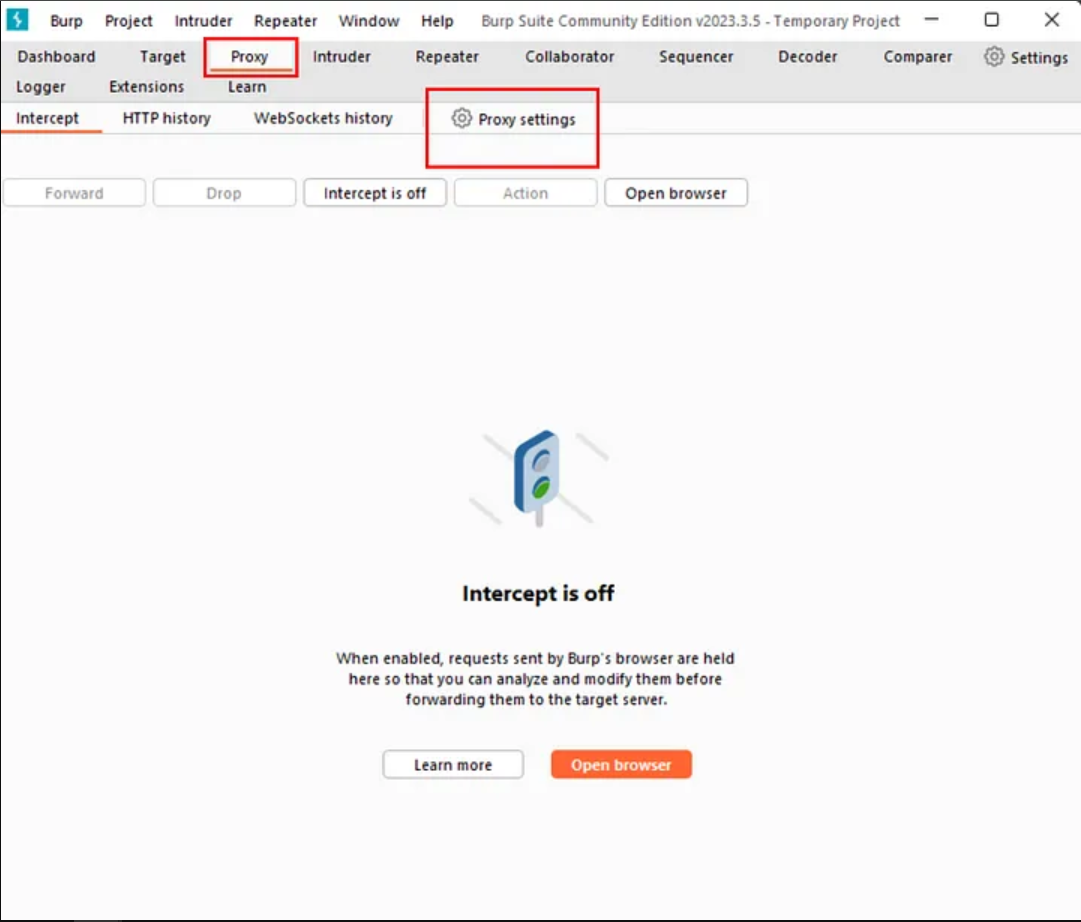
Open Burp Suite: Launch the application after installation.
-
Configure Proxy Settings:
-
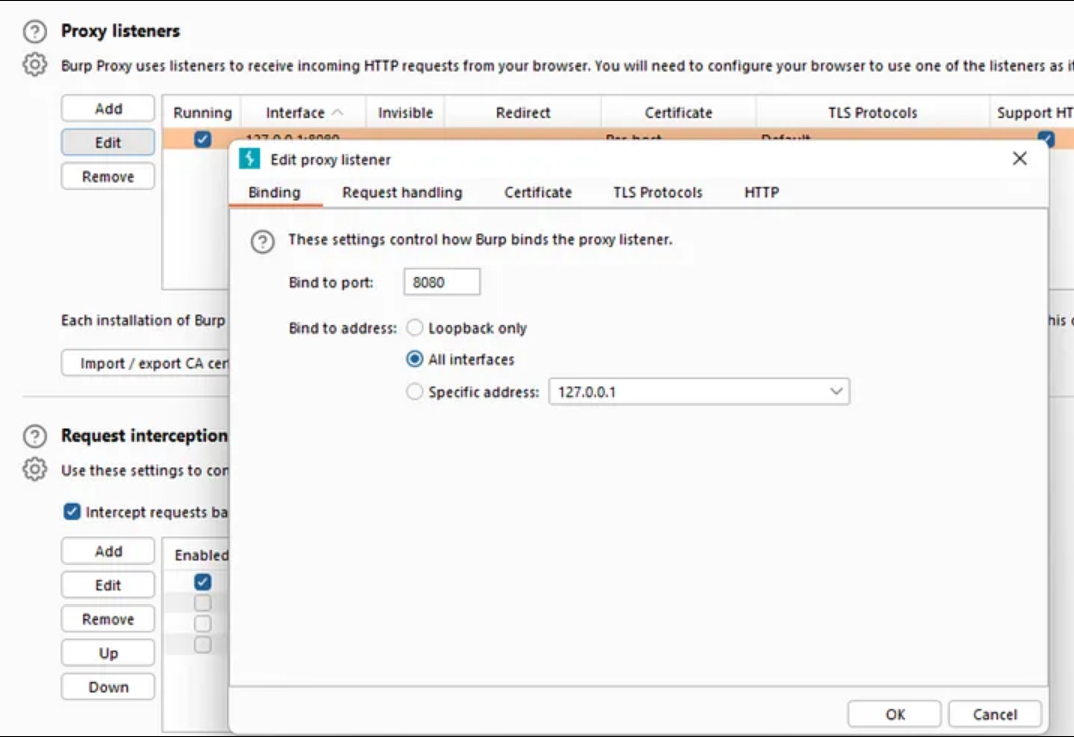
Burp Suite uses localhost (127.0.0.1) on port 8080 by default.
-
Open your browser’s proxy settings and set the proxy to:
-
HTTP Proxy:
127.0.0.1 -
Port:
8080
-
-
-
-
For example, in Firefox:
-
-
-
-
Go to Preferences > Network Settings > Manual proxy configuration.
-
Set
HTTP Proxyto127.0.0.1and Port to8080. -
Check Use this proxy server for all protocols.
-
-
3.Install Burp Suite’s SSL Certificate (for HTTPS traffic):
-
-
In Burp Suite, go to Proxy > Intercept > Open Browser. This will launch Burp’s own browser.
-
To intercept HTTPS traffic, you need to install Burp Suite’s SSL certificate. In Burp, go to Proxy > Options > Import / Export CA certificate.
-
Download the certificate and install it in your browser’s certificate store (trusted root certificate authorities).
-
Follow the instructions for your specific browser for adding the certificate.
-
Core Tools in Burp Suite
Burp Suite has several tools that are used for different phases of web application security testing. Here are the most commonly used tools:
Tool 1: Proxy
The Proxy tool is the core component of Burp Suite, used to intercept and modify HTTP and HTTPS requests between the browser and the web server.
-
Intercept: This allows you to capture, inspect, and modify HTTP(S) requests and responses in real-time.
-
To use it: Go to Proxy > Intercept tab.
-
Turn on Intercept by clicking the button that says “Intercept is on.”
-
In the browser, navigate to the website you want to test. Burp will capture the HTTP/HTTPS requests. You can modify them before forwarding to the server.
-
-
History: All the intercepted requests and responses are logged here. You can view and analyze past traffic.
-
Go to Proxy > HTTP History to see a detailed log.
-
Tool 2: Spider
The Spider tool helps automatically crawl and map a website to discover all available endpoints and resources (e.g., URLs, forms, etc.).
-
To use the Spider tool:
-
Go to Target > Site Map.
-
Right-click on the domain and select Spider this host.
-
Burp will start crawling the site and map out all accessible resources.
-
Tool 3: Scanner (Burp Suite Professional Only)
The Scanner tool automates the process of scanning for vulnerabilities such as SQL injection, XSS, and other common web vulnerabilities.
-
To use the scanner:
-
Go to Target > Site Map.
-
Right-click on a specific URL or the entire website.
-
Select Scan to start scanning for vulnerabilities.
-
Burp will report issues such as missing HTTP security headers, input validation problems, etc.
-
Tool 4: Intruder
The Intruder tool is used to perform automated attacks like brute-force, fuzzing, and payload injection.
-
To use Intruder:
-
Go to Proxy > Intercept or Target > Site Map, then right-click on a request.
-
Choose Send to Intruder.
-
Set positions in the request where Burp will inject payloads.
-
In Intruder > Positions, define the positions for injection by clicking on “Clear” and then “Add” for specific parts of the request (such as parameters).
-
Choose the type of attack (e.g., Sniper, Battering Ram, Pitchfork, or Clusterbomb).
-
In Payloads, you can define the payload list (common dictionaries or custom payloads).
-
Start the attack and Burp will send the requests and log the results.
-
Tool 5: Repeater
The Repeater tool allows you to manually modify and resend HTTP requests.
-
To use Repeater:
-
Send a captured request from the Proxy to Repeater.
-
Modify the request in the Repeater window (e.g., change parameters, headers).
-
Click Send to resend the request to the server and view the response.
-
This is useful for manually testing for issues like parameter manipulation.
-
Tool 6: Decoder
The Decoder tool is used for encoding and decoding data, such as Base64, URL encoding, or HTML encoding.
-
To use the Decoder:
-
Copy the data you want to decode (e.g., an encoded string).
-
Go to Decoder tab.
-
Paste the string and click the Decode button to view the decoded result.
-
Tool 7: Comparer
The Comparer tool is used to compare two pieces of data (e.g., two HTTP responses) to identify differences.
-
To use Comparer:
-
Go to Comparer tab.
-
Paste the two responses (or data) you want to compare.
-
Click Compare, and Burp will highlight the differences.
-
Using Burp Suite for Common Security Tests
a) Testing for Cross-Site Scripting (XSS)
-
Intruder can be used to inject XSS payloads into user input fields.
-
Use Repeater to manually test various input points for reflected XSS.
-
Burp Suite has a list of common payloads and predefined payload sets for XSS.
b) Testing for SQL Injection
-
Use Intruder to automate SQL injection testing by sending payloads to vulnerable input fields.
-
Scanner (Burp Suite Professional) will automatically detect SQL injection vulnerabilities.
-
Check responses for error messages or unexpected behavior that may indicate SQL injection.
c) Brute Forcing Login Forms
-
Use Intruder to automate login attempts on forms, testing different usernames and passwords.
-
Configure Burp’s Intruder tool with a dictionary of usernames and passwords.
d) Testing for Security Misconfigurations
-
Scanner can detect issues like missing HTTP security headers (X-Frame-Options, Content Security Policy, etc.).
-
Manually inspect HTTP responses using Repeater and Proxy to analyze headers and response behaviors.
Burp Suite allows you to generate reports based on the data collected during testing:
-
Generate Reports: In Burp Suite Professional, go to Project Options > Reporting, then choose to generate a PDF or HTML report summarizing vulnerabilities and findings.
-
Export: You can export specific data (like requests, responses, or issues) using the Export function under the relevant tools (Proxy, Intruder, etc.).
Best Practices and Legal Considerations
-
Only test applications that you have explicit permission to test. Unauthorized testing is illegal and unethical.
-
Rate Limiting: Be mindful of the load you’re placing on the target server, especially when using tools like Intruder and Scanner.
-
Use Burp Suite within legal and ethical boundaries. Always ensure you’re authorized for security testing.
Leave A Comment?