Situatie
Sometimes, adding an indent to your text or numbers makes them look nicer. Microsoft Excel lets you add an indent to an entire cell, as well as to a specific line within a cell.
Solutie
Add an Indent to a Cell in Excel
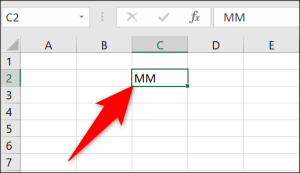
To indent an entire cell, first, open your spreadsheet with Microsoft Excel. In the spreadsheet, select the cell in which you want to add an indent.
While your cell is selected, in Excel’s ribbon at the top, click the “Home” tab.
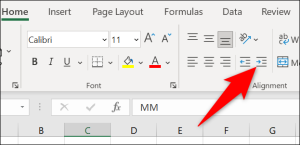
On the “Home” tab, in the “Alignment” section, click “Increase Indent” (an icon with four lines and a right-arrow).
Your cell’s content will move a bit to the right. Keep clicking “Increase Indent” until the cell content is at the desired position.
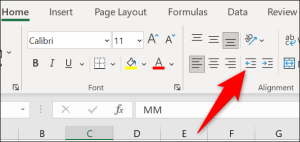
To remove an indent, click the “Decrease Indent” option, which is just beside the “Increase Indent” option.
And that’s how you change your cell content’s appearance in Excel.
Add an Indent to a Cell’s Specific Line in Excel
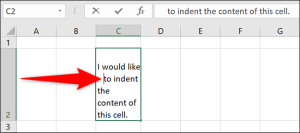
If your content does not fit your cell’s width, wrap the content and then add a manual indent as explained below.
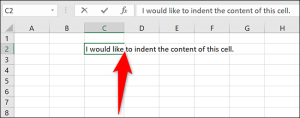
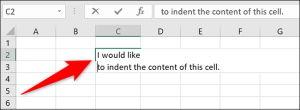
- First, in your cell, put the cursor right before the content that will go on to a new line. Everything to the right of the cursor will move to a new line in the same cell.
- On your keyboard, press Alt+Enter (Windows) or Option+Return (Mac) to add a line break.
- Your cell’s content is now on multiple lines but still in the same cell. To add an indent to a line, put your cursor to the front of that line and then press Spacebar. Keep hitting this key until the desired result is achieved.



Leave A Comment?