Situatie
Solutie
Task Manager adds one small system resource icon to the system tray that shows RAM (system memory), CPU (central processor), network, and disk drive utilization when running. However, that icon will only be visible in the system tray when you have Task Manager open on the taskbar unless configured otherwise. You can keep those system resource details in the system tray without having Task Manager open on the taskbar as follows:
- Click a space on the taskbar with the mouse’s right button to select the Task Manager context menu option.
- Next, click Task Manager’s Options menu.
- Select the Hide when minimized menu option.

- Click Task Manager’s Minimize button.
Selecting to minimize Task Manager will now effectively close that utility’s window, but its PC resource usage details will remain visible within the system tray. Move your cursor over the small square icon in the system tray to view a tooltip showing RAM, CPU, network, and disk utilization for your PC. Clicking that system tray icon reopens the Task Manager window on its graphical Performance tab.
Task Manager only adds one PC resource usage icon to the system tray, which is a little limited. You can add four separate RAM, CPU, network, and disk usage indicators to the system tray with Performance Monitor. That software also includes customization settings for each icon. Here’s how you can add system resource usage information to your system tray with Performance Monitor.
- Go to this Performance Monitor webpage.
- Click the Zipped Package download link.
- Open File Explorer’s window and the directory containing the downloaded PerfMon ZIP package.
- Next, extract Performance Monitor’s ZIP archive with a method in this guide for unzipping ZIP files in Windows 11.
- Open Performance Monitor’s extracted folder.
- Double-click the PerfMon.exe file to start Performance Monitor.
- You’ll now see one CPU resource icon in the system tray area or overflow menu. To add the others, right-click the CPU icon and select the Memory tab.
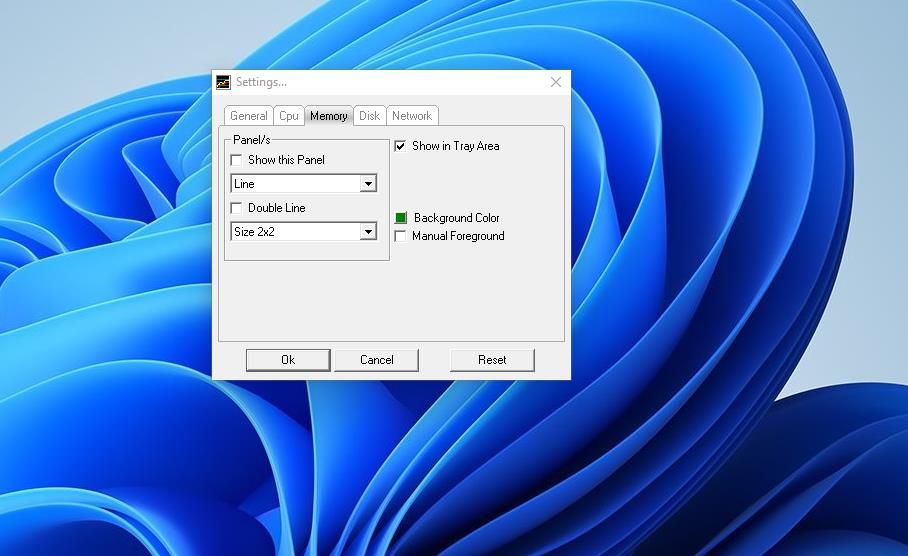
- Click the Show in Tray Area checkbox.
- Select the same Show in Tray Area option on the Disk and Network tabs.
Now you’ll see four separate system tray icons for your PC’s RAM, processor, network, and disk utilization within the system tray or overflow menu. Each icon shows a miniature usage line graph for its system resource. Hover your mouse’s cursor over the icons to view percentage usage stats for the system resource.
You can change the colors of the resource icons from their tabs in Performance Monitor. For example, to change the color of the RAM icon, click the Background Color option on the Memory tab. Then select a different color for the resource indicator on the palette and click OK.
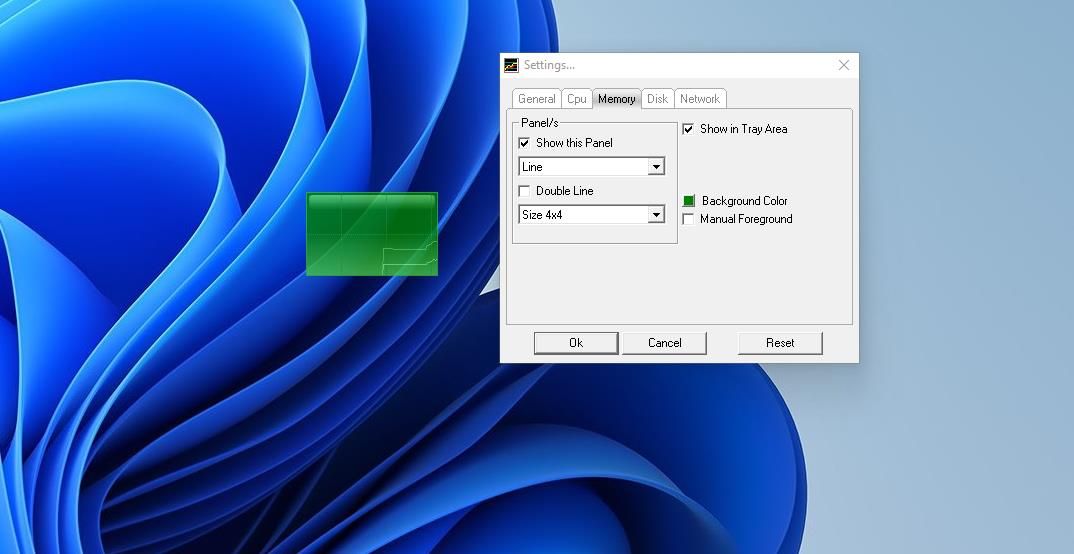
Performance Monitor also has an option for adding larger system resource panels to the Windows desktop. Select the Show this Panel options on the CPU, Memory, Disk, and Network tabs and click OK. Then you’ll see a graph panel for each resource at the top left of the desktop. You can drag those panels to reposition them on the desktop.
System Explorer is a third-party software alternative to the Task Manager you can add to Windows. That software adds more detailed PC resource usage info to the system tray than Task Manager.
You can add PC resource usage info to your system tray with System Explorer like this:
- Open the System Explorer webpage.
- Click Download Now to get the setup wizard for System Explorer.
- Double-click the SystemExplorerSetup.exe file.
- Select the Express radio button.
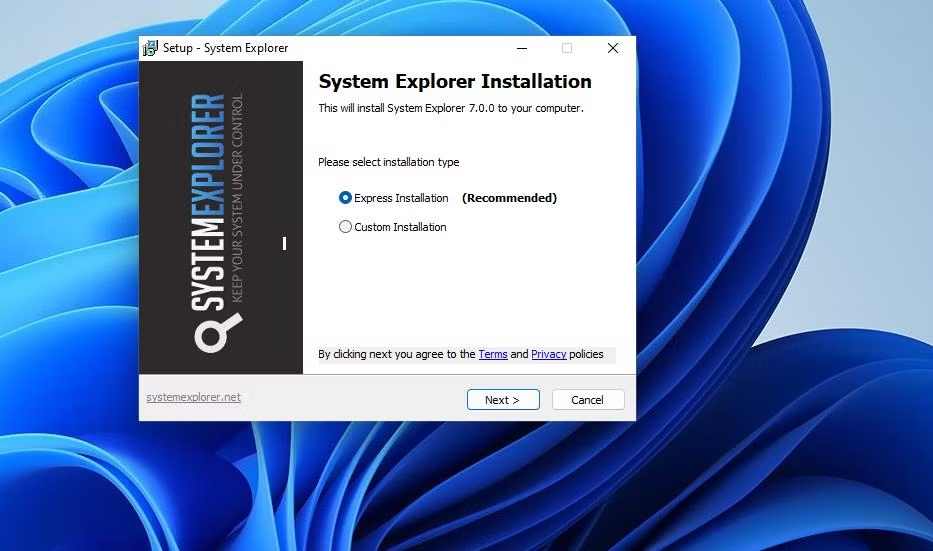
- Click Next to install the System Explorer software. System Explorer will run automatically after installation.
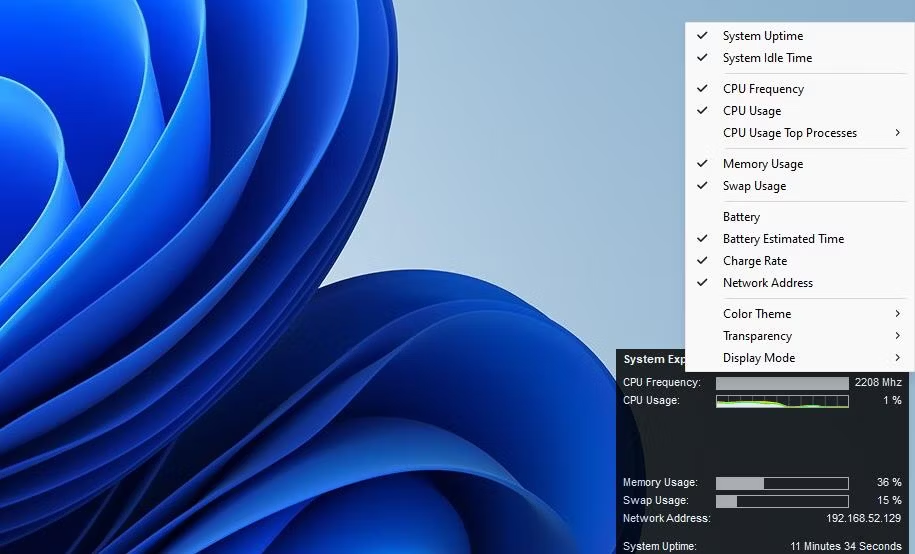
Now you’ll see an icon for System Explorer in the system tray. Move the cursor over the System Explorer icon to view a panel that shows computer resource info. That panel includes resource bars for CPU Usage, Memory Usage, and Swap Usage system resource bars.

If you’re a laptop user, you’ll notice System Explorer’s resource usage panel also includes a Battery sidebar. That bar shows how much battery is left. Below that bar, there are estimated battery time and charge rate details.
You can configure what this system resource panel shows by clicking Settings on it. That will bring up a small menu with additional configuration settings. Select and deselect items to include or exclude on the system resource panel there.
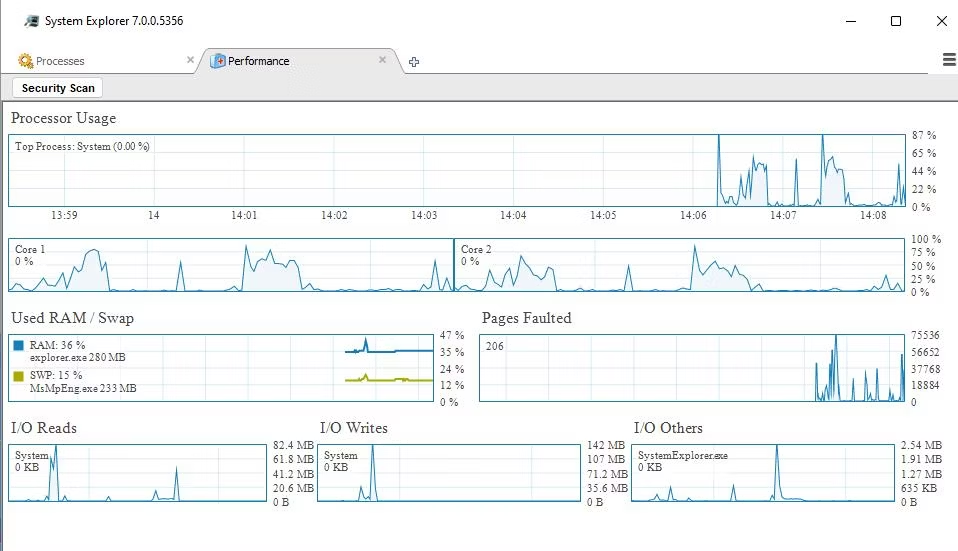
To view the computer resource usage details in System Explorer’s window, double-click the software’s system tray icon. Click the + icon in System Explorer’s window and select Performance. That will bring up a Performance tab showing line graphs for processor, pages faulted, disk, and RAM usage.
Don’t forget to check out the Processes tab to see how System Explorer compares with Task Manager. That tab includes options you can select to show or hide processes. For example, you can click the Show Microsoft System Entries option to hide Microsoft processes. Plus, that tab includes a search box, which is a handy addition for finding processes.
Leave A Comment?