Situatie
Solutie
Remember To Back Up Your Files First
Let’s start with a warning that never gets old. Before you open GParted, you should check your USB drive for any important files. If you’ve not already done so, back up your files to a safe place.Disk formatting wipes away the data on your disk. It may be possible if you use professional grade data retrieval software to recover some of it, but let’s be honest—that’s not an ideal position to be in, and you can avoid it by checking your drive for important files first. If you’re sure that you’re not going to lose any important files, your next step is to be sure that you’re choosing the right disk to format.If your USB drive has a disk label, for instance, make sure to select it from GParted menu once you reach that point. Choosing the wrong drive will be a costly mistake.
Installing GParted on Ubuntu
Once you’re confident that you aren’t going to lose any important files from your USB drive, you can install GParted on your Ubuntu installation. It’s possible that you already have it installed. If you do, these steps won’t do much, but they will ensure that you have the most up-to-date version of GParted installed on your system.
To begin, open up the terminal on your Ubuntu PC and run this command:
sudo apt update
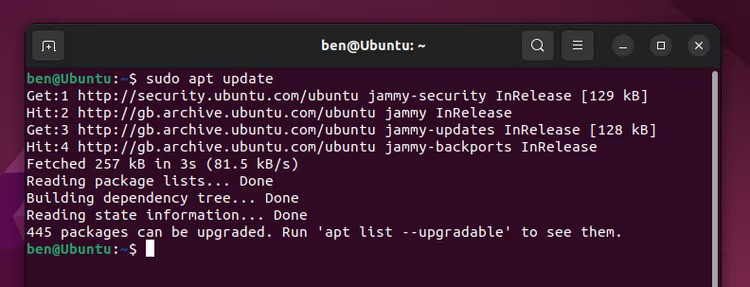
This will update the list of available software packages that you can install on your PC. Once that’s done, run the following:
sudo apt upgrade
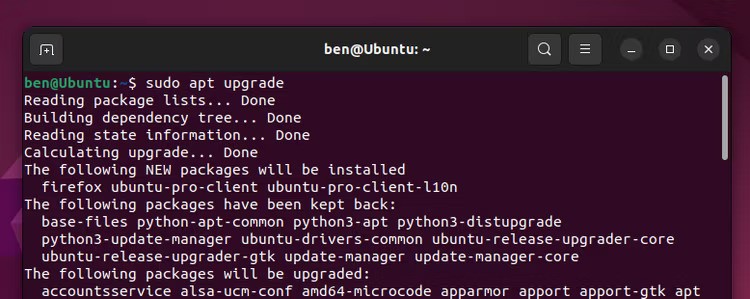
This command will ensure that your PC is fully up-to-date. If prompted, make sure to hit the Y key followed by Enter to confirm the installation, then type in your admin password to complete the process. Once this is done, run this command to install GParted:
sudo apt install gparted
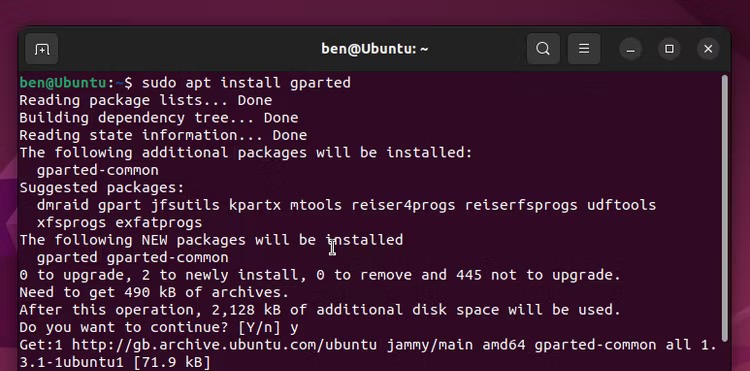
As before, type Y and hit Enter to confirm the installation if you’re prompted to do so. Once installed, you can launch GParted from the Ubuntu app menu or by launching it via the terminal using this command:
gparted
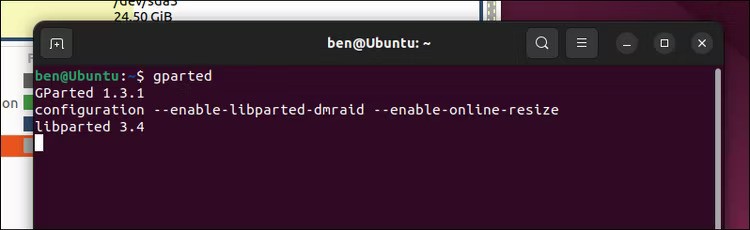
When prompted, type in your password and hit Enter.
Preparing a New Partition Table and Formatting the Drive
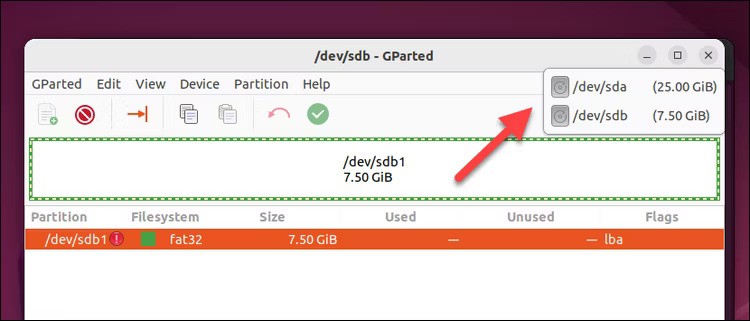
When you format a drive in GParted, you do so by destroying the existing partition table and creating a new one. A partition table is the structure of your drive’s data. It allows you to split a single drive into multiple smaller, segmented partitions. Even if you only have one partition for the whole drive, you’ll still need to remove and recreate the table to format it.Thankfully, GParted’s user interface makes the whole process straightforward. First, open GParted and select your USB drive from the drop-down menu in the top-right corner. It may have a drive label but, if it doesn’t, use the size of the drive to help you identify the correct one.
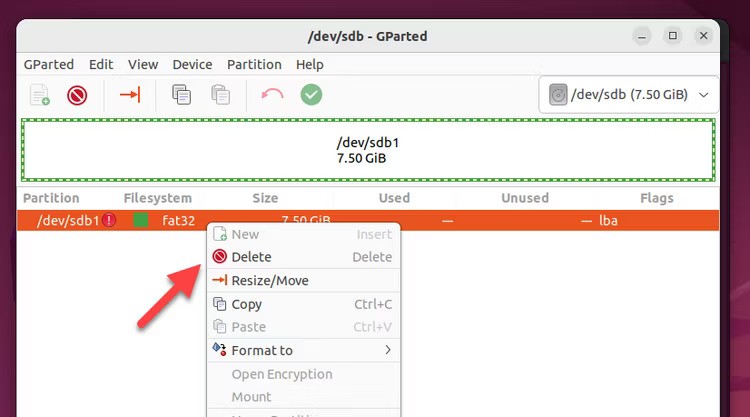
You’ll see a list of partitions in the main menu once you’ve selected the drive. If you’ve not formatted the drive before, it may say unallocated, meaning that there aren’t any existing partitions. If there are, right-click the existing partition and select “Delete” from the menu.
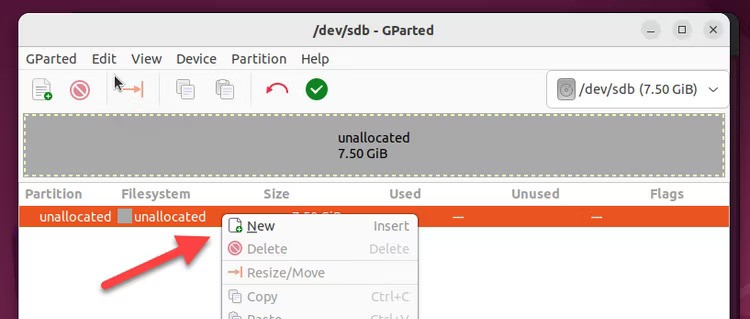
Repeat this for any other partitions until the entire drive is unallocated or, if you want to keep some existing partitions, until enough space is available to create a new drive. Next, right-click the empty “unallocated” space and select the “New” option.
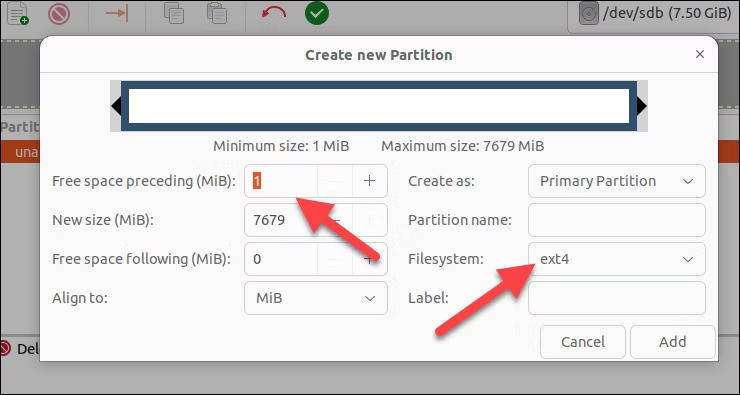
Use the sliders or the boxes provided to choose how large you’d like your partition to be, or allow it to fill the entire drive. If you want to use the drive on Windows, select a Windows-friendly file system like FAT, FAT32, or NTFS from the “Filesystem” drop-down menu. Alternatively, you can choose a Linux-friendly file system like EXT4 instead. When you’re ready, click the “Add” button.
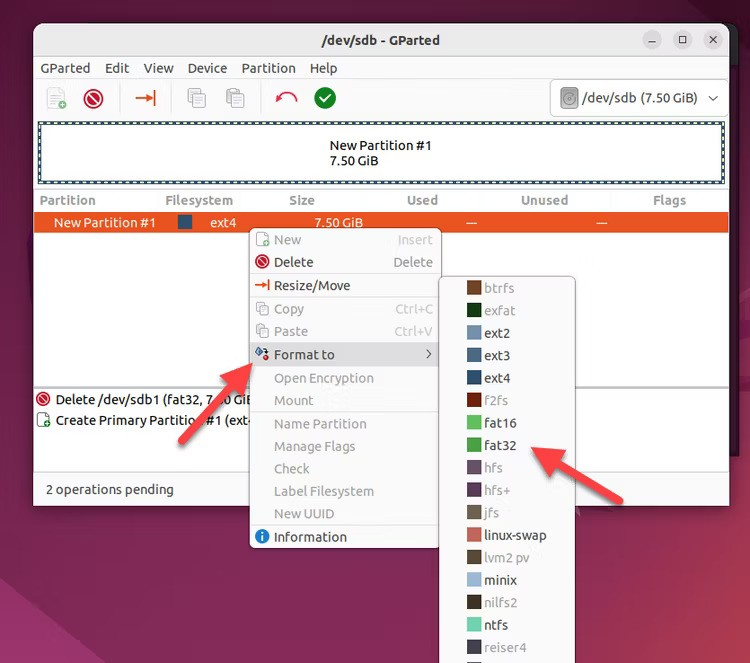
Repeat the steps for any other partitions you’d like to make. Alternatively, right-click on an existing partition and hover over the “Format To” options. From the options, choose a file system you want to format to, such as NTFS.
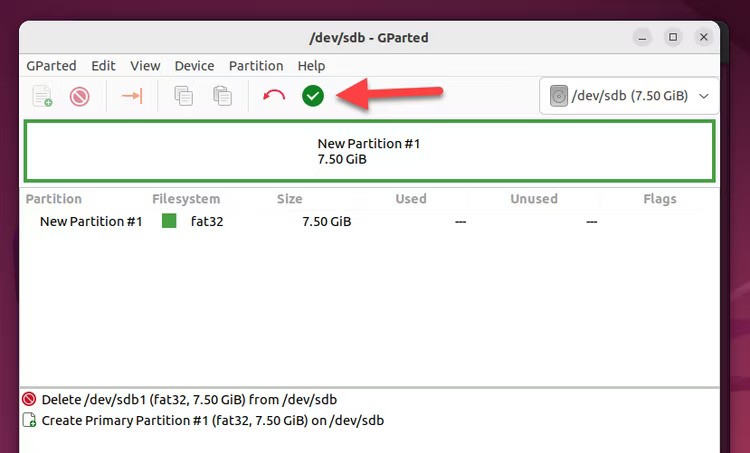
When you’re ready, click the “Apply All Operations” tick box button from the menu at the top.
You’ll be asked to confirm your choice, so click “Apply” to do so.
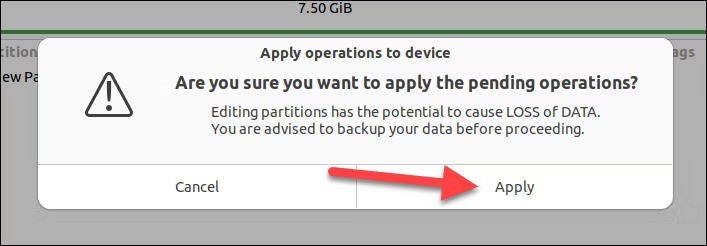
At this point, GParted is formatting your drive to your new specifications. You can’t undo this, and I really wouldn’t recommend trying, as you might corrupt your drive. GParted will confirm whether the process was successful. If that’s the case, you can press “Close” to exit the menu and begin using your newly formatted drive immediately.
Leave A Comment?