Situatie
Your Steam Deck can do more than just play games. Valve effectively crammed a laptop into a handheld form factor, threw Linux on it, and left the system wide open for anyone to fiddle with.
The upshot of this approach is that you can use your Steam Deck like a regular PC, to browse the web, install third-party tweaks and tools, and even get some work done (if you’re not too busy playing games).
Solutie
When you first turn on your Steam Deck, it boots SteamOS and enters Game Mode. SteamOS is a Linux distribution that’s authored and maintained by Valve, based on another distribution called Arch Linux. While Valve is bringing SteamOS to other devices (like the Steam-ified version of Lenovo’s Legion Go S), you can’t just download SteamOS like you can Debian, Ubuntu, or Arch.
With Linux under the hood, Game Mode serves as a touch- and controller-friendly way of interacting with the handheld, but it’s not the only way. The Steam Deck also features Desktop Mode, which allows you to use the handheld like any other PC running Linux.
This mode features a proper desktop environment with a taskbar, file explorer, and the freedom to install just about any Arch-compatible application you like. It also gives you free rein to make changes to SteamOS so that you can customize the way your handheld behaves with the use of third-party tweaks.
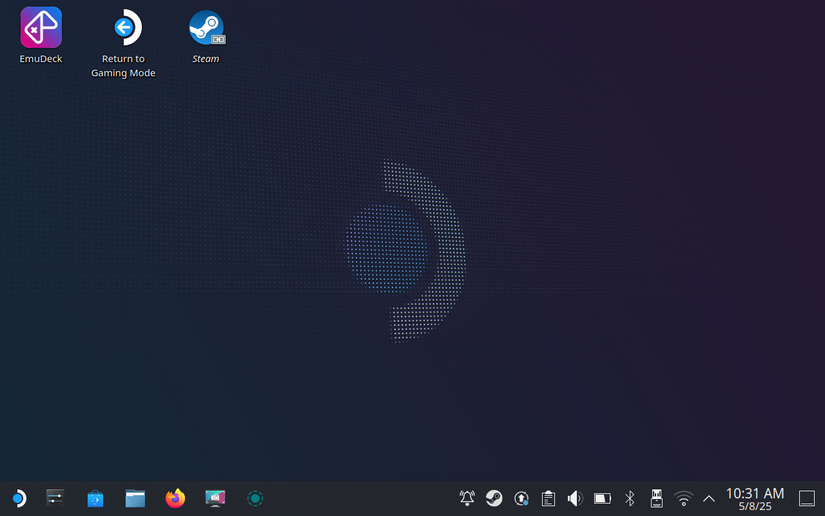
To enter Desktop Mode, press and hold the power button while in Game Mode. Select “Switch to Desktop” and wait a few seconds. Your Steam Deck will load for a few seconds, and then you’ll see a wallpaper, taskbar, and some desktop icons.
To get around, use your Steam Deck’s right trackpad or right thumbstick to move the mouse cursor. You can either apply pressure to “click” the trackpad or use the right trigger to click the mouse. To access the right-click context menu, use the left trigger.
If at any time you need to bring up the on-screen keyboard, hit Steam+X. You can use touchscreen, touchpad, or mouse-based typing to do things like enter web addresses, rename files, and search your drive. You can scroll through webpages, menus, and folders using the right trackpad.
At the bottom of the screen, you’ll notice a taskbar, which SteamOS refers to as the Task Manager. To the far left is effectively a Start menu, indicated by the SteamOS logo. Clicking on it will reveal a large catalog of preinstalled applications, sorted into categories. Use the right-click menu on any of these applications to add desktop icons, add them to your favorites, or pin them to the taskbar at the bottom of the screen.
Your pinned items will appear to the right of the SteamOS menu, allowing you to quickly launch applications. Right-click on them to remove them. In the right-hand corner of the screen is the system tray which shows useful information like the time, charge state, and offers quick access to apps that are open.
To get back to Game Mode, use the “Return to Game Mode” desktop icon or click the SteamOS menu to click the arrow next to “Shut Down” and select “Log Out.”
SteamOS comes with a file manager called Dolphin, which provides quick access to handy locations in the sidebar and allows you to explore files and folders. It has a handy “Split” button at the top of the screen that places two locations side-by-side, perfect for moving or copying files from one place to another. You can use the right-click menu in Dolphin to do things like create compressed archives, open the Terminal in a specific location, or set images as your wallpaper.
The Discover application is the easiest way to install applications on your Steam Deck. It’s a graphical front-end for a package manager that allows you to quickly install a huge range of applications that will “just work” on SteamOS. You’ll find browsers like Firefox, utilities for transferring files, and even whole games in the Discover store.
If you want to install an application on your Steam Deck, we recommend checking the Discover store first (even if you’re following an online guide). The database is always growing.
Regular old Steam is also available within Desktop mode, and it takes the same form that you’re used to seeing on a PC. It can be a little more reliable for doing things like finding and transferring screenshots and can even resolve compatibility issues with some games that refuse to load in Game Mode. You’ll find a handy shortcut to Steam in the system tray.
What you regard as essential ultimately depends on what you’re using your Steam Deck for. A few other apps you might want to keep in mind include:
- Screenshot utility Spectacle for screengrabs in Desktop Mode.
- Terminal tool Konsole for running console commands.
- System monitoring apps System Monitor and btop++
- Text editors KWrite and Kate.
While you can do pretty much everything with your Steam Deck using trackpads, thumbsticks, and the on-screen keyboard, you’re going to have an easier time if you use some proper peripherals. The most obvious of these are a mouse and keyboard.
For best results, Bluetooth is your friend. Since the Steam Deck has a single USB-C port, using Bluetooth peripherals offers an easy, wire-free solution to typing and controlling the cursor.
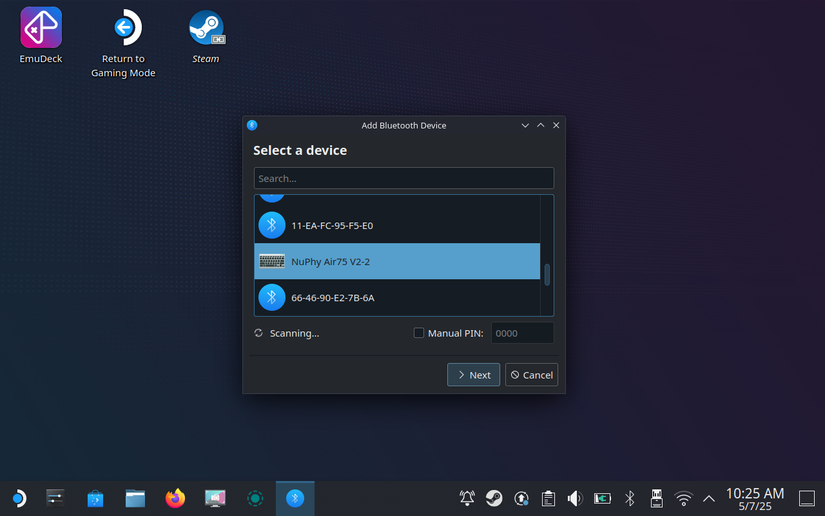
You can connect a Bluetooth peripheral using the Bluetooth icon within the system tray while in SteamOS desktop mode. Put your mouse and keyboard into pairing mode and then click “Add Bluetooth Device” plus icon in the Bluetooth window that appears. Find your device in the list, click “Next” and wait. You may need to enter a PIN.
While 2.4GHz dongles are another solution, the vast majority of them still use USB-A and require the use of the sole USB port. A wired USB connection will also work, but it has the same problem. The best remedy here is to grab a USB-C hub (also known as a dock) that can pass power through to your Steam Deck and provide access to a greater range of ports.
With a hub, you can connect a myriad of different devices using the single port on top of your Steam Deck. This allows you to connect an external monitor via HDMI, hook your handheld up to a wired Ethernet network connection, and add card readers or external NVMe drives (depending on the hub). It’s a great way to expand your device’s base storage, though it does tie your Steam Deck down somewhat.