Situatie
Solutie
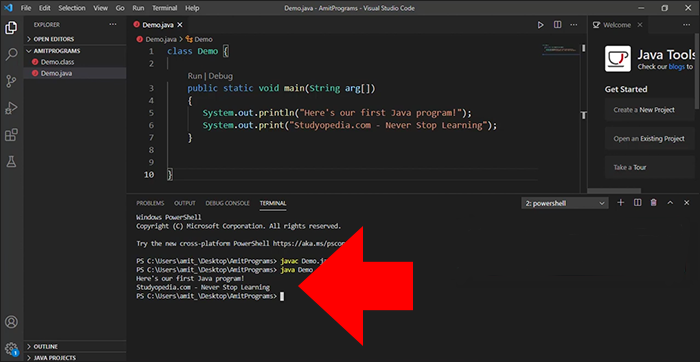
The VS Code terminal is the command line that’s integrated directly into the platform. With it, you can run scripts, execute commands, and interact with your PC’s operating system or any other development tools without exiting the code environment. Follow the steps below to run code in the VS Code terminal:
-
- In VS Code, open the file you want to work on. For this to work, you need to have the right language extension matching your programming language. You can find those in the Extensions tab.

- In VS Code, open the file you want to work on. For this to work, you need to have the right language extension matching your programming language. You can find those in the Extensions tab.
-
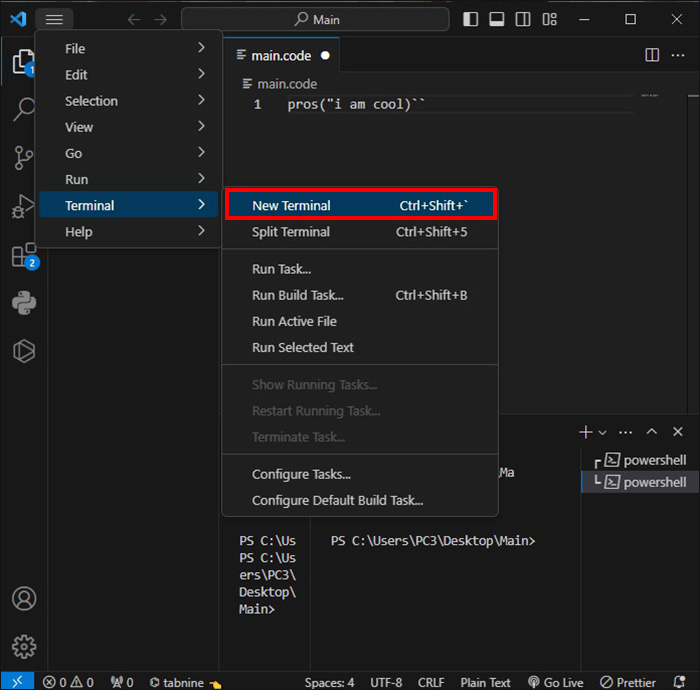
- Choose the (`) backtick key on the keyboard. This opens the integrated terminal. An alternative here is to select “Terminal” under the “View” menu bar. While here, choose “New Terminal”.
- Go to the directory containing the code file through the “cd” command. If a file is within “Document” for example, the command used here should be “cd Documents.” This allows you to navigate to the folder.
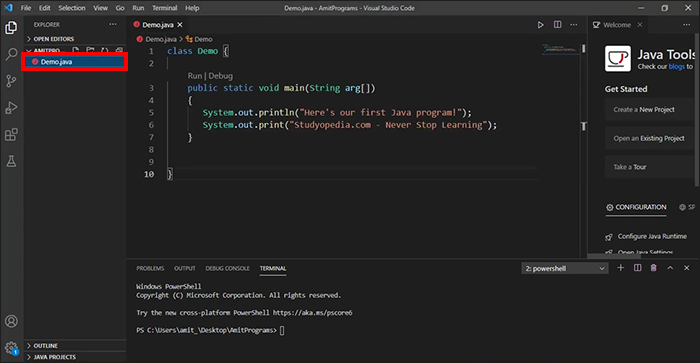
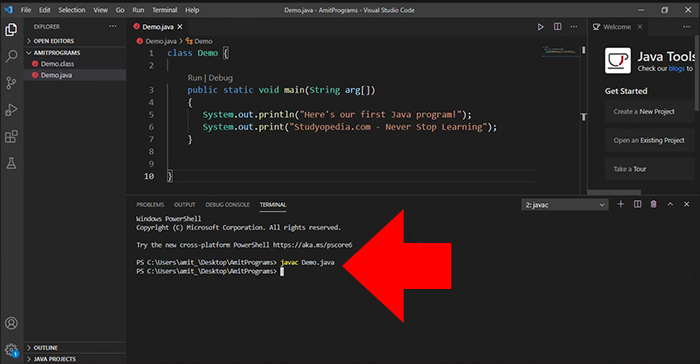
- When the right directory is found, you should run the code file. Do so by typing the right command for the specific programming language being used.
- JavaScript:
node filename.js - Python:
python filename.py - C++:
g++ filename.cpp -o output && ./output - Java:
javac filename.java && java filename - Ruby:
ruby filename.rb
- JavaScript:
- Choose the (`) backtick key on the keyboard. This opens the integrated terminal. An alternative here is to select “Terminal” under the “View” menu bar. While here, choose “New Terminal”.
- The filename should be replaced with the real code file name.
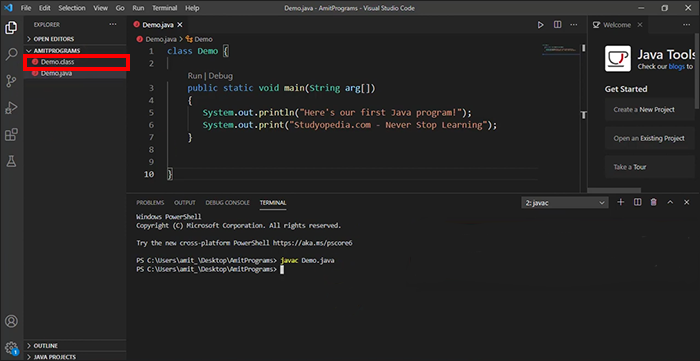
- Execute the command by pressing the Enter button. This should show the code within the terminal.
The Visual Studio Code terminal is fully integrated and starts right from the root of the workspace. It offers editor integration with features like error detection and links. You can run various commands just as you would on standalone terminals.
This is how to open an integrated terminal:
-
- Go to the menu from the top toolbar and select “View”
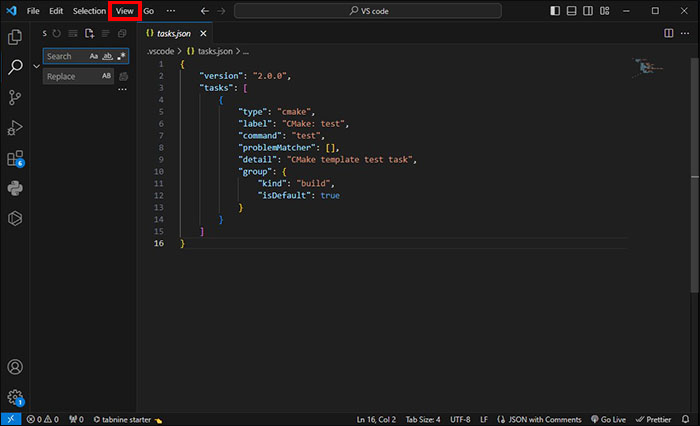
- Go to the menu from the top toolbar and select “View”
-
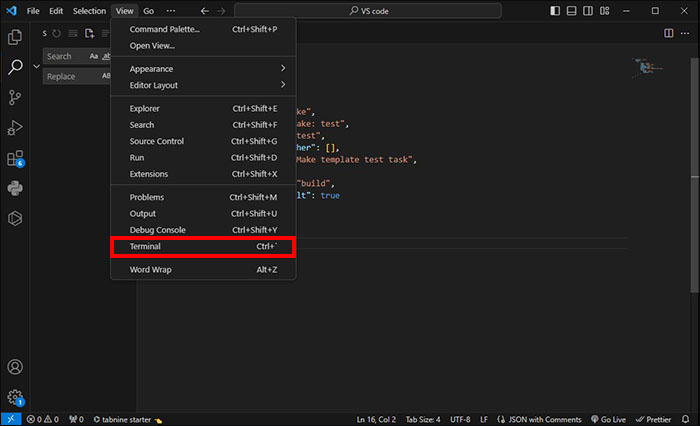
- Choose “Terminal” from the drop-down menu. Alternatively, use “Ctrl+`” (backtick) to launch the terminal.
- The terminal opens in the VS Code window. A command prompt is displayed here.
- Adjust the terminal pane size by dragging. The maximize button at the top right corner may be used to enter full-screen.

- Hit the drop-down arrow, at the top right, and select the shell you want. This way, it’s possible to switch between the shells.

- Choose “Terminal” from the drop-down menu. Alternatively, use “Ctrl+`” (backtick) to launch the terminal.
- Open the “Command Palette” by pressing “Ctrl+Shift+P”
- Utilize the “View: Toggle Terminal” command

- The “Open in Integrated Terminal” menu commands can be used in the Explorer.
- The terminal panel can be toggled using the “Ctrl+`” shortcut on your keyboard.
- The “Ctrl+Shift+`” keyboard shortcut helps in creating a new terminal.
The terminal in VS Code has some additional functionality called shell integration. It tracks where commands are run. The Ctrl+shift+C shortcut allows you to open VS Code in an external terminal.
The Terminal Shells
Various shells can be used in an integrated terminal. These are often installed on the machine and the default is pulled from the system defaults. When shells are detected, they are presented in the dropdown of the terminal profiles.
Terminal Management
On the terminal view’s right side, there are the terminal tabs UI. Every terminal has a name, color, icon, and data group decoration if one exists.
To add terminal instances:
-
- Select the “+” icon in the “Terminal panel, (Top right side).
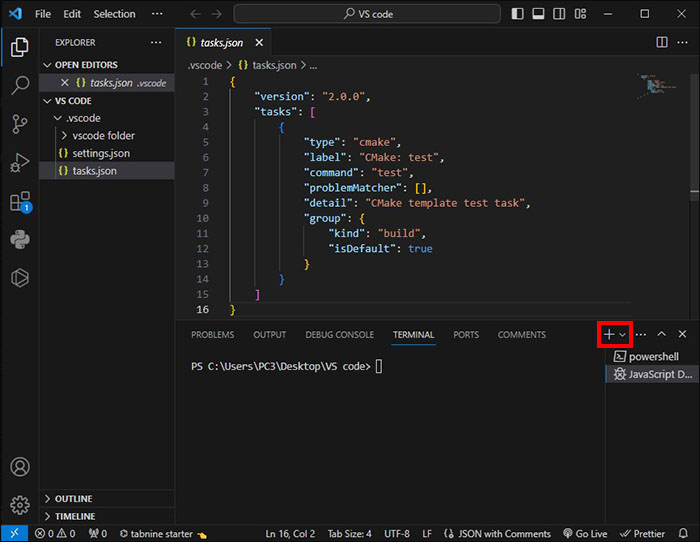
- Select the “+” icon in the “Terminal panel, (Top right side).
- Go to the terminal dropdown and choose a profile.

- Alternatively, press the command Ctrl+Shift+`. With this action, you will have created a fresh entry within the top list that’s associated with the specific terminal.
To remove the instances:
-
- Hover a tab and then select the “Trash Can” option

- Hover a tab and then select the “Trash Can” option
- Pick a tab item and press, “Delete”

- Alternatively, right-click and use the “Terminal: Kill the Active Terminal instances” command option from the context menu.
It’s possible to navigate between different terminal groups through the focus next Ctr+PageDown and the focus previous Ctrl+PageUp. When the status of a terminal changes, icons may appear on the right side of the terminal. You can hover over the icon to view the status information that may contain actions.
Split Panes (Groups)
You can have different terminals side by side. It allows you to subdivide panes then create a group of panes to work in.
-
- Find an entry in the right-side terminals list and hover over it

- Find an entry in the right-side terminals list and hover over it
-
- Choose the inline split button.

- Go to the context menu and right-click on it then select the “Split” menu.

- Press “Alt” and then click on the “+” or single tab within the terminal panel.

- Choose the inline split button.
- Activate the “Ctrl+Shift+5” command.

Leave A Comment?