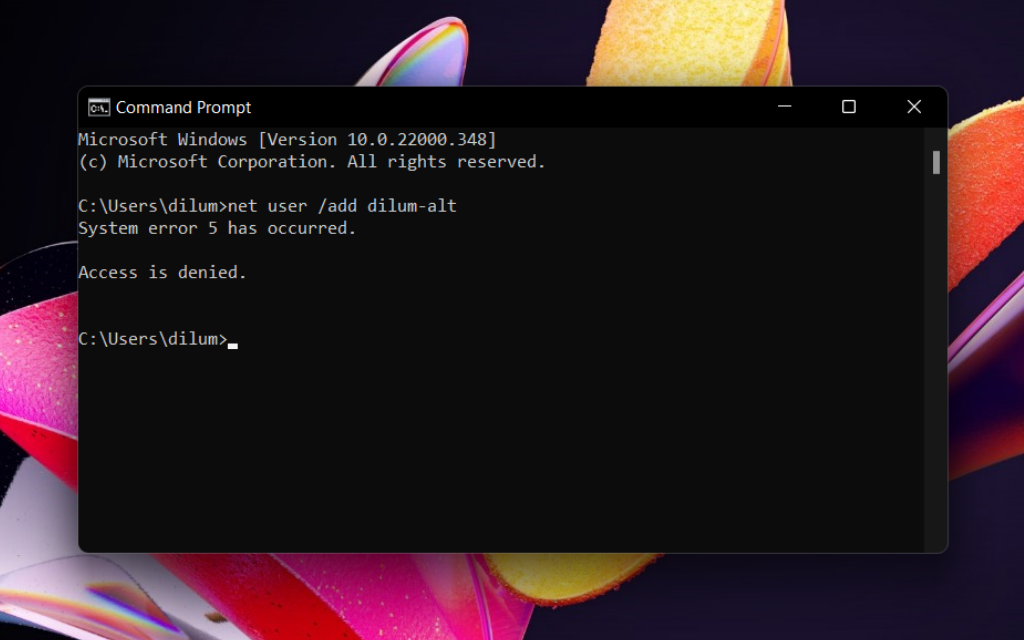
The Check Disk utility, also known as chkdsk (since that’s the command you use to run it) scans through your entire hard drive to find and fix problems. It’s not a terribly exciting tool — and running it can take some time — but it can really help prevent bigger problems and loss of data in the long run. Chkdsk performs a couple of functions, depending on how it’s run:
- Chkdsk’s basic function is to scan the integrity of the file system and file system metadata on a disk volume and fix any logical file system errors that it finds. Such errors might include corrupt entries in a volume’s master file table (MFT), bad security descriptors associated with files, or even misaligned time stamp or file size information about individual files.
Chkdsk can also optionally scan every sector on a disk volume looking for bad sectors. Bad sectors come in two forms: soft bad sectors, which can occur when data is written badly, and hard bad sectors, which can occur because of physical damage to the disk. Chkdsk attempts to fix these problems by repairing soft bad sectors and marking hard bad sectors so they won’t be used again.
That may all sound very technical, but don’t worry: you don’t need to understand the ins and outs of how it works to know when you should run it.
If chkdsk does encounter problems — especially hard bad sectors — that it can’t repair, data can become unusable. It’s not very likely, but it can happen. For that reason, you should always make sure you have a good backup routine in place and back up your PC before running chkdsk.
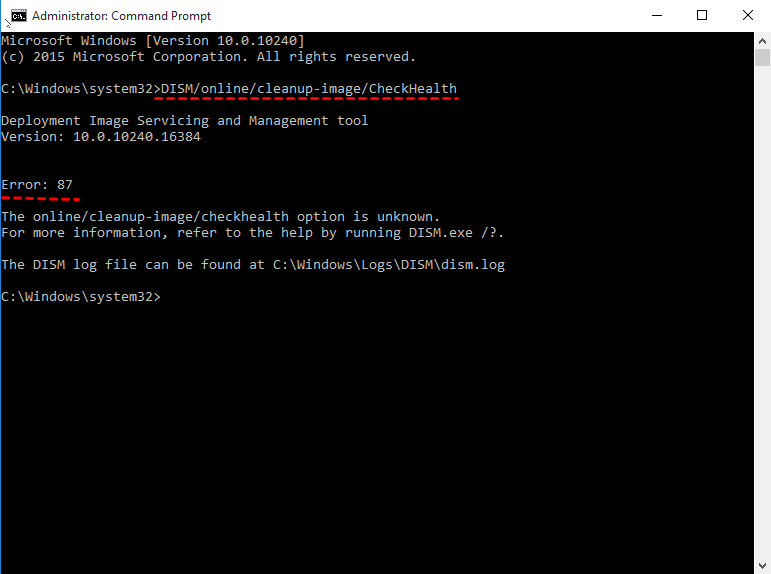
The chkdsk tool works pretty much the same in all versions of Windows. We’ll be working with Windows 10 in this article, so the screenshots may look slightly different if you’re using Windows11, but chkdsk performs the same, and we’ll point out where any procedures differ. We’ll also talk about running it from the Command Prompt, in cases where you can’t even boot into Windows.
[mai mult...]