How to Take a Windows 10 Screenshot without a Keyboard

What if you need to take a screenshot in Windows 10, but you don’t have a “Print Screen” key on your keyboard—or you don’t have a keyboard at all? Luckily, it’s easy to capture your screen using only a mouse thanks to a built-in tool called Snip & Sketch. Here’s how.

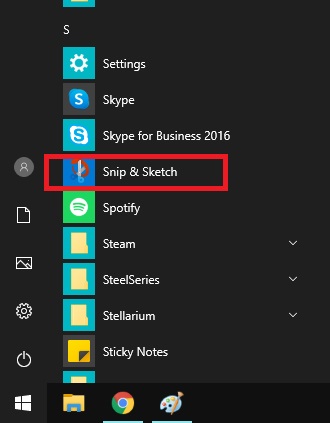
To run Snip & Sketch without a keyboard, open the Start menu and locate “Snip & Sketch” in the alphabetical applications list. Click its icon to launch it.

With Snip & Sketch open, click the “New” button.

Using a toolbar that appears at the top of the screen, you can perform a rectangular snip, a freeform snip, a window snip, or a fullscreen snip. Click the option that matches what you want to capture, then select part of the screen if necessary.

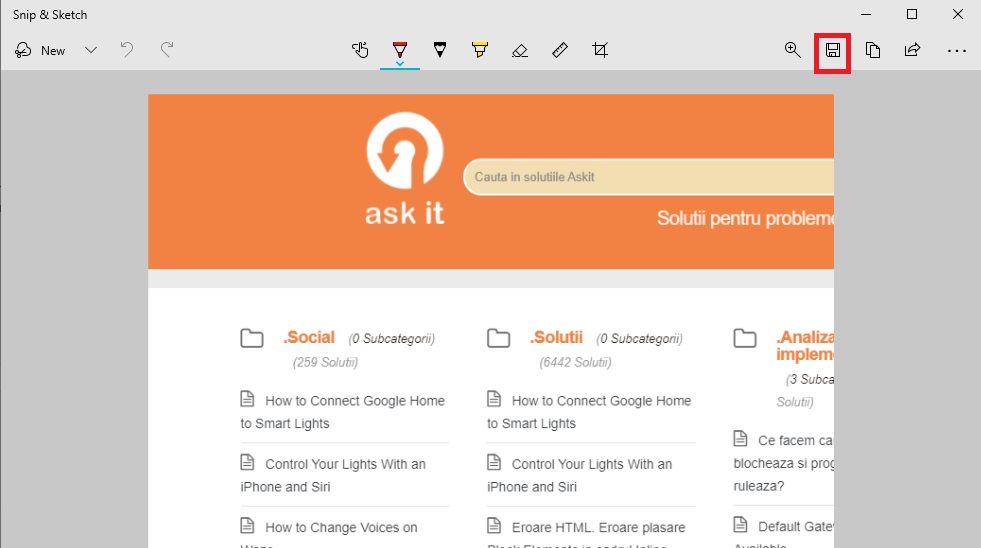
After you’ve captured your screenshot, you’ll see a preview of the output in the Snip & Sketch window. To save the screenshot, click the “Save” button, which looks like a tiny floppy disk.

In the file save dialog, browse to where you want to save the screenshot. The neat thing about Snip & Sketch is that it automatically names your screenshot with a timestamp so that you don’t need a keyboard to type in a new name. When you’re ready, click “Save.”

Your screenshot has now been saved, no keyboard required.

[mai mult...]

How to Add a Gmail Account to Outlook Online

Microsoft Outlook Online has a dedicated button for adding a Gmail account to your online email client. Here’s how to pull your Gmail emails into Outlook in just a few clicks.

We’ve shown you how to add other email accounts into Outlook Online, but that process involved configuration pages that wanted to know things like port numbers and POP or IMAP server names. Granted, Outlook would usually fill that information in for you if it could, but it’s still a bit intimidating.

In an effort to make the process simpler and as an acknowledgment that there are well over 1.5 billion Gmail accounts, Microsoft added a dedicated “Add Gmail Account” button to Outlook Online. Here’s how it works.

[mai mult...]

How to Refund a Game on Steam

One of the problems with video games is that it’s hard to know if we’ll like a game until we buy it and play it. That’s why it’s a good thing that Steam, the biggest digital game retailer around, offers refunds for purchases you’re not satisfied with.

If you’re unlucky enough to experience buyer’s remorse early in your gameplay experience, Steam will painlessly return your money. All you have to do is submit a request, and the game will be taken out of your library, and your money will be refunded.

1 Go to “Steam Help.” Log into your Steam account. Click on the “Steam Help” tab near the top of the screen.

2 Specify you need help with a purchase. When you click on “Steam Help,” you will be redirected to a list of options. Near the bottom of the list, you should see the option “A Purchase.” Click on this.

3 Select the game you want to refund. After you click “A Purchase,” you should be directed to a list of games you purchased on Steam. Select the game you’re looking to refund.

Explain the problem. You will then be presented with options to specify the problem with your purchase. Select the reason you’re refunding the game. Options include things like “Gameplay or technical issue” or “I purchased this by accident.

[mai mult...]

How to Stop “Your Phone” From Opening at Startup on Windows 10

The Your Phone feature in Windows 10 is a handy way to link your PC with your smartphone. Sometimes, Your Phone might keep popping up at startup when you don’t want it to. If so, there’s a way to disable the Your Phone popup.

First, open Task Manager. To do so, right-click your taskbar. In the menu that appears, select “Task Manager.”

In the Task Manager window, click “More details” if you start with a simple view, then click the “Startup” tab.

In the “Startup” tab, locate “Your Phone” in the list and select it. Next, click the “Disable” button in the lower-right corner of the window.

After clicking disable, you’ll see “Disabled” in the “Status” column beside Your Phone in the Task manager Startup list. When you’re done, close Task Manager. From now on, Your Phone will no longer launch on Startup.

[mai mult...]

Reset Network Settings on Samsung Devices

While most manufacturers are moving to Android uniformity with the “stock” interface, Samsung is one of the few manufacturers that continues to use its own interface (most recently named “One UI”) for Android smartphones and tablets.

If you’re trying to reset your network settings on a Samsung Android device, start by tapping the “Settings” app in your app drawer. Alternatively, swipe down from the top of your screen to view the notifications shade, then tap the gear icon.

In the “Settings” menu, tap the “General Management” option.

In the “General Management” menu, select the “Reset” option to view the available options for resetting your device.

Tap the “Reset Network Settings” option in the “Reset” menu to proceed to the next stage.

Resetting your network settings on Android will wipe all previous settings for your Wi-Fi and mobile data connections as well as any previously connected Bluetooth devices.

[mai mult...]

How to Tell If Your PS5 Is Playing the PS4 Version of a Game

Some of your PlayStation 5 (PS5) games might be PlayStation 4 (PS4) games in disguise. Here’s how you can tell the difference between console versions and change these games to their next-gen versions.The PlayStation 5, unlike its predecessor, is backward compatible with one generation, meaning that you can play almost all PlayStation 4 games on it. However, one of the downsides is that, for some cross-gen games (games that are released simultaneously on both Sony consoles), the PlayStation 4 version is installed by default. It’s in your best interest to make sure that the game you have installed on your PlayStation 5 is the PS5 version, as there is often a graphical difference between that one and the PS4 version.

[mai mult...]

What to Do if You Don’t See the Ultimate Performance Plan in W10

On some systems (mostly on laptops, but also on some desktops), you might not see the Ultimate Performance plan in your settings app. If you don’t, you can add it with a quick Command Prompt or PowerShell command. The command is the same for either shell, so use whichever one you want.

You’ll need to open the Command Prompt or PowerShell with administrative privileges. For Command Prompt, hit Start, type “cmd” into the search box, right-click the Command Prompt result, and choose “Run As Administrator.” For PowerShell, hit Windows+X and choose the “Windows PowerShell (Admin) option.”

At the prompt, type (or copy and paste) the following command and then hit Enter:

powercfg -duplicatescheme e9a42b02-d5df-448d-aa00-03f14749eb61

[mai mult...]