How to make computer shut down on a timer
Method 1. Use the Command Prompt
- Press Windows key + R to open the Run the dialog box
- Type cmd and hit Enter
- Type in the following command, and hit Enter:
Shutdown -s -t 3000

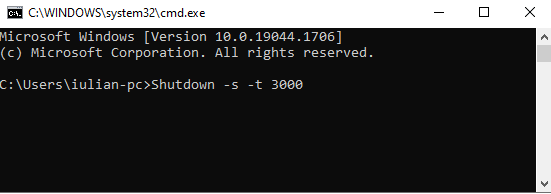
- -s is giving the command to shut down and -t is the number of seconds, you want it to wait
- You can change the timing to your own
Method 2. Use the Run box
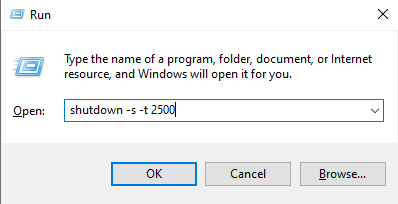
- Press Windows key + R to open the Run the dialog box
- Type shutdown -s -t and the number of seconds you need
- Select OK
Method 3. Use a Desktop Shortcut
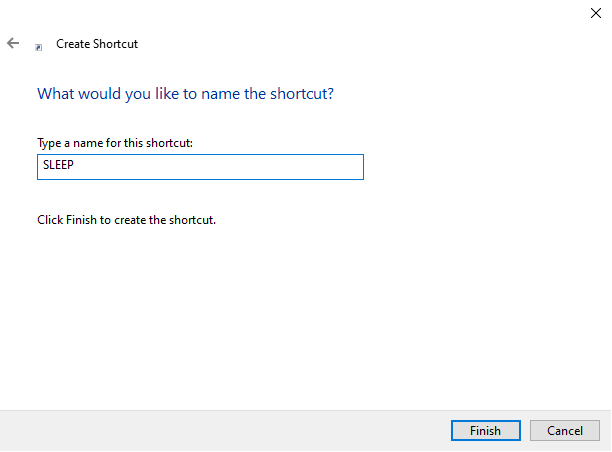
- Go to your Desktop and right-click anywhere
- Select New, and then Shortcut

- Type in the command Shutdown -s -t 5000 and click on Next

- Give the shortcut a name and click on Finish
- A shortcut will be created on your Desktop
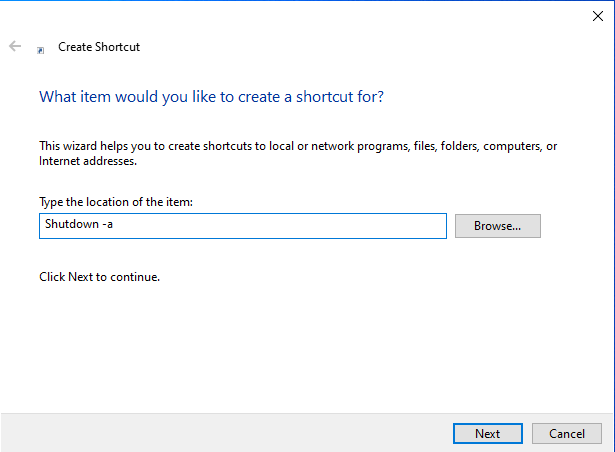
Cancel the Sleep Shutdown Command in Windows
- Go to your Desktop and right-click anywhere
- Select New, and then Shortcut
- Type in the following command:
Shutdown -a