Soluții

How to set up a DNS connection on Windows 11

Before we start, let’s briefly understand what DNS is. It’s like the internet’s phonebook, translating human-readable domain names into machine-readable IP addresses.

Manual DNS Configuration

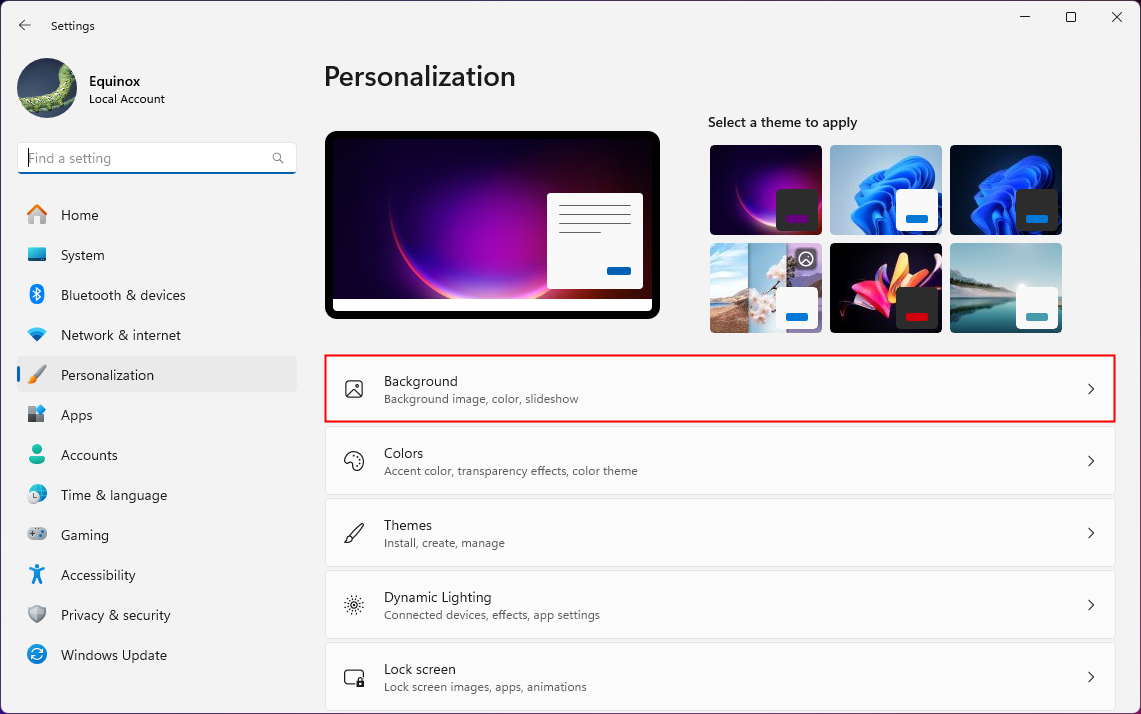
Open Network Settings:

  • Click the Start button and search for “Network settings”.
  • Open the “Network & Internet” settings.

Choose Your Network:

  • Select the network connection you want to modify.
  • Edit Network Properties:
  • Click on “Change adapter options.”
  • Right-click on your network connection and choose “Properties.”

Find Internet Protocol Version 4 (IPv4):

In the list of properties, locate “Internet Protocol Version 4 (TCP/IPv4)” and double-click it.

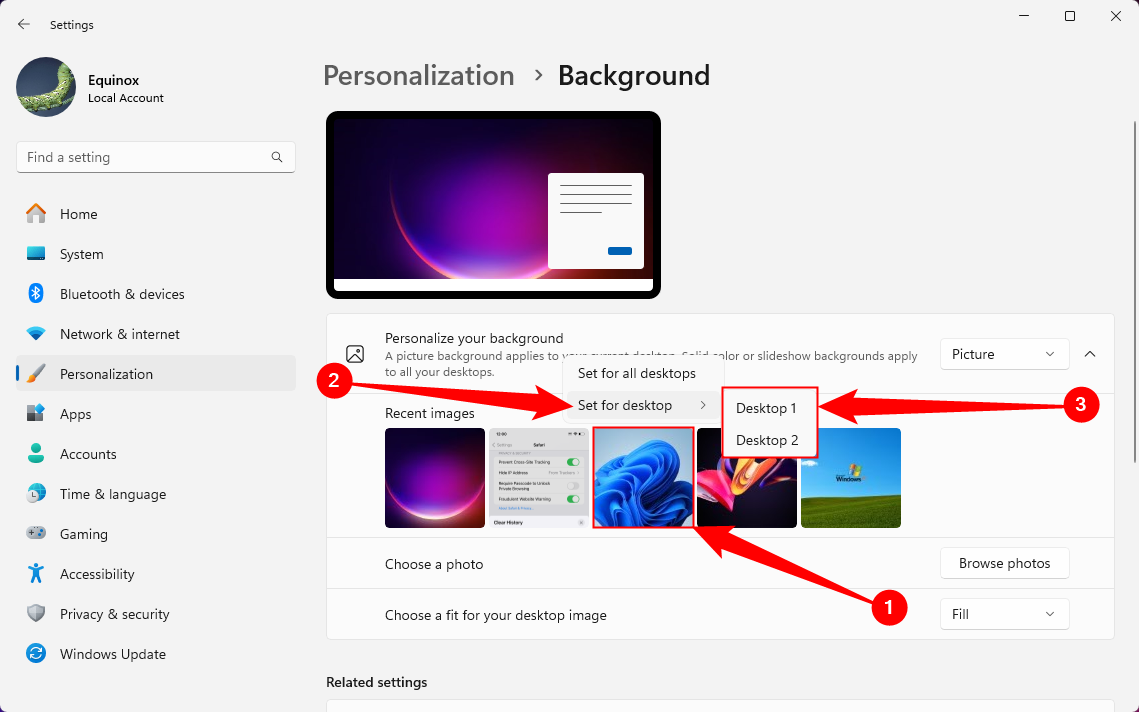
Configure DNS Settings:

  • Under the “General” tab, select the “Use the following DNS server addresses” option.
  • Enter the preferred DNS server address in the “Preferred DNS server” field.
  • Enter the alternate DNS server address in the “Alternate DNS server” field.

Save Changes:

  • Click “OK” to save your changes.
  • For improved performance and reliability, you might consider using a public DNS resolver.

Automatic DNS Configuration

If you’re using a router or modem, it often handles DNS settings automatically. Check your router’s configuration to see if you can manually set DNS servers.

Troubleshooting

If you’re experiencing issues after changing DNS settings, try the following:

  • Flush DNS Cache: Open a command prompt and type ipconfig /flushdns.
  • Restart Your Device: Restarting your computer can sometimes resolve DNS-related problems.
  • Check Network Connectivity: Ensure you have a stable internet connection.
[mai mult...]

How to download iCloud Photos to any device

Downloading your entire iCloud Photo Library to your iPhone or iPad might not be the smartest choice depending on your available storage. If you’ve been using iCloud for several years, there’s a good chance you have more media in your library than you have free space on your device.

You can check this by first heading to Settings > Your Name > iCloud > Manage Account Storage and taking a look at how much storage space you have used for Photos (above). Now head to Settings > General > iPhone Storage (or iPad Storage) to see how much free space you have available (below).

Downloading media locally to your iPhone won’t remove data from iCloud. Media will be kept locally on your device storage, accessible via the Photos app, and in the cloud. The fact that images are “stuck” in the Photos app does somewhat limit the usefulness of downloading everything, but at least you won’t need to rely on an internet connection to see your photos and videos.

To do this, head to Settings > Photos and make sure that “Download and Keep Originals” is selected (not “Optimize iPhone Storage”). Now it’s time to wait, as iCloud downloads all original media to your device. If you run out of space, you’ll get a notification.

Enable original photo storage on an iPhone.

You can reverse this selection if you decide you’d rather let your devices manage free space and store everything in iCloud again.

Download iCloud Photos on your Mac

Downloading iCloud Photos locally on a Mac uses the same process as it does on iPhone and iPad. The good news is that you probably have more free space available on your Mac.

Before you begin, check your iCloud storage usage under System Settings > Your Name > iCloud > Manage. Now make sure you have plenty of free space available under Settings > General > Storage.

Checking remaining storage on macOS.

To download your images from iCloud, open the Photos app and click on Photos > Settings at the top of the screen. Beneath the “iCloud Photos” checkbox select the “Download Originals to this Mac” radio button. Now wait as Photos downloads everything locally.

Enabling original media downloads in macOS Photos.

Switching back to “Optimize Mac Storage” will reverse the decision, removing local media files while keeping them safe in the cloud. You can also use some of the methods listed below for Windows, Linux, a command line tool, and by requesting data from Apple directly.

It’s surprisingly easy to download iCloud photos on Windows, but it’s an all-or-nothing approach. Using Apple’s iCloud for Windows application, you can download everything from Photos by checking a box (and even upload new items by adding them to the relevant folder).

First, download iCloud for Windows from Apple’s website and install it. You’ll need to log in with your Apple ID. The application supports two-factor authentication, so you won’t need to create an app-specific password. Just use your regular Apple ID and password combination and then authenticate using a trusted device like your iPhone.

Once you’ve logged in, open the iCloud Settings panel (you can do this using the system tray icon, just click on it and then choose “iCloud Settings”). Next, click on “Options” next to “Photos” in the list and enable the “iCloud Photos” option. All of your media will start to download to the listed folder.

Enabling iCloud Photos in iCloud for Windows.

You can also turn on Shared folders and tweak a few other settings while you’re here. Be patient while things download. To reverse your decision, and delete everything locally but keep your media safe in the cloud, simply disable the “iCloud Photos” checkbox again.

You’ll see a warning notifying you that local media will be removed.

Disabling iCloud Photos warning in iCloud for Windows.

There are other options for Windows users including using the iCloud website, a command line tool, and requesting data from Apple as noted below.

Download iCloud Photos Using iCloud.com 

Unsurprisingly, Apple doesn’t make an iCloud for Linux application. The easiest way for Linux users to download their iCloud Photo Library is to head to iCloud.com and log in using their Apple ID credentials. This works for most other operating systems too.

Click on Photos to be taken to your media library. From here you can select a photo, then click the “Download” button at the top of the page to download it. You can download up to 1000 items (using Shift or Ctrl to select multiples) at a time.

Downloading photos from iCloud.com using Firefox for Ubuntu.

iCloud will download your media in ZIP file format which you can then extract to a location of your choice. Repeat as necessary to get all of your photos downloaded. iCloud will show you how many items you have selected at a time in the top-right corner of the page, which simplifies this process a bit.

iCloud Photos downloading in a ZIP archive.

Linux users can also use the command line utility and request data from Apple as detailed below.

You can also download your iCloud media using a free command line utility called iCloud Photos Downloader. The utility can be used on just about any platform, with native downloads for Windows, Mac, many Linux distributions, a container for Docker, and source code available if you want to compile it yourself.

Head to the iCloud Photos Downloader Github page to get started. Download the version you want to use from the releases page, use a package manager like PIP, or configure the Docker container. Once the utility is configured, you can keep a single command running to maintain a local media library based on what gets uploaded to iCloud:

icloudpd --directory /data --username my@email.address --watch-with-interval 3600

This command must be run in a command line interface like Terminal, Command Prompt, or Konsole. Replace “icloudpd” with the name of the script you download (or rename your download to match). “/data” corresponds to the drive location and the username will need to reflect your own.

iCloud Photos Downloader requires some setup to understand and use properly. I tested the tool on macOS, and I needed to make the script executable using a “chmod +x” command, then run it so that macOS would deny the application on security grounds, then allow the application in System Settings > Privacy & Security, and then run it once more to confirm.

[mai mult...]

How to set a different Wallpaper on each monitor in Windows 10 and Windows 11

Set a Wallpaper in the Settings App on Windows 10

To change desktop backgrounds individually for each monitor, head to Settings > Personalization > Background. Under Choose Your Picture, right-click a background image and select “Set For Monitor 1,” “Set For Monitor 2,” or whichever other monitor you want to use it on.

To add additional images to this list, click “Browse” and select a wallpaper you want to use. Windows will set it as your default on all desktops. Right-click the wallpaper icons and choose which monitor you want to use each on.

Set a Wallpaper in the Settings App on Windows 11

To set different wallpapers on multiple monitors on Windows 11, you need to access the Settings app. Press Windows+i to open the Settings app, then navigate to Personalization > Background. Alternatively, you can right-click empty space on your desktop and select “Personalization,” then navigate to “Background.”

Once you’re in the Background window, make sure that the drop-down menu next to Personalize Your Background is set to “Picture.” Right-click the image you want to set for one (or both) monitors and mouse over “Set for Desktop.” You’ll have options for each individual monitor, or the option to change all of them at once—pick whichever you like.

If you use a third-party app with more advanced wallpaper customization options, you should skim through that app’s settings instead. The Settings app won’t work correctly with whatever additional features the third-party app includes.

[mai mult...]

Serverul Apache nu pornește

Această problemă poate fi cauzată de conflicte de port, fișiere de configurare incorecte sau erori de log. Verificarea logurilor și asigurarea că portul 80 este disponibil sunt pași esențiali. Repornește Apache după rezolvarea conflictelor.

[mai mult...]

How to reset your Android phone to factory settings

Restoring your Samsung® or Google® phone to its factory settings helps protect your personal information when you do the following:

  • Sell your phone.
  • Trade it in for a new device.
  • Give your phone to a friend or family member.
  • Need to troubleshoot performance issues, such as a frozen device or forgotten passcode. Our experts only recommend this as a last resort, after you’ve tried everything else.

A factory reset deletes nearly all data on your Android phone, giving it a clean slate. That’s why it’s important to make sure you’re prepared to take such a big step. It does more than reset your device settings and accessibility settings, here’s what a factory reset deletes from your phone:

  • Contacts
  • Photos and videos
  • Music
  • Passwords and files
  • Accounts
  • Messages

Before you restore your Android to factory settings, there are important steps to take to make sure you don’t lose your existing data.

  1. Back up your Android phone. The first thing you should do is back up your phone. Uploading it to a service like Google Drive™, or one offered by your phone carrier, will ensure you don’t lose everything during a factory reset.
  2. Plug your Android phone in and connect to Wi-Fi. The backup process can be time-consuming, so you’ll want the power boost. It’s also best to save your files over a secure Wi-Fi connection so you don’t use up a lot of mobile data during the transfer.
  3. Know your login info to restore data after resetting your Android. Before you reset your phone, make sure you know your login information. A Google Account username and password are required to restore data on an Android device—you can typically find your Google Account in Settings.
  4. Unpair your Android device. Be sure to unpair or disconnect Bluetooth® devices like your smartwatch or wireless headphones.
  5. Sign out of all accounts. Protect your privacy by signing out of all your apps, services, and email accounts and also delete any cards you have saved in your mobile wallet. You should also turn off Find My Device—check out our guide to learn how.
  6. Remove your SIM card. Check out our guide to removing your SIM card from your Android device for easy-to-follow steps.
  7. Sign out of your Android phone. After backing up your data and completing the checklist above, don’t forget to sign out of your Android phone too. Although a factory reset removes all the information stored on the device, this will ensure no one can access your account after you sell or trade in your phone for another one.

You can usually perform a factory reset in Settings, but it can take up to an hour to complete. Make sure your phone is plugged in while you’re going through the factory reset process.

To reset a Samsung Galaxy phone:

  1. Open the Settings app, then tap General management > Reset
  2. Tap Factory data reset > Reset.

To reset other Android devices:

  1. Open the Settings app, then search “Reset”
  2. Tap Erase all data (factory reset) in the results
  3. Tap Erase all data (factory reset) on the Reset options screen, then tap Erase all data and enter your password or PIN to confirm your decision.

To reset a locked Samsung phone (Samsung Galaxy S8 and newer):

  1. Turn off the phone if it doesn’t require a PIN to do so. You may have to wait until it runs out of battery and turns off on its own.
  2. Press and hold the Bixby®, Power, and Volume Up buttons simultaneously until your phone vibrates and the Samsung logo appears.
  3. When the Recovery menu appears, press the Volume buttons to select Delete all user data or Wipe data/factory reset. Then press the Power button to make your selection.
  4. Use the Volume buttons again to confirm “Yes” or “Factory data reset,” then press the Power button to select it.
  5. Once your phone processes the factory reset, you may see the message “Data wipe complete” at the bottom of your screen. Press the Power button one last time to select the option “Reboot device.”

Your Samsung phone will reset and power back on automatically when it’s time to set it up.

To reset a locked Google Pixel:

  1. Turn off your phone
  2. Press and hold the Volume Down and Power buttons until you see the Android logo
  3. Press the Volume buttons to choose the Recovery Mode menu option, then press the Power button to select it
  4. Use the Volume buttons to choose the Wipe data/Factory reset option, then press the Power button to select it
  5. Use the Volume and Power buttons to choose and select Factory data reset
  6. Your phone will display a message telling you the data wipe is complete. Select Reboot system now to restart your phone.
[mai mult...]