
Soluții
How to set a start and end date on Microsoft Forms
If you need to designate the timeframe for accepting form submissions, you can set a start and end date.
For example, you might have finished creating your form, and you want to plan ahead by sending it to everyone who needs to complete it. However, they still have yet to receive a piece of information that will help them answer the questions, so you don’t want them to respond just yet.
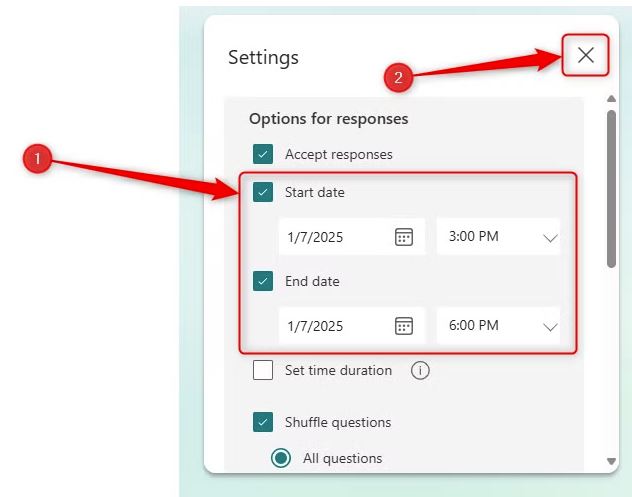
To do this, open the relevant form, and click “Settings” in the ribbon. Then, check “Accept Responses”. This is a crucial step, whether you set a timeframe or not, because it makes sure that the form is accessible.

Now, check “Start Date” to dictate the date and time your form becomes available, and check “End Date” to specify a date and time after which people can no longer submit responses. After you have set the relevant dates and times, simply click the “X,” and these new settings will be saved immediately.
Finally, “Collect Responses” and copy and paste the URL into your web browser to check that your adjustments have worked as expected. For example, if the start date is in the future, you should see a message saying that the form is not accepting responses.
[mai mult...]Copy Multi-Choice options from Excel or Word
Do you need to insert a long list of options in a multiple-choice question? Typing all the different answers as individual choices can take forever and is likely to result in error. Luckily, if you have the list of options already typed into Excel or Word, you can copy and paste it straight into Microsoft Forms.
- First, make sure each option is in a separate row in Excel or a new paragraph in Word. Then, select them all, and press Ctrl+C.
- Now, head to your form in Microsoft Forms, click “Add New Question,” and create a “Choice” question.
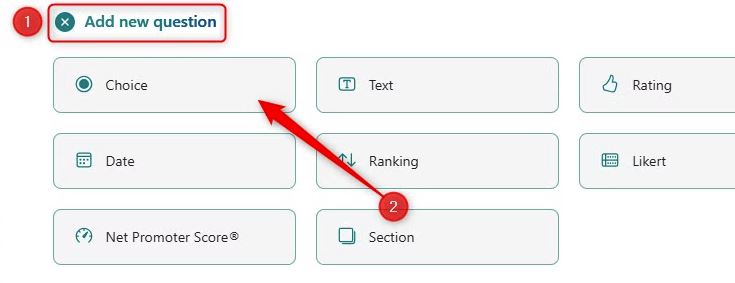
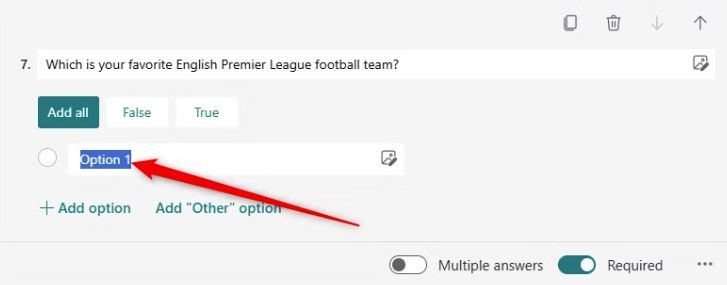
- Next, type the question, and delete Option 2 by clicking the trash icon next to it.

Finally, select the text in the Option 1 field, and press Ctrl+V.
See how each item in the list appears magically as separate options for the respondent to select!
[mai mult...]Branch Questions Based on previous answers on Microsoft Forms
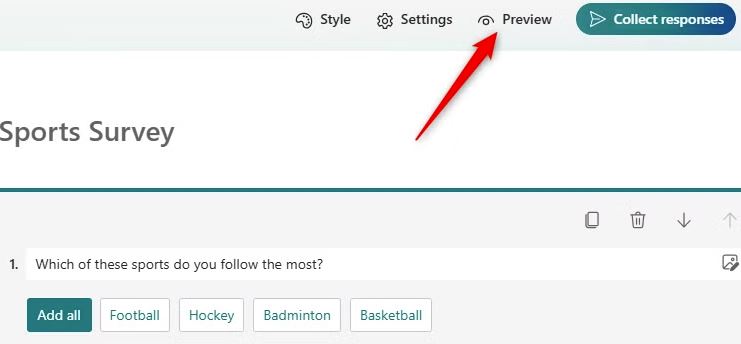
You can dictate which questions your respondents see depending on the answers they have already given. In this example, the first question asks the respondent to select which sport they follow the most.
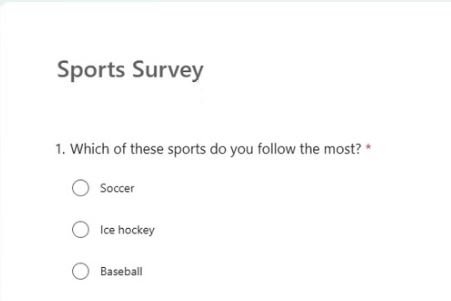
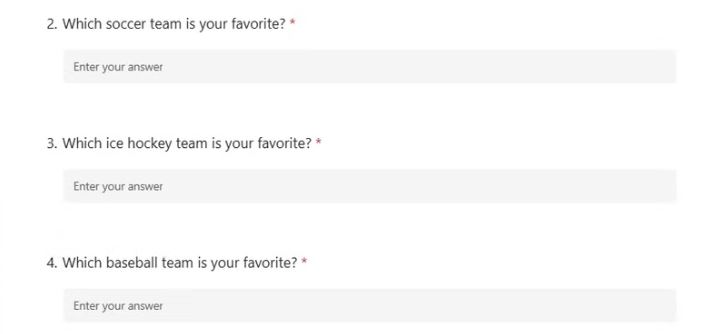
The next question the user needs to answer relates directly to what they chose for question 1. If they chose “soccer,” they need to be directed to question 2, which asks them to nominate their favorite soccer team. If they chose “ice hockey,” they need to nominate their favorite ice hockey team in question 3, skipping out question 2.
Finally, if they chose “baseball,” they need to select their favorite baseball team in question 4, avoiding questions 2 and 3.
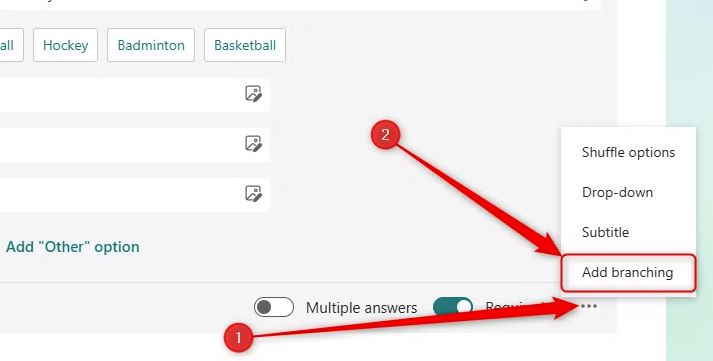
To do this, select the question that dictates where the respondent will be taken next (in my case, question 1), and click the three dots in the bottom-right corner. Then, click “Add Branching”.
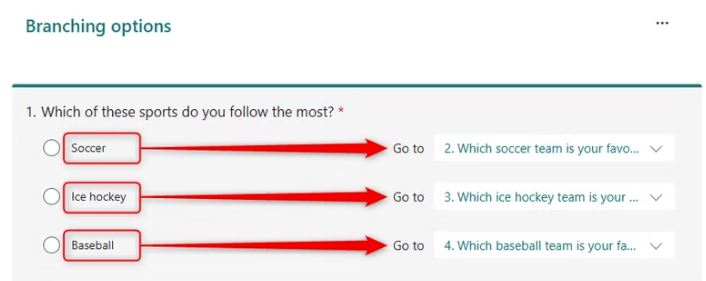
Now, choose which question the person completing your form should be directed to, depending on which option they choose.
After the respondent has chosen their favorite team (questions 2, 3, or 4), depending on the sport they selected (question 1), I want them to proceed to question 5, which asks them how often they attend a sports venue to watch a live sports event. This means I need to add branching to questions 2, 3, and 4. Otherwise, the respondent will see a question unrelated to the sport they chose.

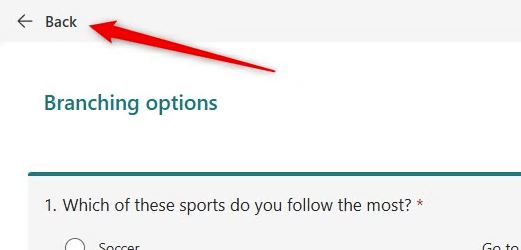
When you have finished adding all your branching options, click “Back” at the top of the window.
Finally, click “Preview” to check that your branching has worked successfully.
Cum poti sterge toate mesajele de la un expeditor in aplicatia de mobil Yahoo Mail
[mai mult...]How to customize App Icons on macOS
macOS may not have as many personalization options as it once did, but you can still customize app icons. Whether you want to curate an aesthetic or just add some personality to your desktop, it’s surprisingly easy to do.
[mai mult...]