How to Check the Groups a User Belongs to in Linux?
All Linux operating systems are designed as multi-user operating systems. This means that they provide the capabilities and related tools to create and handle multiple users within a system. One such tool is user groups. A user group is simply a collection of users. It is handy when a system administrator wants to deal with multiple users simultaneously (especially for handling permissions). We define a rule for the group and it automatically applies to all its member users.
[mai mult...]

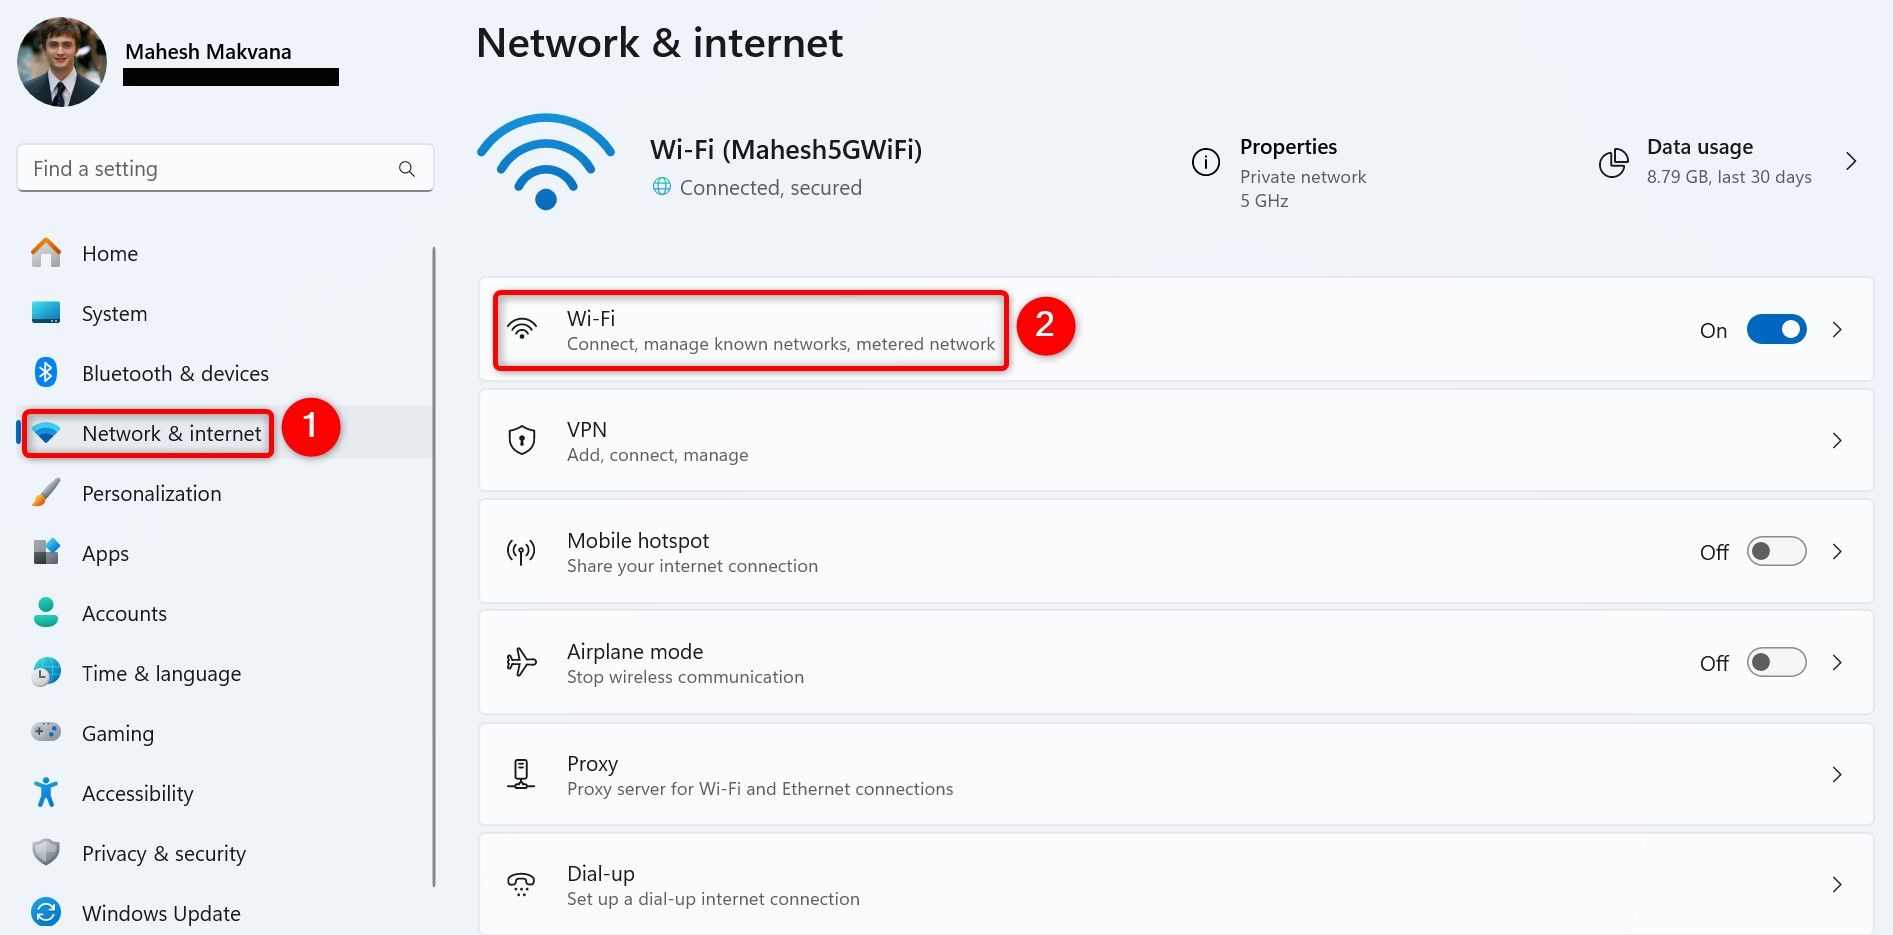
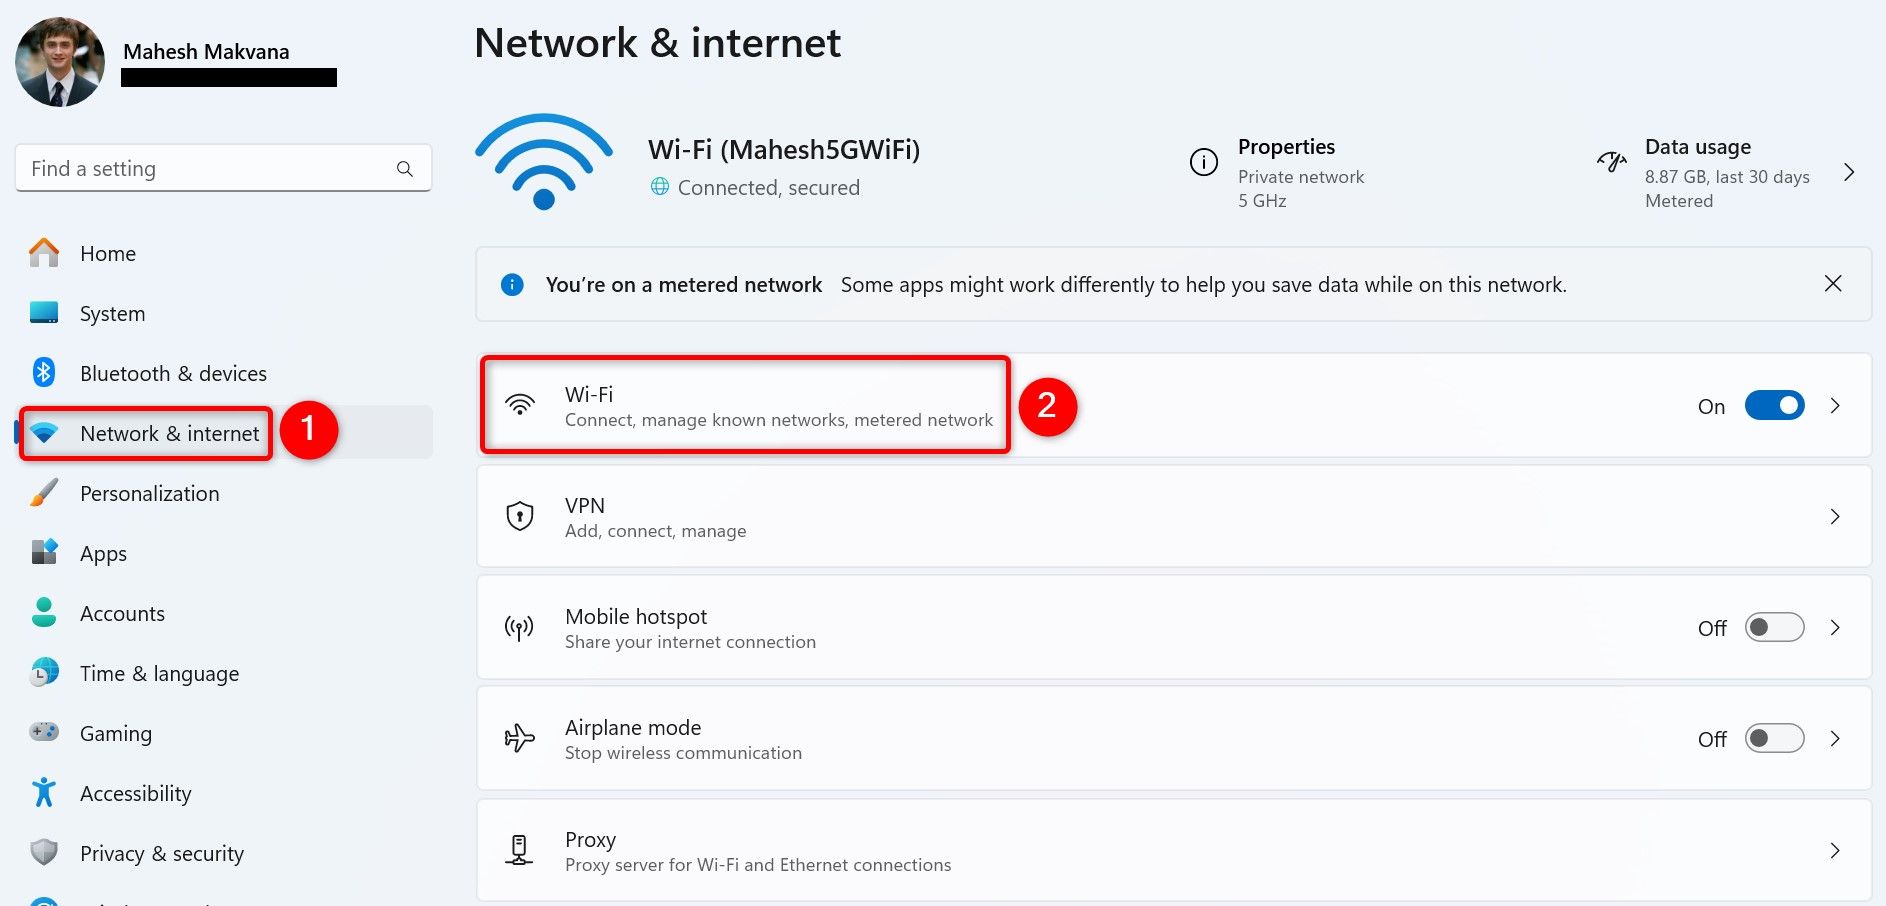
!["[Connection Name] Properties" highlighted in Settings.](https://static1.howtogeekimages.com/wordpress/wp-content/uploads/2024/12/2-settings-choose-network.jpg)