
Soluții
Zabbix: why choose Zabbix for monitoring
Zabbix is an open-source, enterprise-level monitoring software designed for monitoring networks, servers, virtual machines, and cloud environments. It’s a highly versatile and feature-rich platform, gaining popularity for its comprehensive set of monitoring features, ease of integration, and scalability.
[mai mult...]How to use FortiPAM
To use FortiPAM (Fortinet Privileged Access Management), you need to follow a series of steps to set up, configure, and manage privileged access securely within your organization.
[mai mult...]What is FortiPAM
FortiPAM (Fortinet Privileged Access Management) is a solution designed to manage, monitor, and secure privileged access to critical systems, networks, and applications. It’s part of Fortinet’s broader suite of cybersecurity products, aiming to protect organizations from insider threats, data breaches, and unauthorized access to sensitive resources.
[mai mult...]How to browse the Web in your Linux Terminal with Lynx
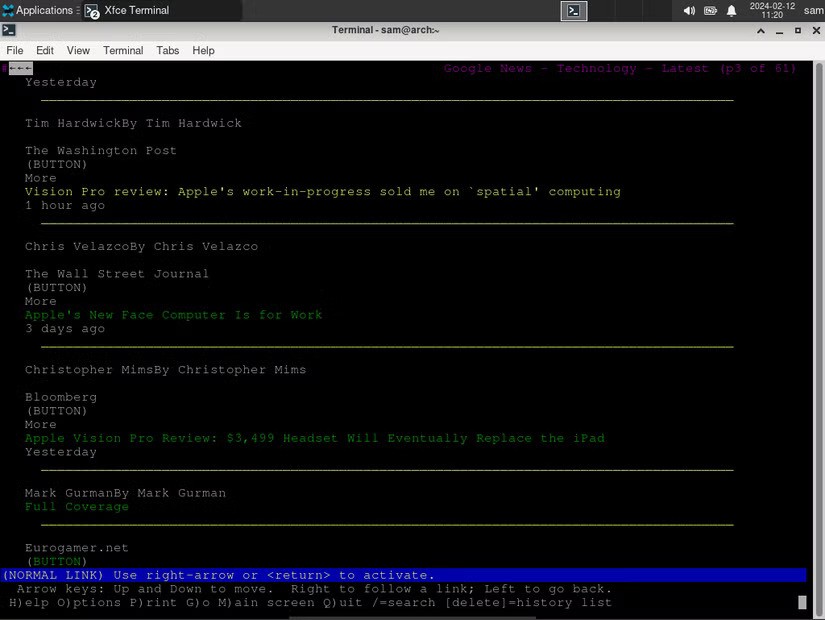
Lynx is a text-only browser that is designed to allow terminal-based systems to access web pages on the Internet. As it relates to Linux, Lynx is a web browser that runs in the Terminal. Lynx can access any web page available on the Internet just like your normal browser can, though it does have some limitations (more on that below).
Why Should You Use Lynx?
Since Lynx only loads text, it has some key advantages over other web browsers. Lynx won’t load image files, videos, GIFs, or other media, which have dramatic effects on the time it takes for a web page to load. Additionally, Lynx cannot load media-based ads, offering a built-in “ad blocker” of sorts (though text-only in-line ads will still load on web pages).
Lynx offers a simply unique experience compared to other web browsers which rely on a graphical user interface (GUI). Since it is text-only and key-command driven, you’re experiencing the internet in a whole new way. As a plus, Lynx doesn’t look like a traditional web browser at first glance, so it can be used as an inconspicuous way of reading news or browsing other websites without others knowing what you’re doing (which might make that fourth meeting of the day more tolerable).Keep in mind that Lynx has some limitations. It cannot load anything that cannot be rendered as text.
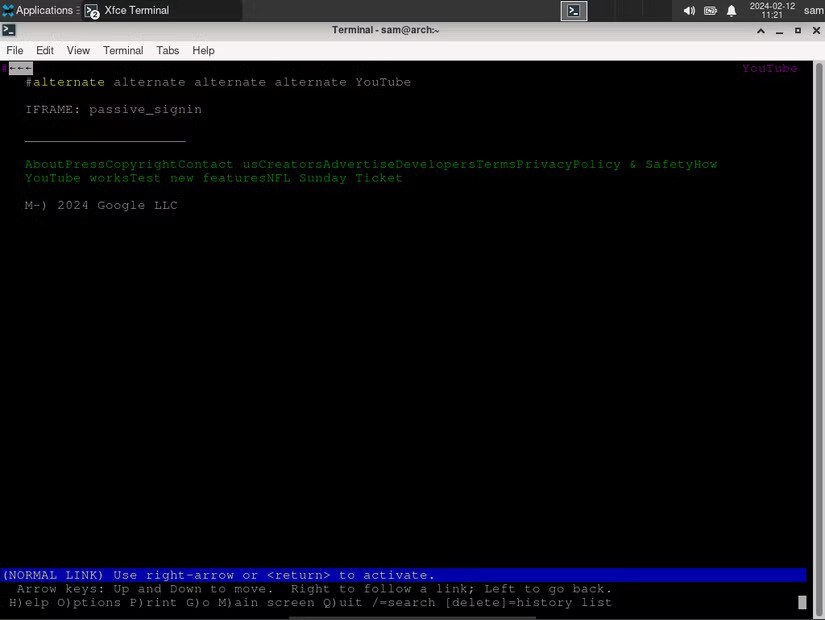
This means images and videos won’t show up in Lynx, so sites like YouTube, Instagram, and GIPHY either won’t load or will display only links that cannot be opened. Lynx cannot load Javascript, which is essential code for some websites to load. As such, some sites might be inaccessible or have certain parts broken. Lastly, it may be difficult to log into accounts (e.g., Gmail) with Lynx as some of these logins require scripts this browser can’t run. This may prevent you from using email or logging onto certain websites.
Personally, I like using Lynx to read news and other text-heavy websites (like forums, guides, recipes, and more) due to its speed and simplicity. I appreciate the distraction-free environment Lynx provides as it helps me focus on what I’m reading and keeps me on task. While other web browsers offer the temptation of scrolling YouTube, Facebook, or other distracting websites, Lynx can’t access this media, making it a great “reader only” mode for browsing the Internet. I don’t use Lynx as my daily driver, but it is a useful tool for focused research, perusing the news, and staying focused on reading through information.
[mai mult...]This Linux tool lets you search DuckDuckGo in the Terminal
Ever wanted to search the web without leaving your Linux terminal? The ddgr program lets you do just that using the DuckDuckGo search engine.
What Is ddgr?
ddgr is a command-line tool that lets you search DuckDuckGo, the privacy-respecting alternative to Google. DuckDuckGo sources its data from Bing and other sources, to provide excellent results.Once you run a search in ddgr, you’ll see a list of results with the most important information in each: URL, title, and description. You can then use the interactive interface to open any of these results in your browser.If you’re a big fan of the terminal, you’ll be spending a lot of time in it, and ddgr provides a lot of convenience.
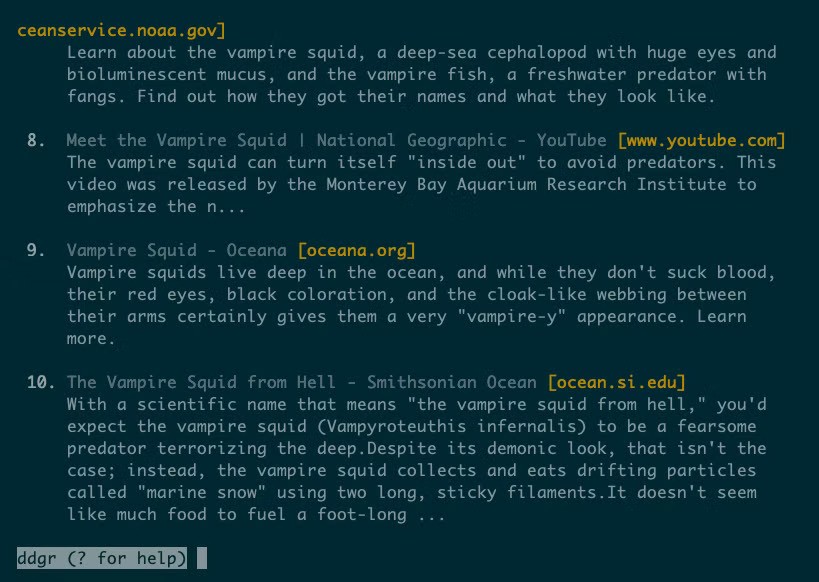
ddgr prominently displays the domain of each result, so you can focus on the source. But you can configure the tool to show full URLs, and change its behavior in many other ways.
[mai mult...]