Situatie
Solutie
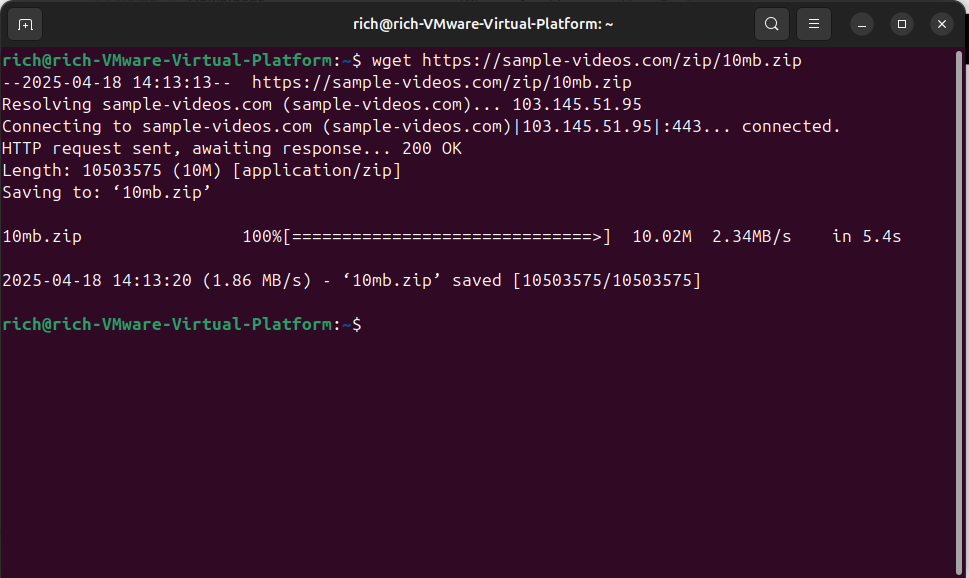
Start With Wget: my Default for Quick Downloads
The first command I ever used to download something from the command line was Wget. It’s built into most Linux distributions and super easy to use.
Want to download a file from a URL? Just run:
wget https://example.com/file.zip
That’s it. The file gets saved in your current working directory. If you want to rename the file as it downloads, you can use the -O option:
wget -O newname.zip https://example.com/file.zip
This is useful when the URL has a long or weird filename, and you want to keep things tidy. Another option I often use is -q, which tells wget to run quietly. There will be no output unless there’s an error:
wget -q https://example.com/file.zip
This is handy in scripts or when I don’t want the terminal cluttered with progress output.
When wget Fails, i use cURL
In most cases, Wget gets the job done. But sometimes it doesn’t work, especially if the file is behind a redirect or the server expects different headers. That’s when I switch to cURL.
Here’s the basic syntax I use:
curl -L https://example.com/file.zip -o file.zip
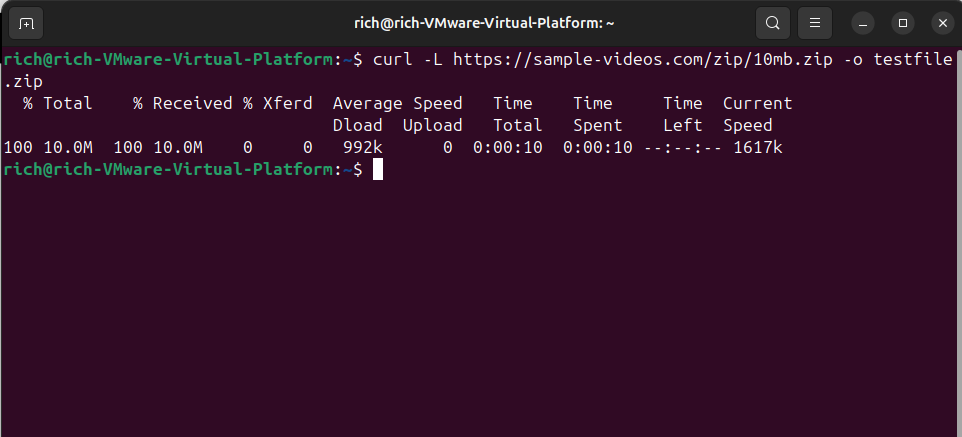
I’ll be honest, cURL has a steep learning curve if you start digging into all its options. However, this command covers most use cases for simple file downloads.
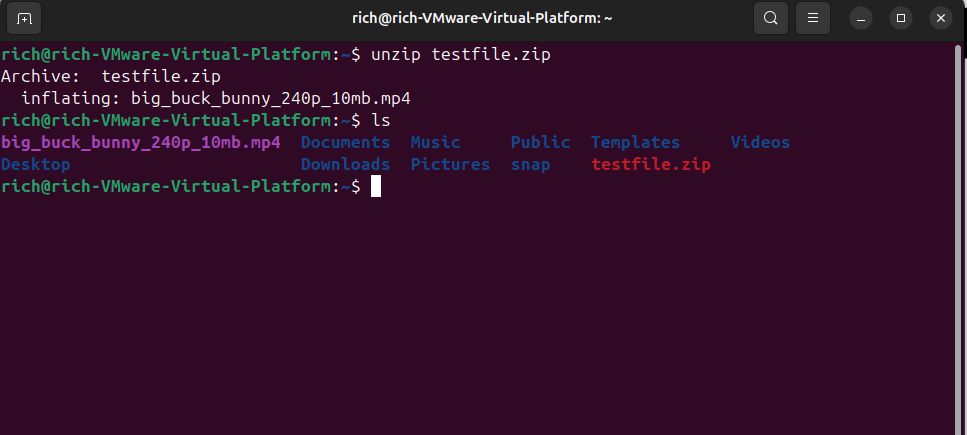
Next, unzip to Extract .zip Files
After downloading, I almost always need to extract the contents. For ZIP files, the unzip command is straightforward.
To unzip a file in the current directory, just type:
unzip file.zip
This will extract everything into the current folder. If you want to keep things more organized, you can extract to a specific directory:
unzip file.zip -d myfolder
If the folder doesn’t exist, unzip will create it automatically.
Sometimes I run into issues where I already have some of the files, and I don’t want to overwrite them. In that case, I use:
unzip -n file.zip
The -n option means “never overwrite existing files.” On the flip side, if I’m doing something quick and just want to overwrite without being prompted, I’ll use:
unzip -o file.zip
That saves me from answering “yes” or “no” a dozen times.
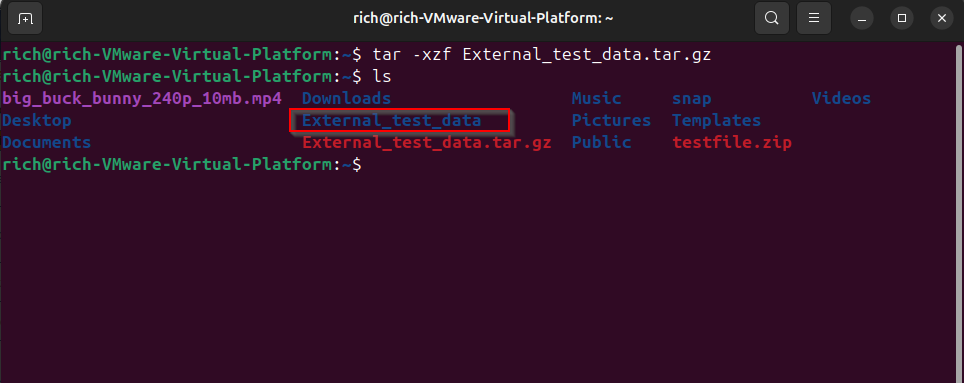
ZIP files aren’t the only format you’ll see. On Linux, .tar.gz and .tar.bz2 are just as common, especially when you’re dealing with software packages, source code, or Linux backup archives.
Here’s what I use to extract them:
tar -xzf archive.tar.gz
And for bzip2-compressed files:
tar -xjf archive.tar.bz2
If I want to unpack the contents into a specific directory, I add the -C flag:
tar -xzf archive.tar.gz -C myfolder
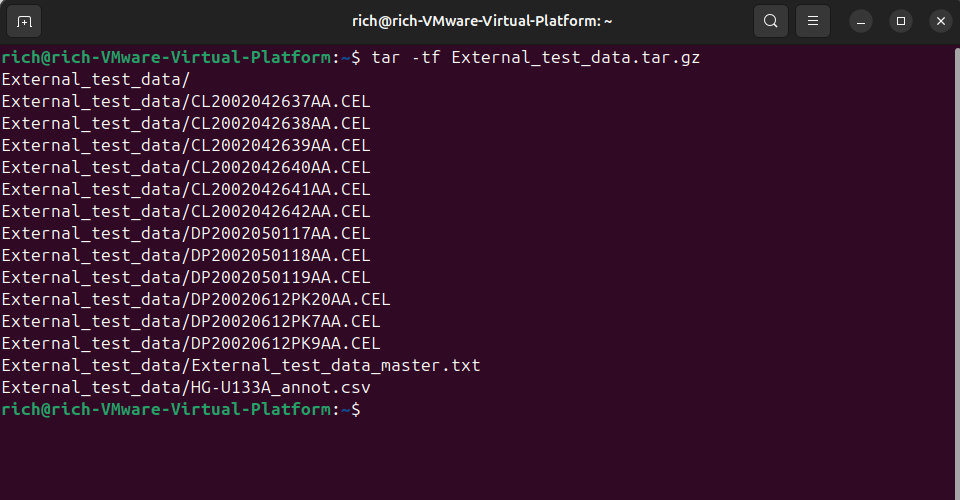
What I like about tar is that it lets you preview the contents of the archive before extracting anything:
tar -tf archive.tar.gz
That -t flag stands for “test” or “list,” so you can see what you’re dealing with before unpacking the whole thing.
I like to list the contents before I extract anything, especially if I’m unsure what’s inside. For .zip files, that looks like:
unzip -l file.zip
And for .tar files, I use:
tar -tf file.tar.gz
Sometimes an archive contains a single top-level folder, and sometimes a mess of files. Knowing what you’re about to extract helps avoid clutter.
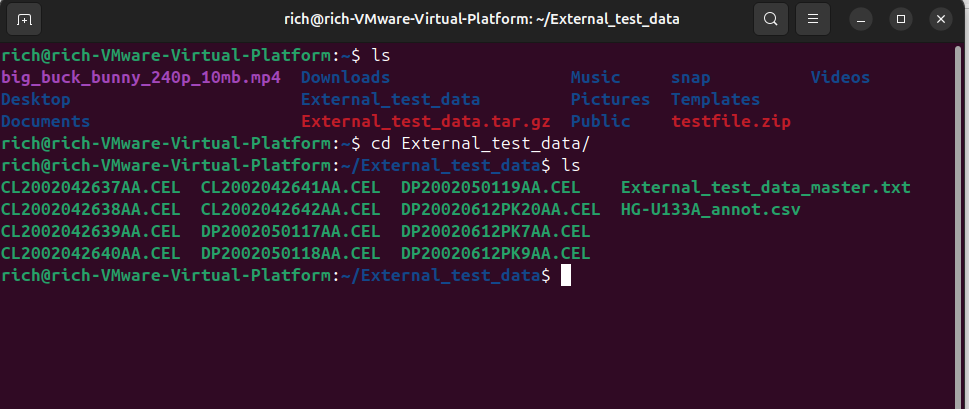
Once I’ve unpacked something, I usually do a quick:
ls
This is just to confirm that everything landed where I expected. Then I cd into the new folder:
cd foldername
Bonus: Combine Everything Into One Command
One of the best things about using the terminal is how easily you can chain commands together. For example, here’s how I download and unzip a file in one line:
wget https://example.com/files.zip && unzip files.zip -d extracted/
Or using Curl:
curl -L https://example.com/files.zip -o files.zip && unzip files.zip
I’ve set up a few functions in my .bashrc that let me reuse these commands with any URL. So now I can just run getzip [URL] or gettar [URL] without retyping the whole thing every time.
Leave A Comment?