Situatie
System Restore not working in Windows 11 is a very common issue that users encounter every now and then. Well, system restores not working can be classified into the following two categories: system restore cannot create a restore point, and system restore fails & unable to restore your computer.
Solutie
Method 1: Run CHKDSK and System File Checker
1. Press Windows Key + X, then select Command Prompt (Admin).

2. Type the following command into cmd and hit Enter:
chkdsk C: /f /r /x
sfc /scannow

3. Wait for the command to finish checking the disk for errors, then restart your PC.
Method 2: Enable System Restore
1. Press Windows Key + R and then type “gpedit.msc” and hit enter to open group policy editor.
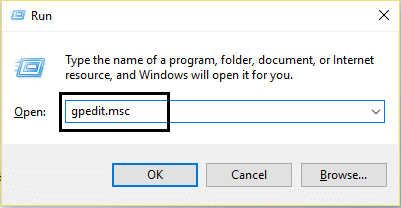
2. Now navigate to the following:
Computer Configuration>Administrative Templates>System>System Restore

3. Set Turn off Configuration and Turn off System Restore settings to Not configured.

4. Next, right-click This PC or my computer and select Properties.

5. Now select System Protection from the left pane.
6. Make sure the Local Disk (C:) (System) is selected and click on Configure.

7. Check “Turn on system protection” and set at least 5 to 10 GB under Disk Space Usage.

8. Click Apply and then restart your PC to apply changes.
Method 3: Enable System Restore from Registry Editor
1. Press Windows Key + R, then type regedit and hit enter to open the Registry editor.

2. Next, navigate to the following keys:
HKEY_LOCAL_MACHINE\SYSTEM\ControlSet001\Services\Vss\Diag\SystemRestore.
HKEY_LOCAL_MACHINE\SOFTWARE\Microsoft\Windows NT\CurrentVersion\SystemRestore.
3. Delete the value DisableConfig and DisableSR.

Method 4: Temporarily Disable Antivirus
1. Right-click on the Antivirus Program icon from the system tray and select Disable.

2. Next, select the time frame for which the Antivirus will remain disabled.

3. Once done, again try to run System Restore and check if you’re able to Fix Restore Point Not Working in Windows 10 issue.
Method 5: Perform a Clean Boot
1. Press Windows Key + R, then type “msconfig” and hit enter to open system configuration.
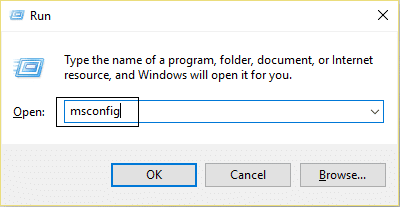
2. Under general settings, check Selective startup but uncheck Load startup items in it.

3. Next, select the Services tab and checkmark Hide all Microsoft and then click Disable all.

4. Click Ok and restart your PC.
Method 6: Run DISM (Deployment Image Servicing and Management)
1. Press Windows Key + X and select Command Prompt(Admin).

2. Type the following command in cmd and hit enter after each one:
Dism /Online /Cleanup-Image /CheckHealth
Dism /Online /Cleanup-Image /ScanHealth
Dism /Online /Cleanup-Image /RestoreHealth

Leave A Comment?