Situatie
A Google Sheets spreadsheet doesn’t have a visible header or footer until you decide to print. If you want to add headers and footers to a Google Sheets spreadsheet, you’ll have to use the printer settings menu—here’s how.
Solutie
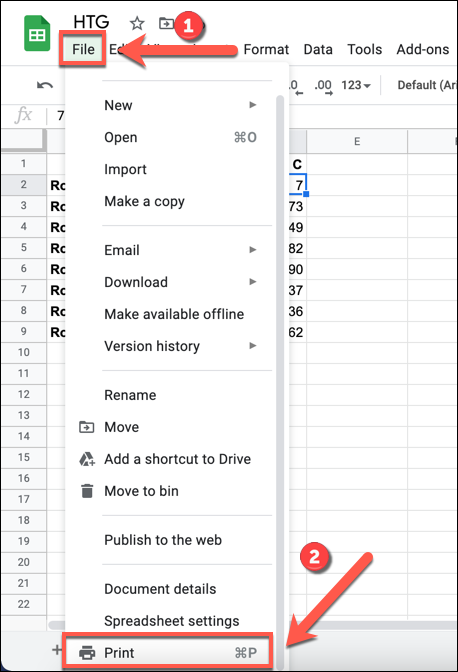
To begin, open the Google Sheets Spreadsheet that contains your data. At the top, click File > Print to view the printer settings menu for your document.
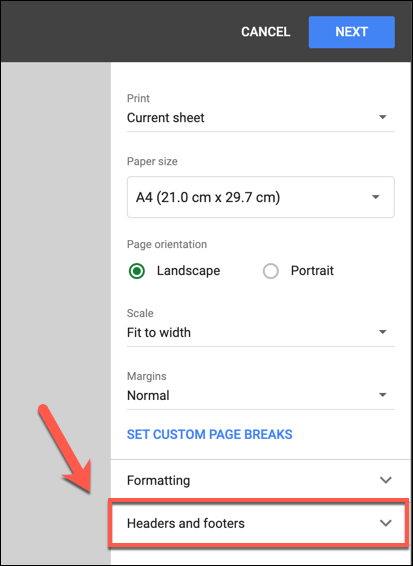
In the “Print Settings” menu, you can customize the layout and design of your spreadsheet to make it suitable for printing. To add a new header or footer, click the “Headers and Footers” category in the menu on the right.
A list of available options for both headers and footers will appear. Click the checkbox next to a preset option (for example, “Page Numbers”) to enable it.
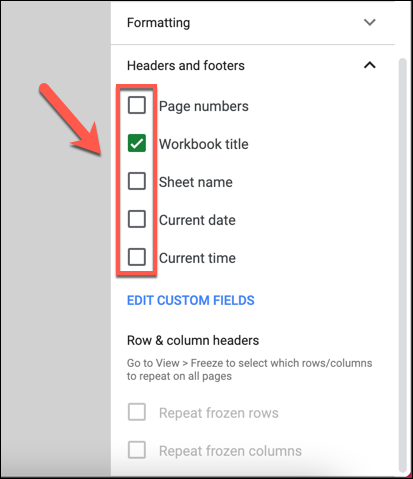
Page numbers are automatically placed in the footer, while a workbook title will be placed in the header. If you want to change the position of a preset option or add any custom text to a header or footer, click “Edit Custom Fields.”
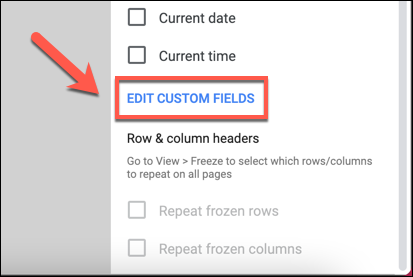
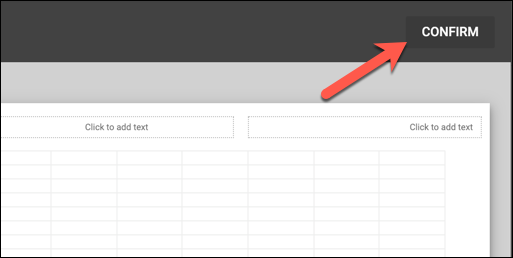
The print view on the right will change and allow you to edit the text boxes in the header or footer. Click a box to make any changes to your header or footer.

When you’re ready to save your changes, click “Confirm” at the top right to return to the “Print Settings” menu.
If you’re happy with the changes you made to your header or footer, click “Next” at the top right.

You’ll now be taken to your browser or operating system’s printer options menu. Here, you can specify more print settings for your spreadsheet, like the number of copies you want to print.
The changes you made to your header or footer will save automatically, and they’ll also be applied to any future copies of your Google Sheets spreadsheet that you print.
Leave A Comment?