Situatie
Calibration should be the first thing you do when you buy a new monitor. Adjusting your basic settings can improve the color accuracy and overall viewing experience. And, if you’re using your monitor for anything where color is important (like photography or design) then color calibration is paramount—and this includes your gamma settings.
Solutie
Pasi de urmat
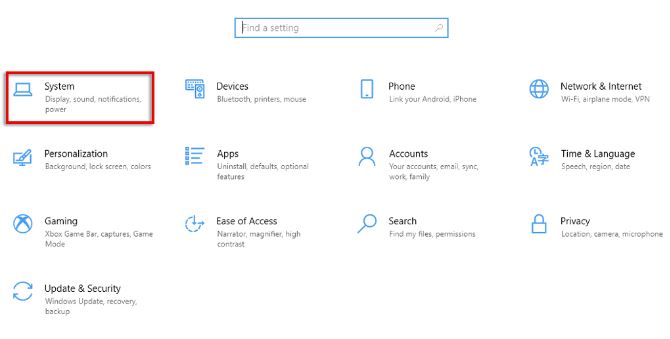
Press the Windows key + I to open Settings, then Select System.
In the left-hand menu, select Display.
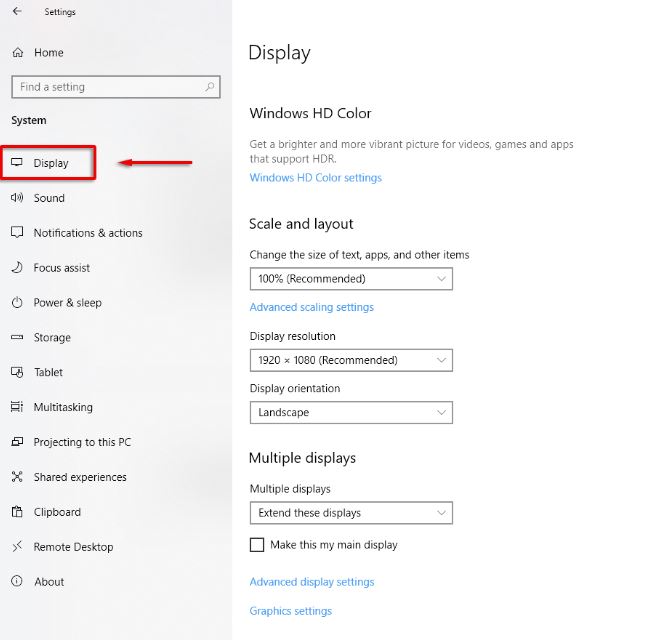
Where it says Multiple displays, select Advanced display settings.

Select Display adapter properties for Display 1 (or whichever display you’re changing).

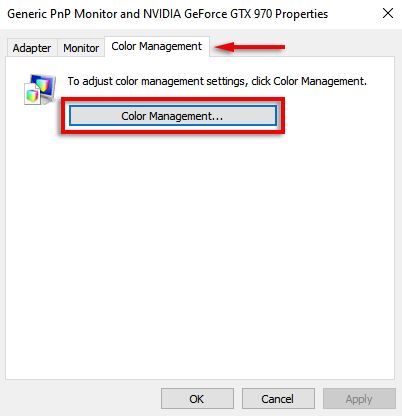
Select the Color Management tab and select Color Management…
Select the Advanced tab.
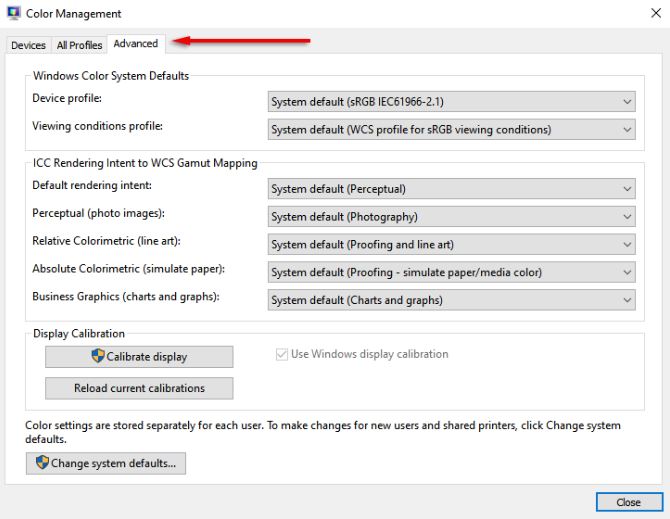
Select Calibrate display. This will open the Display Color Calibration wizard. Press Next to access the calibration.

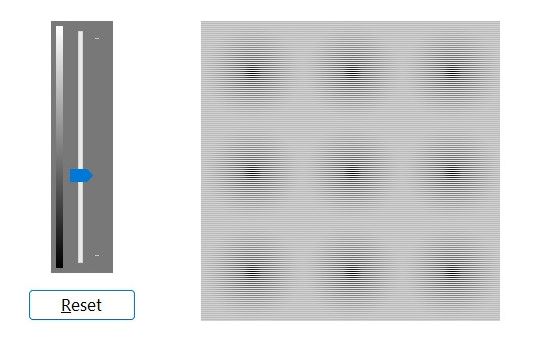
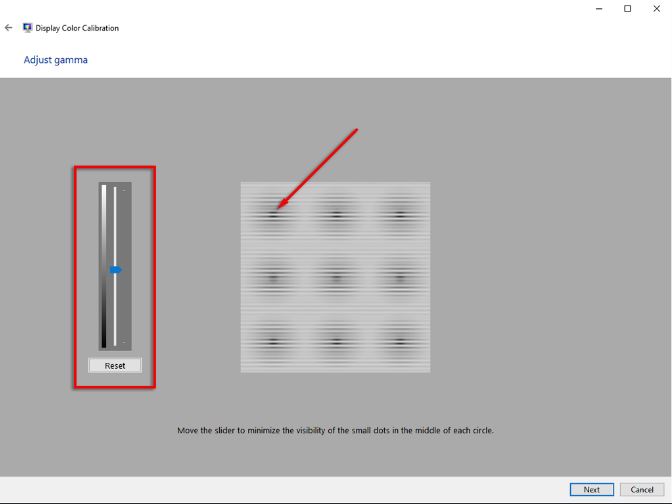
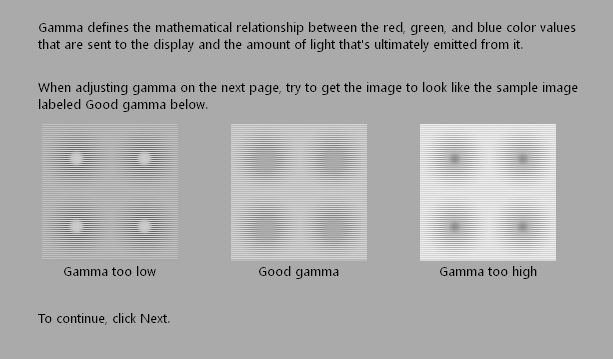
Move the slider up and down until the dots in the center of the circles are the least visible (use the “Good Gamma” image provided below as a guide).
Complete the wizard. You may wish to calibrate your brightness, contrast, color, and text readability. If not, you can skip these sections.
Leave A Comment?