Situatie
The tar command on Linux is often used to create TAR.GZ or TGZ archive files, also called “tarballs.” This command has a large number of options, but you just need to remember a few letters to quickly create archives with tar. The tar command can extract the resulting archives, too.The GNU tar command included with Linux distributions has integrated compression. It can create a TAR archive and then compress it with gzip or bzip2 compression in a single command.
Solutie
Compress an Entire Directory or a Single File
Use the following command to compress an entire directory or a single file on Linux. It’ll also compress every other directory inside a directory you specify—in other words, it works recursively.
tar -czvf name-of-archive.tar.gz /path/to/directory-or-file
Here’s what those switches actually mean
- :-c: Create an archive.
- -z: Compress the archive with gzip.
- -v: Display progress in the terminal while creating the archive, also known as “verbose” mode. The v is always optional in these commands, but it’s helpful.
- -f: Allows you to specify the filename of the archive.
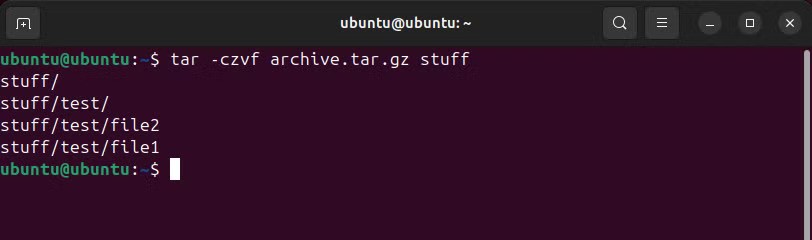
Let’s say you have a directory named “stuff” in the current directory and you want to save it to a file named archive.tar.gz. You’d run the following command:
Or, let’s say there’s a directory at /usr/local/something on the current system and you want to compress it to a file named archive.tar.gz. You’d run the following command:
tar -czvf archive.tar.gz /usr/local/something
Compress Multiple Directories or Files at Once
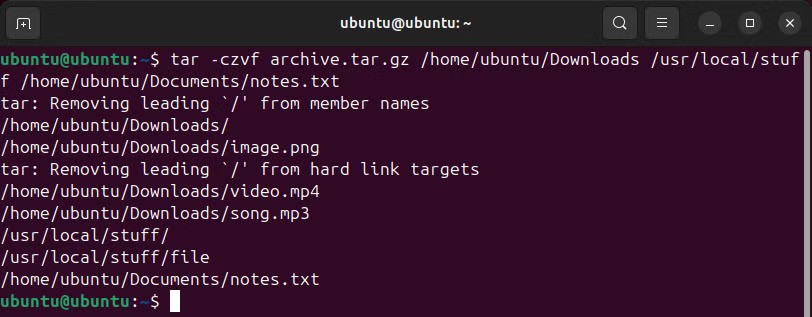
While tar is frequently used to compress a single directory, you could also use it to compress multiple directories, multiple individual files, or both. Just provide a list of files or directories instead of a single one. For example, let’s say you want to compress the /home/ubuntu/Downloads directory, the /usr/local/stuff directory, and the /home/ubuntu/Documents/notes.txt file. You’d just run the following command:
tar -czvf archive.tar.gz /home/ubuntu/Downloads /usr/local/stuff /home/ubuntu/Documents/notes.txt
Just list as many directories or files as you want to back up.
Exclude Directories and Files
In some cases, you may wish to compress an entire directory, but not include certain files and directories. You can do so by adding an –exclude switch for each directory or file you want to exclude. For example, let’s say you want to compress /home/ubuntu, but you don’t want to compress the /home/ubuntu/Downloads and /home/ubuntu/.cache directories. Here’s how you’d do it:
tar –exclude=/home/ubuntu/Downloads –exclude=/home/ubuntu/.cache -czvf archive.tar.gz /home/ubuntu
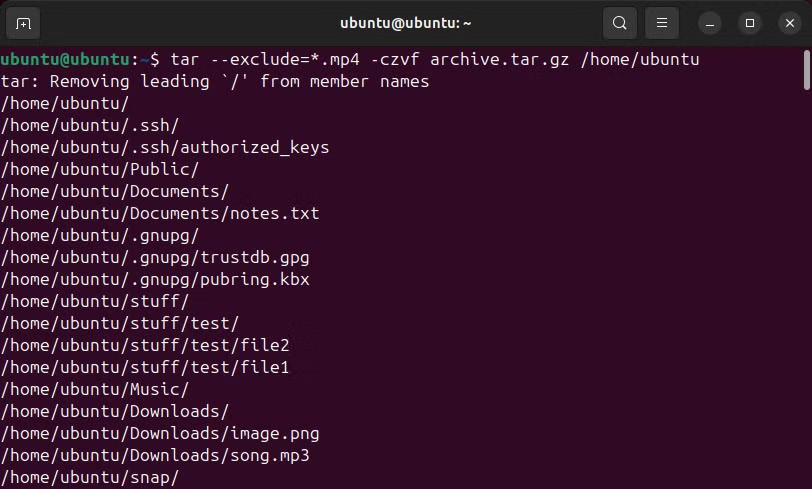
The –exclude switch is very powerful. It doesn’t take names of directories and files—it actually accepts patterns. There’s a lot more you can do with it. For example, you could archive an entire directory and exclude all MP4 files using a wildcard with the following command:
tar –exclude=*.mp4 -czvf archive.tar.gz /home/ubuntu
How (and Why) to Use bzip2 Compression Instead
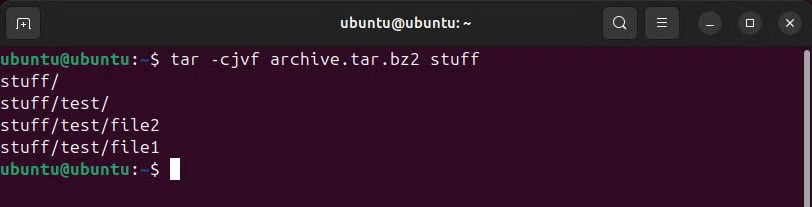
While gzip compression is most frequently used to create TAR.GZ or TGZ files, tar also supports bzip2 compression. This allows you to create bzip2-compressed files, often with .tar.bz2, .tar.bz, or .tbz file extensions. To do so, just replace the -z for gzip in the commands here with a -j for bzip2.Gzip is faster, but it generally compresses a bit less, so you get a somewhat larger file. Bzip2 is slower, but it compresses a bit more, so you get a somewhat smaller file. Gzip is also more common, with some stripped-down Linux systems including gzip support by default, but not bzip2 support. In general, though, gzip and bzip2 are practically the same thing, and both will work similarly.For example, instead of the first example we provided for compressing the stuff directory, you’d run the following command:
tar -cjvf archive.tar.bz2 stuff
You may get an error reading something like “bzip2: not found” and “tar: Child returned status 127.” We got this error ourselves while testing, and it means bzip2 is not installed on your system. In that case, simply install the bzip2 package from your distro’s software repositories. For example, on Ubuntu 24.04, we solved the issue by running this command:
sudo apt install bzip2
Leave A Comment?