Situatie
Windows 11 has added the functionality to add stickers on the desktops. This feature is only available in Windows 11 version 22H2.
Solutie
Enable Stickers
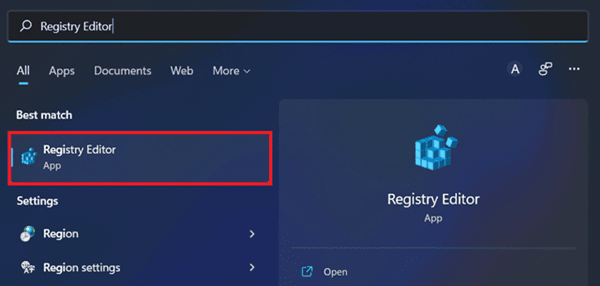
- First up, press Windows + S on the keyboard and search for “Registry Editor.” Launch it by tapping on “Run as administrator.”
- Next, copy the path mentioned below and paste it onto the search bar, and hit enter –
HKEY_LOCAL_MACHINE\SOFTWARE\Microsoft\PolicyManager\current\device
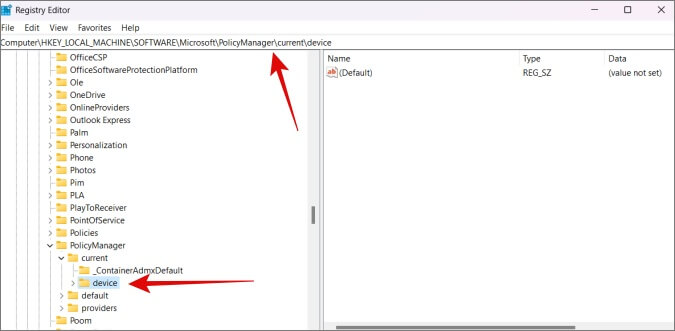
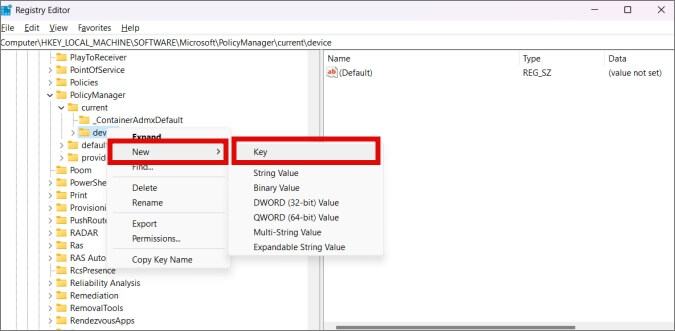
- You will see two sections of screens divided vertically in the middle. The left side consists of folders and the right side shows content. You need to right-click on “Device” to open a dropdown menu and select “New >> Key.”
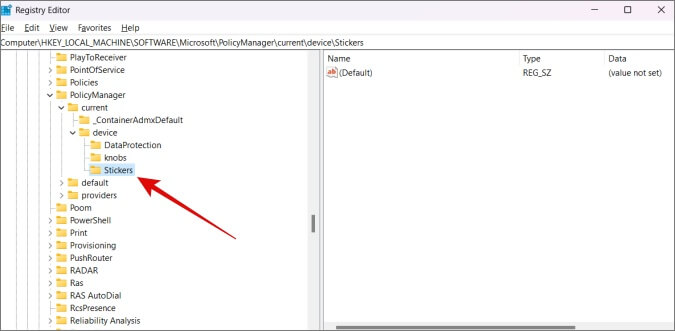
- You need to rename the key as “Stickers” and double-tap on it to open it on the right side of the screen. It will show a value called “(Default)”.
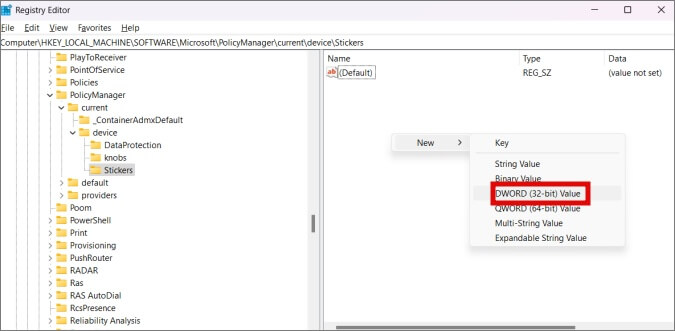
- Hover on the empty side of the right side of the screen, hit the right-click button on your mouse, and select “New >> DWORD (32-bit) Value”.
- You need to rename the value as “EnableStickers” and double-click on it to open a dialog box.
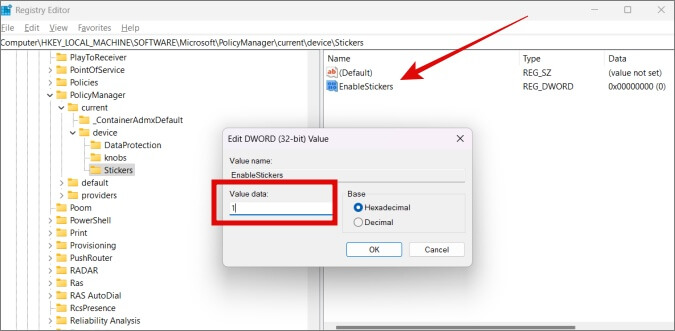
- Next up, enter the value as “1”, select the base as “Hexadecimal,” and hit “OK” this concludes this part.
How To Add Stickers
- Press Windows + M on your keyboard to take you to the desktop minimizing all the windows open.
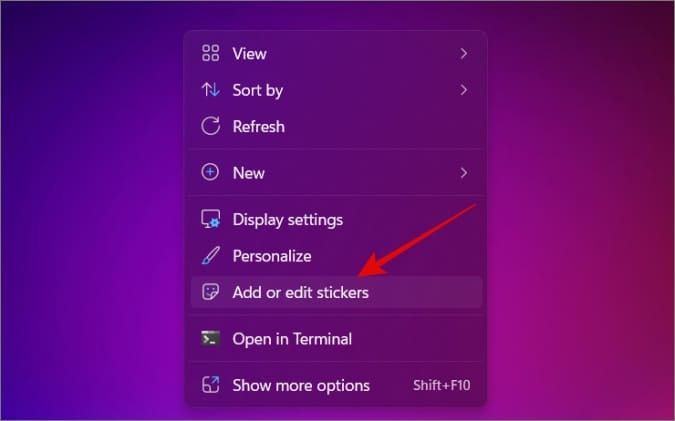
- Right-click on any empty desktop section and select “Add or edit stickers” from the drop-down menu.
- You will see a menu of stickers that you can add. You can search for new ones using the “Search” bar. Double-tap on any sticker of your show and add it to the desktop right away.
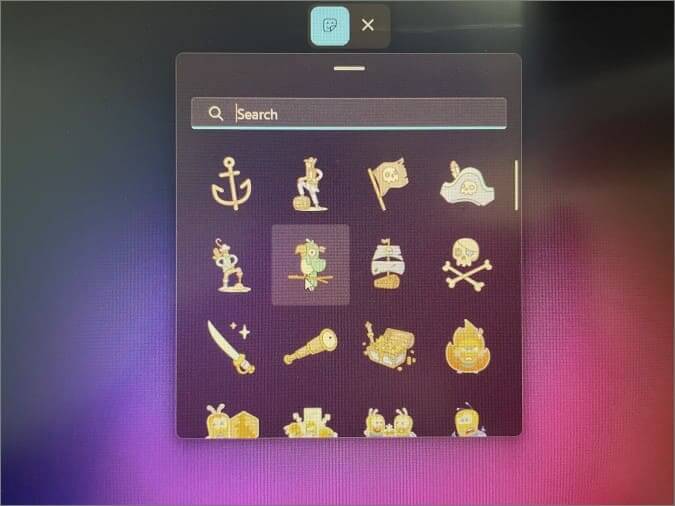
- It is much easier to resize the sticker according to what you need. You can move it around with ease, although you need to keep the stickers panel enabled as you won’t be able to do anything without it.
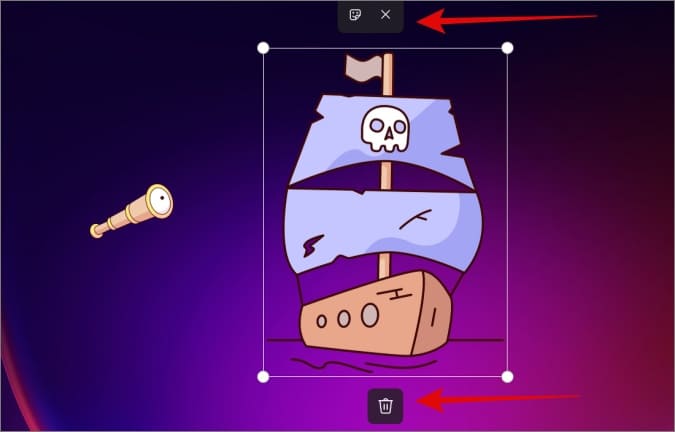
- You can delete the said sticker in question and edit or remove it as per the available buttons.
- Additionally, you can also add stickers by digging into “Settings >> Personalization >> Background >> Add Stickers”.

Leave A Comment?