Situatie
Solutie
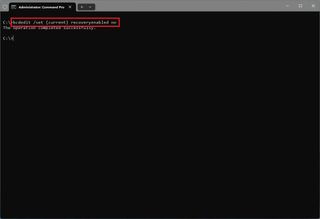
Once you complete these steps, the diagnostic and repair feature will no longer run automatically after the third unsuccessful boot of your computer.
If the automatic repair feature is disabled, you can use these steps to re-enable it:
- Open Start
- Search for Command Prompt, right-click the top result, and select the Run as administrator option
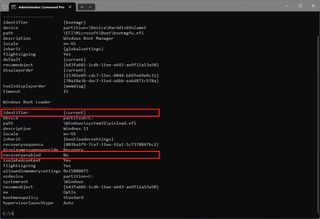
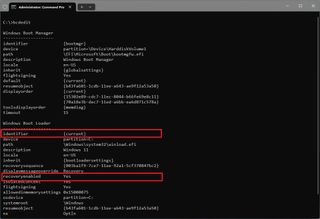
- Type the following command and press Enter: bcdedit
- Confirm the “reoveryenabled” and “identifier” values under the “Windows Boot Loader” section are set to “{current}” and “no”

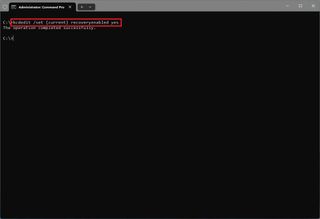
Type the following command to enable automatic repair and press Enter: bcdedit /set {current} recoveryenabled yes

In the command, I’m using “{current}” to specify the target operating system option in the boot loader and the “yes” value to enable automatic repair again. After completing these steps, if the device is having problems, the system will proceed to diagnose the issue, and it’ll try to repair common problems that may prevent Windows 11 (or 10) from loading correctly.


Leave A Comment?