Situatie
There are few pieces of software that have made such a contribution to amateur astronomy as the free planetarium program Stellarium. Available from stellarium.org for Windows, Mac OS X, and Linux systems, it is popular with beginners and advanced stargazers alike.
Not only can Stellarium do everything you’d want from a planetarium program – simulate the night sky and the positions of planets and other celestial bodies at a given date and time – it’s also packed with other features that are useful for experienced observers and astrophotographers.
Here we’ll look at the basics of the program with an introduction to how to use the software, before examining Stellarium’s plug-ins and other useful tools. We suggest you fire up the program while you read this so you can experiment as we go. To download, visit stellarium.org.
Solutie
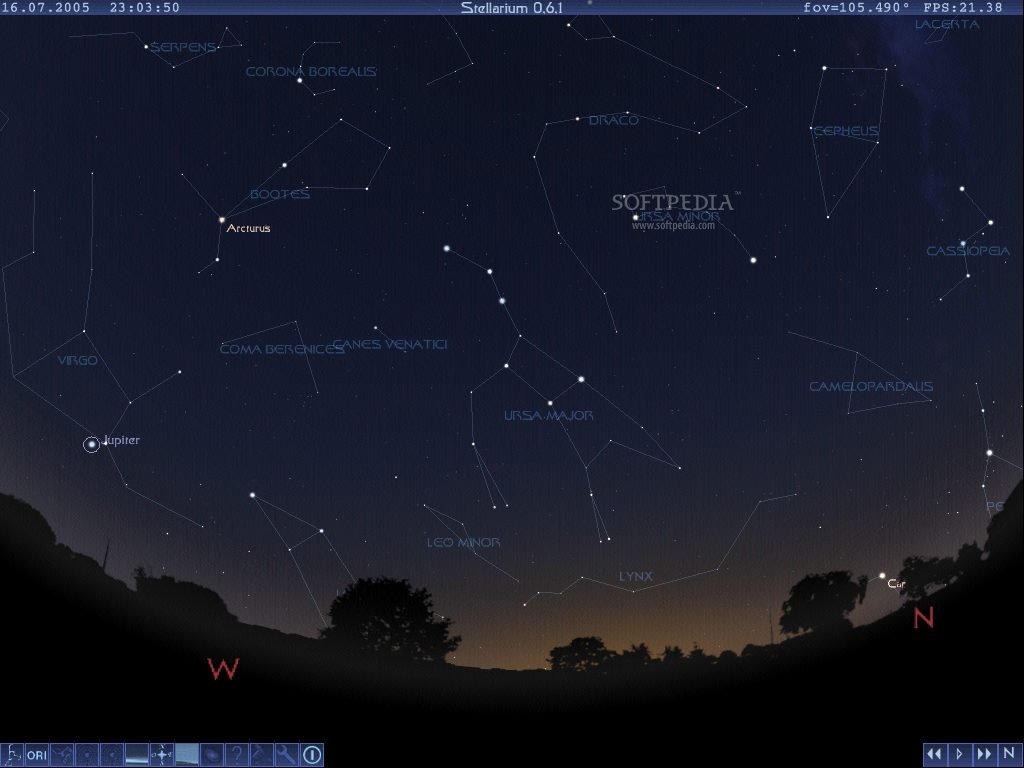
1 The Stellarium main screen has two main toolbars. The bar along the bottom shows key information such as the location, the field of view (FOV), and the time.
Placing your cursor over this bar will raise it to reveal buttons that can toggle various display settings such as constellation lines and star labels. This bar is also where some plug-in buttons will appear.
2 Hidden on the bottom-left edge of the screen is another toolbar with several icons. These access further configuration windows which enable you to select the location you’re observing from and set the date and time, along with several displays and general program configuration menus allowing you to tailor what’s shown on screen, plus the Search tool and the Help window.
3 If you have the Oculars plug-in enabled (see further down in Simulating eyepiece and camera fields of view) you will see a set of icons relating to it in the top right-hand corner of the screen.
4 If you left-click on a celestial object from the main screen, the object will acquire a small rotating ‘target’ around it (stars) or a bouncing blue ‘frame’ (other objects).
You’ll see information about the object appear at the top of the screen, including its name and other useful astronomical data, such as its magnitude and catalog numbers. You can customize this display in the ‘Information’ tab of the Configuration Window, which can be accessed by pressing F2.
Clicking on the ‘eye’ symbol on the bottom toolbar activates a night-vision mode that tints the whole Stellarium window red, to help preserve your dark adaptation if you’re using the program while observing.
Leave A Comment?