Situatie
Solutie
Interfaces are our points of connection. They can be physical, for example Ethernet, or they can be radio based, Wi-Fi for example. Each interface has a unique name, to identify whether it is Ethernet or Wi-Fi. In the past these names were generic, eth0 for the first Ethernet connection and wlan0 for Wi-Fi. In more recent years, these interface names have changed to be more specific.
Our first task is to identify the available interfaces.
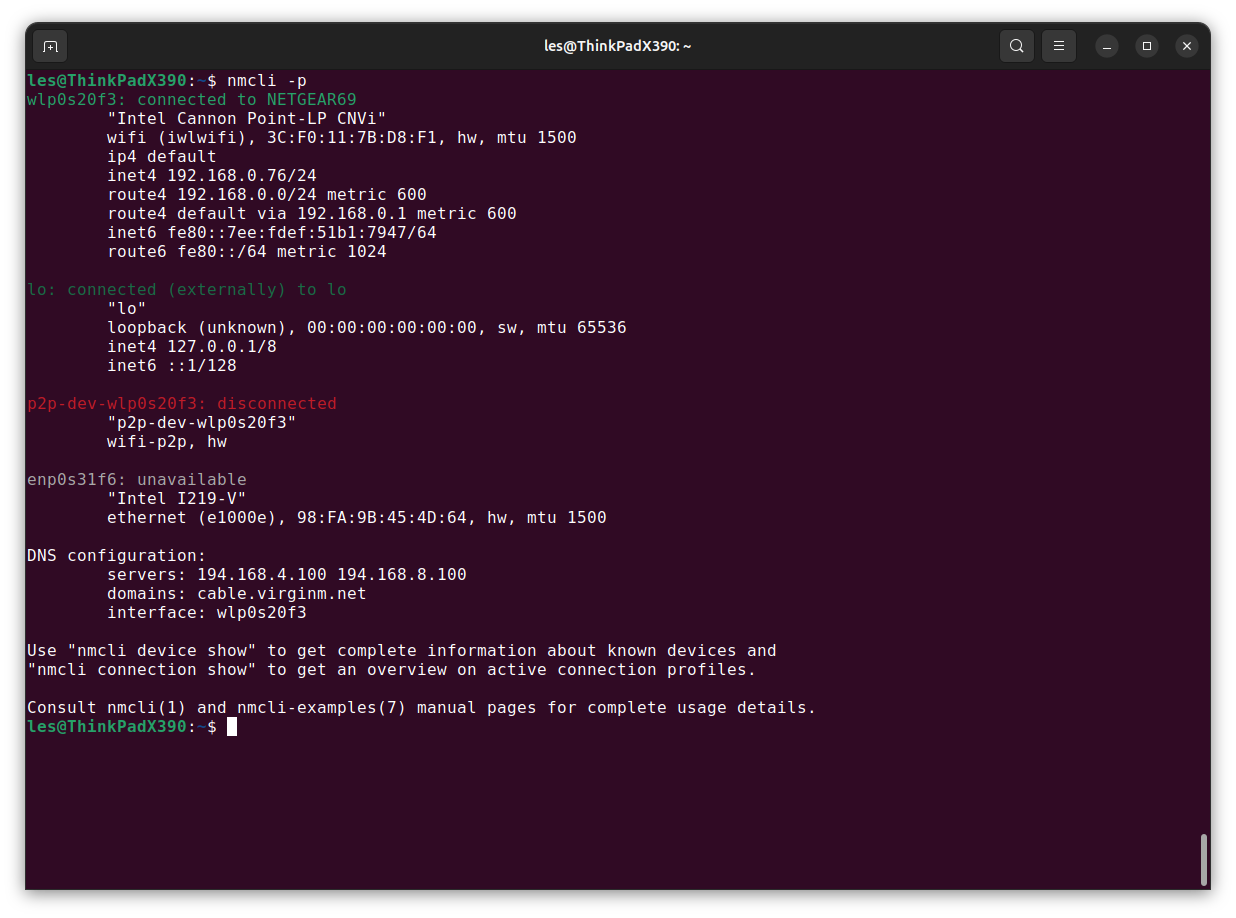
1. Open a terminal and list all of the available connection / interfaces. The nmcli command can be used on its own, but passing the -p option will produce a “prettier” output.
nmcli -p
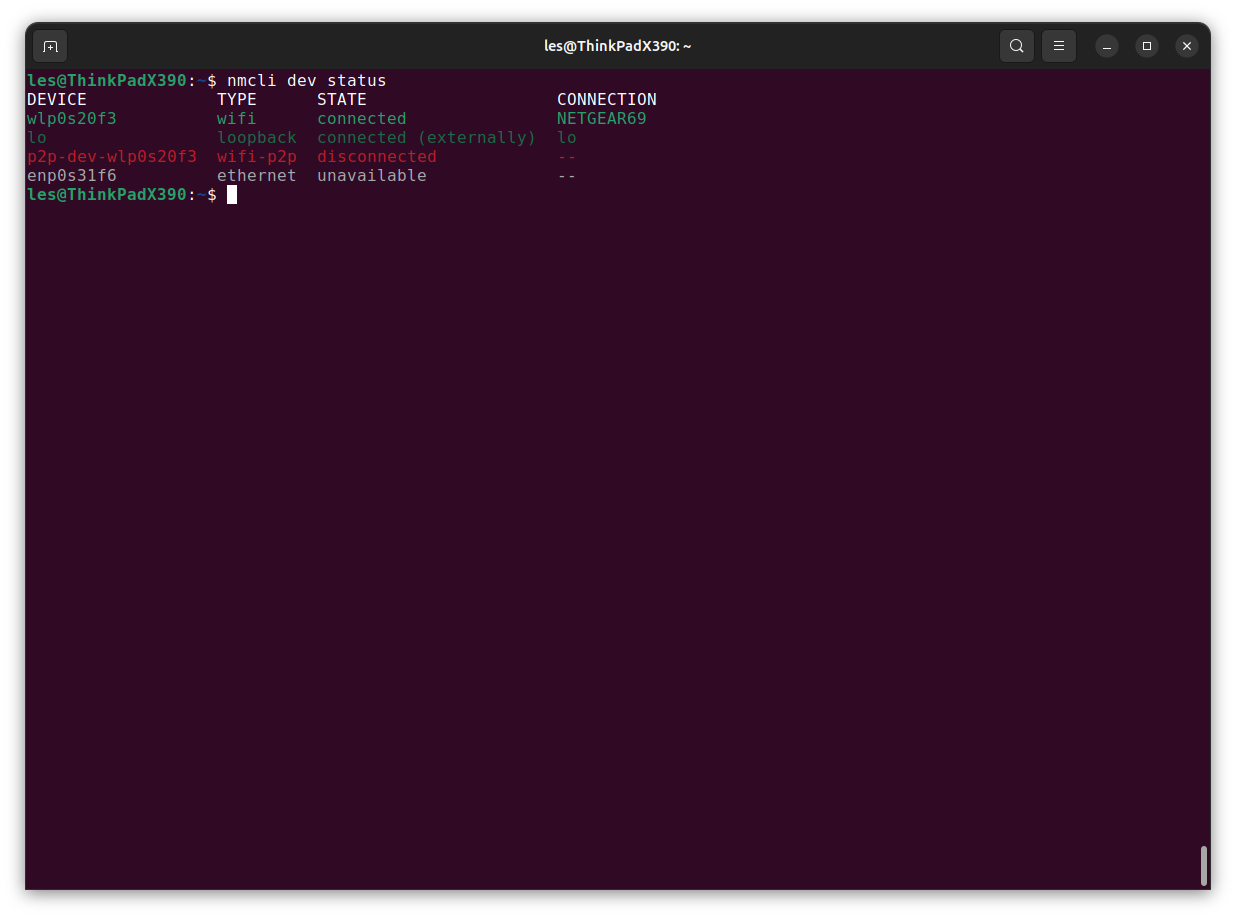
2. The output for the previous command will show all of the connections / interfaces. To return just the active interface connections use this command. Again, using the -p option provides a clearer view of the output.
nmcli -p dev statu
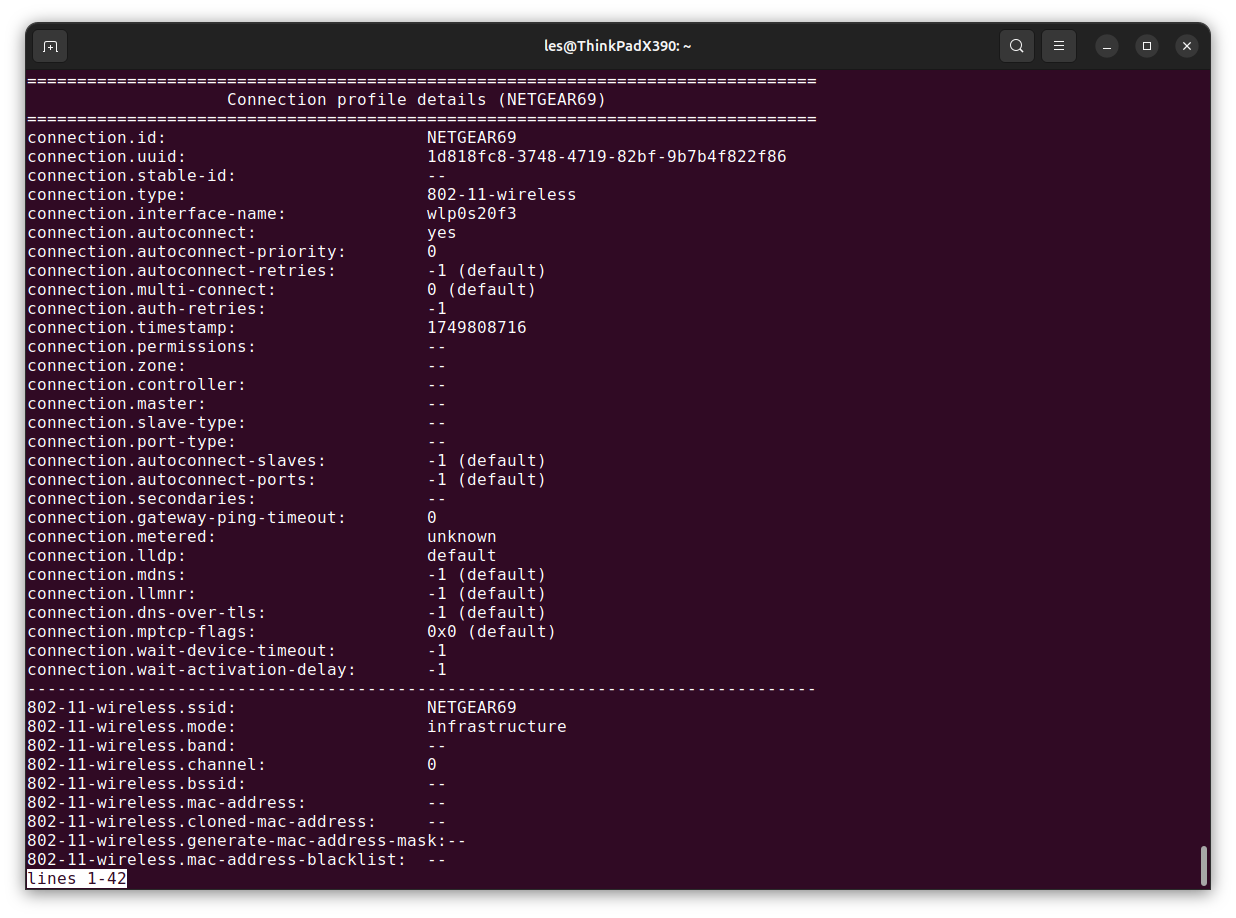
3. Use this command to get the details of a specific connection. Remember to change the name of the connection to match the output of the previous command. There is a lot of output, and you can pipe the output of the command using grep to pick out specific details.
nmcli -p con show <CONNECTION NAME>
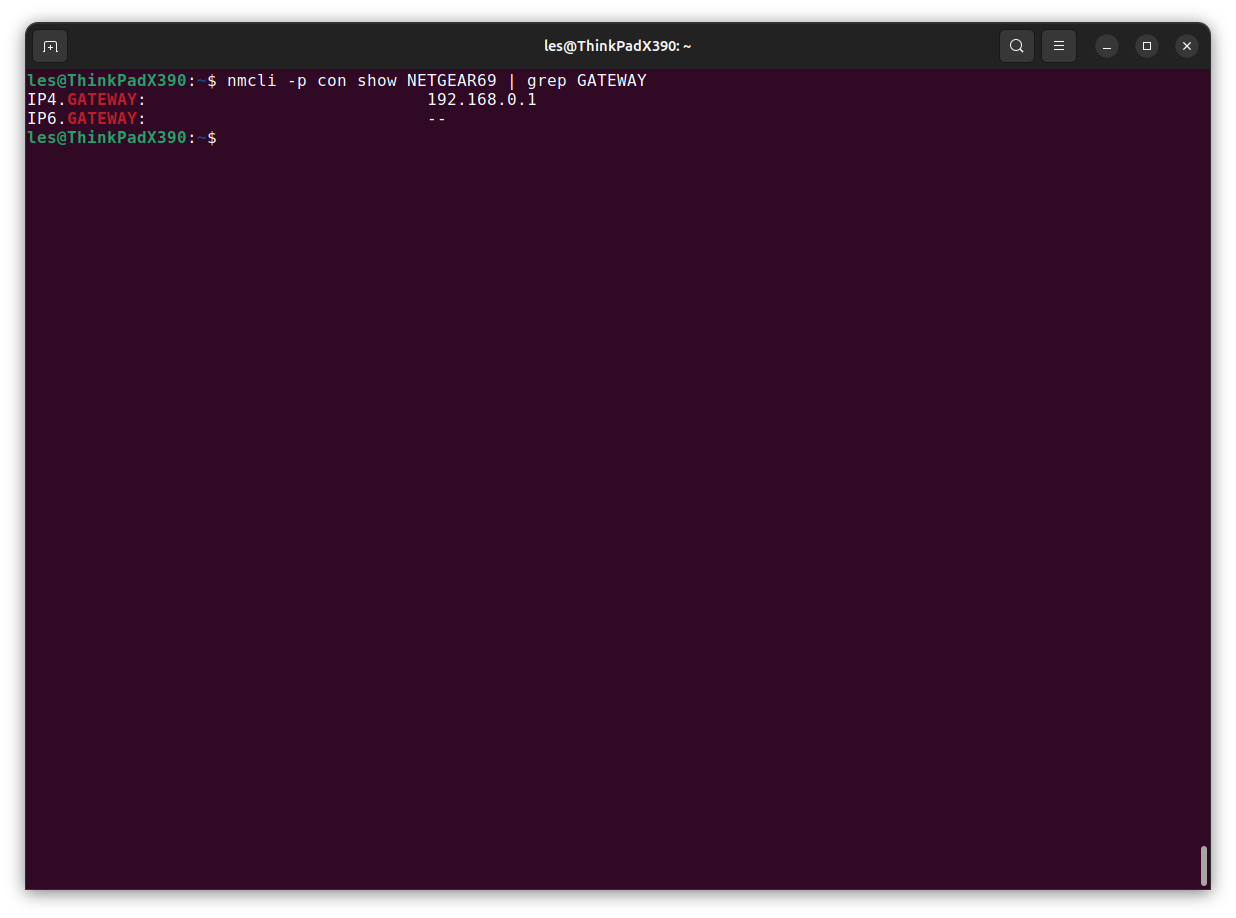
4. Use this command to determine the default gateway for your connection. The default gateway is typically our home router, the hardware that enables us to connect to the Internet. The output should show the ipv4 and ipv6 gateway details.
nmcli -p con show <CONNECTION NAME> | grep GATEWAY
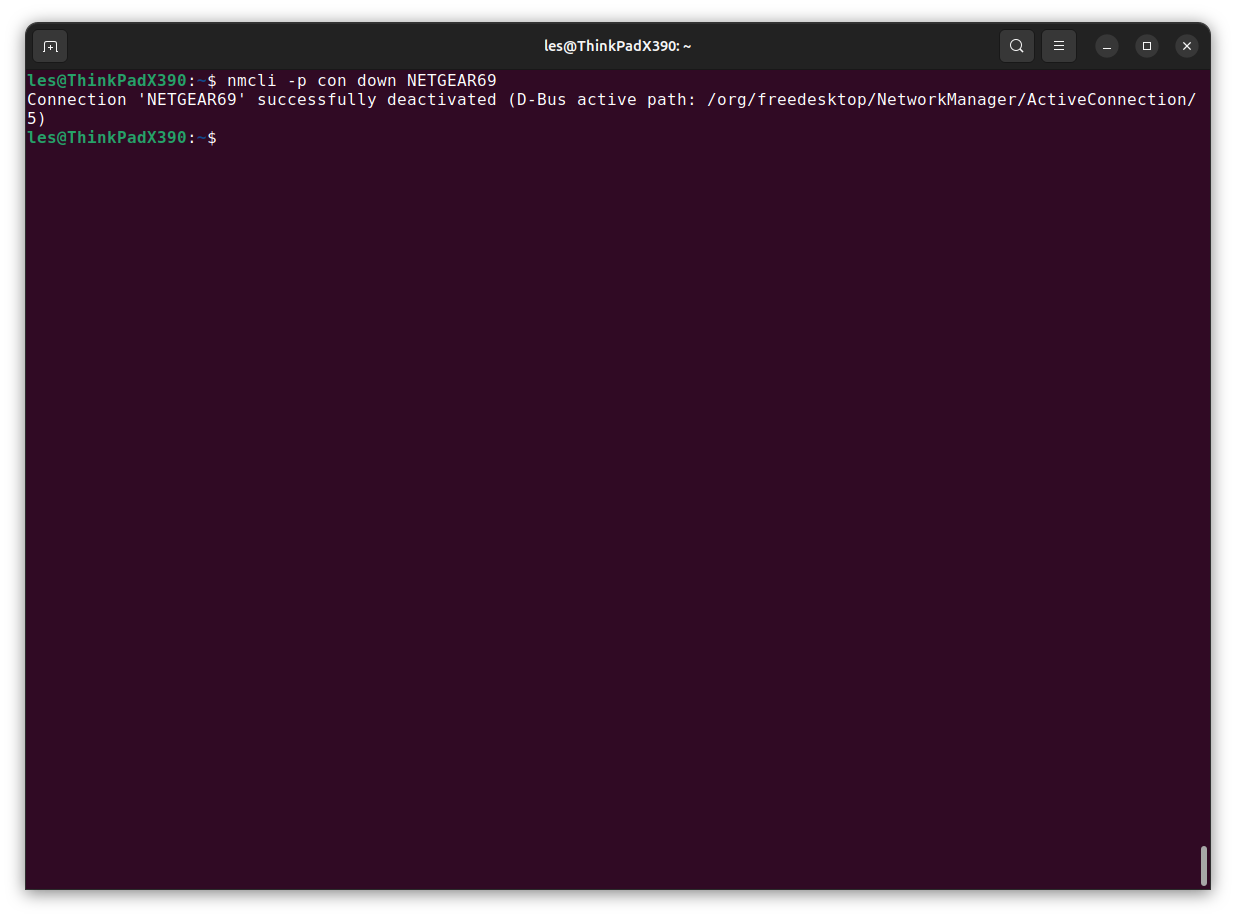
5. To bring a connection down (disable / disconnect) use this command. This will disconnect your Linux device from the network. Remember to replace the connection name with your connection name.
nmcli -p con down <CONNECTION NAME>
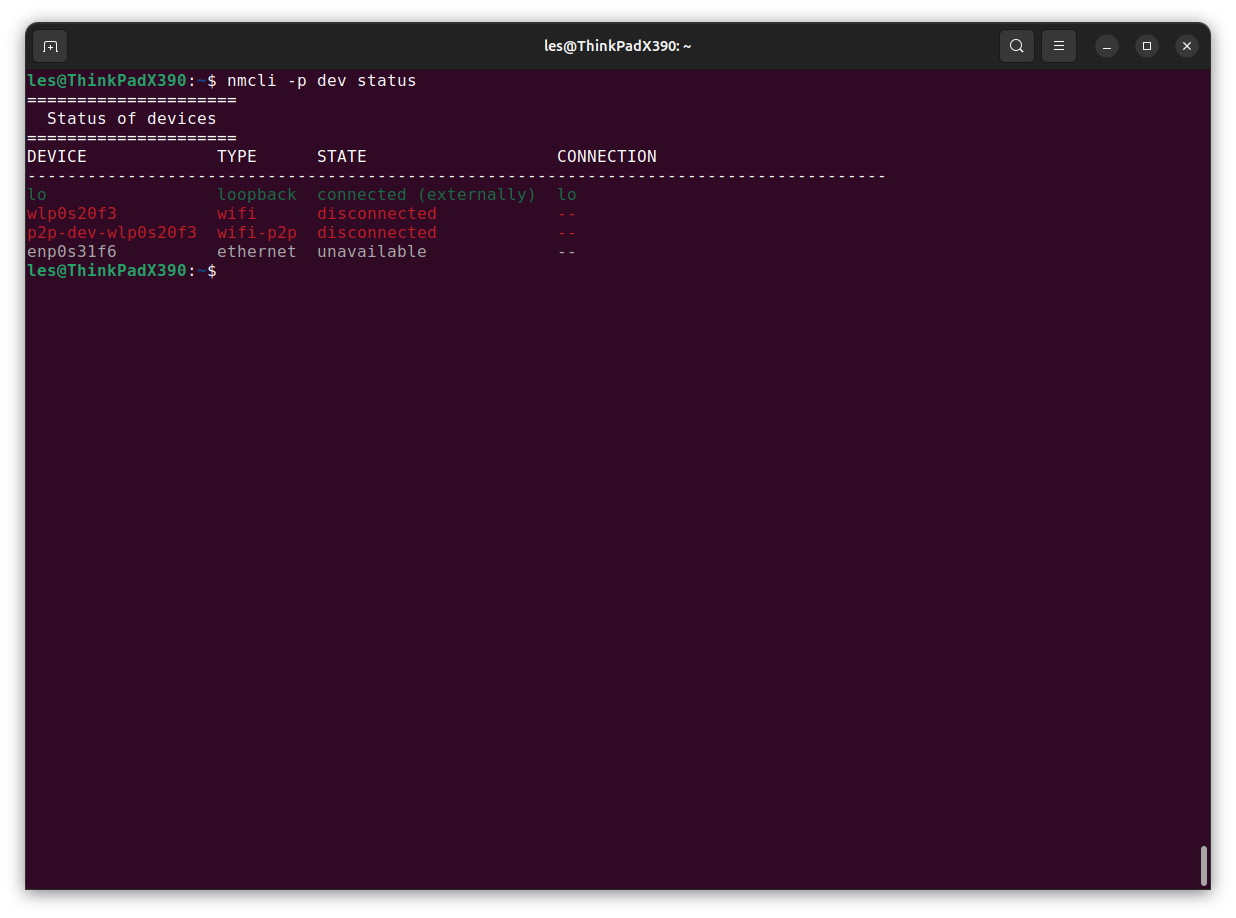
6. List the connections, this will show that your device is no longer connected to the network.
nmcli -p dev status
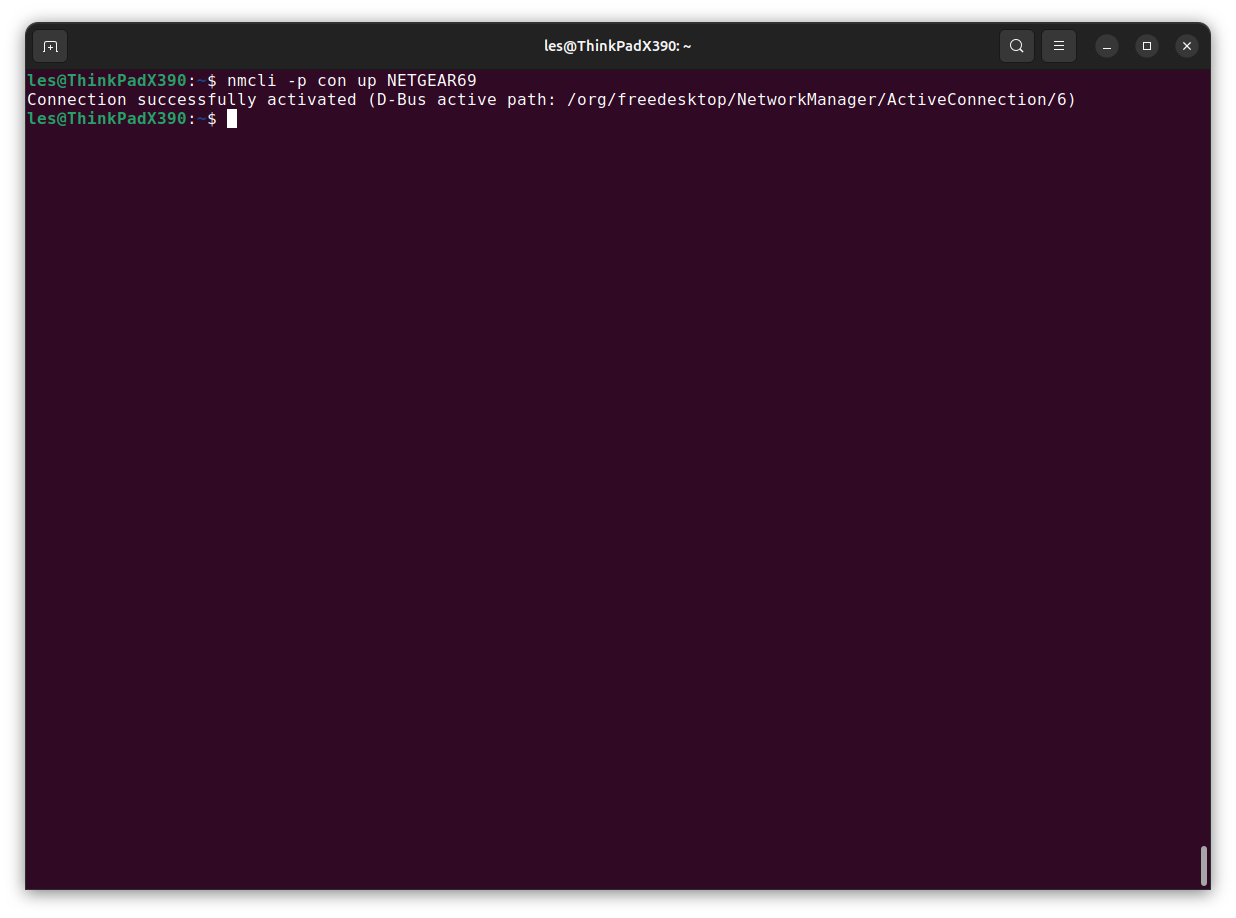
7. Bring the connection up using this command. Remember to change the connection name.
nmcli -p con up <CONNECTION NAME>
Setting a static IP address
1. Open a terminal and using nmcli set the connection details. The connection name is as we have used above. The required IP address is as per your requirements, but it should be within the range offered by the device. The gateway is typically the IP address of the router. The DNS server can be your router
nmcli connection modify "CONNECTION NAME" \
ipv4.addresses REQUIRED IP ADDRESS/24 \
ipv4.gateway YOUR GATEWAY \
ipv4.dns YOUR DNS SERVER \
ipv4.method manual
2. Bring the connection down. Remember to use your connection name.
nmcli -p con down <CONNECTION NAME>3. Now bring the connection back up. Remember to use your connection name.
nmcli -p con up <CONNECTION NAME>4. Check that the connection has been made correctly. The State column should show “connected”.
nmcli -p dev status6. Check your IP address. Using the connection show command we pipe the output through grep, looking for “ipv4.addresses”.
nmcli -p con show <<CONNECTION>> | grep ipv4.addresses7. Finally ping an IP address to ensure that your server can reach the outside world. You should see pings being sent within a few milliseconds, if there is a problem then the command will error. Press CTRL + C to end the ping command. We typically use Google’s DNS server IP address 8.8.8.8, but you can also use CloudFlare’s 1.1.1.1 or OpenDNS 208.67.222.123. Alternatively, you can ping a URL such as google.com.
ping 8.8.8.8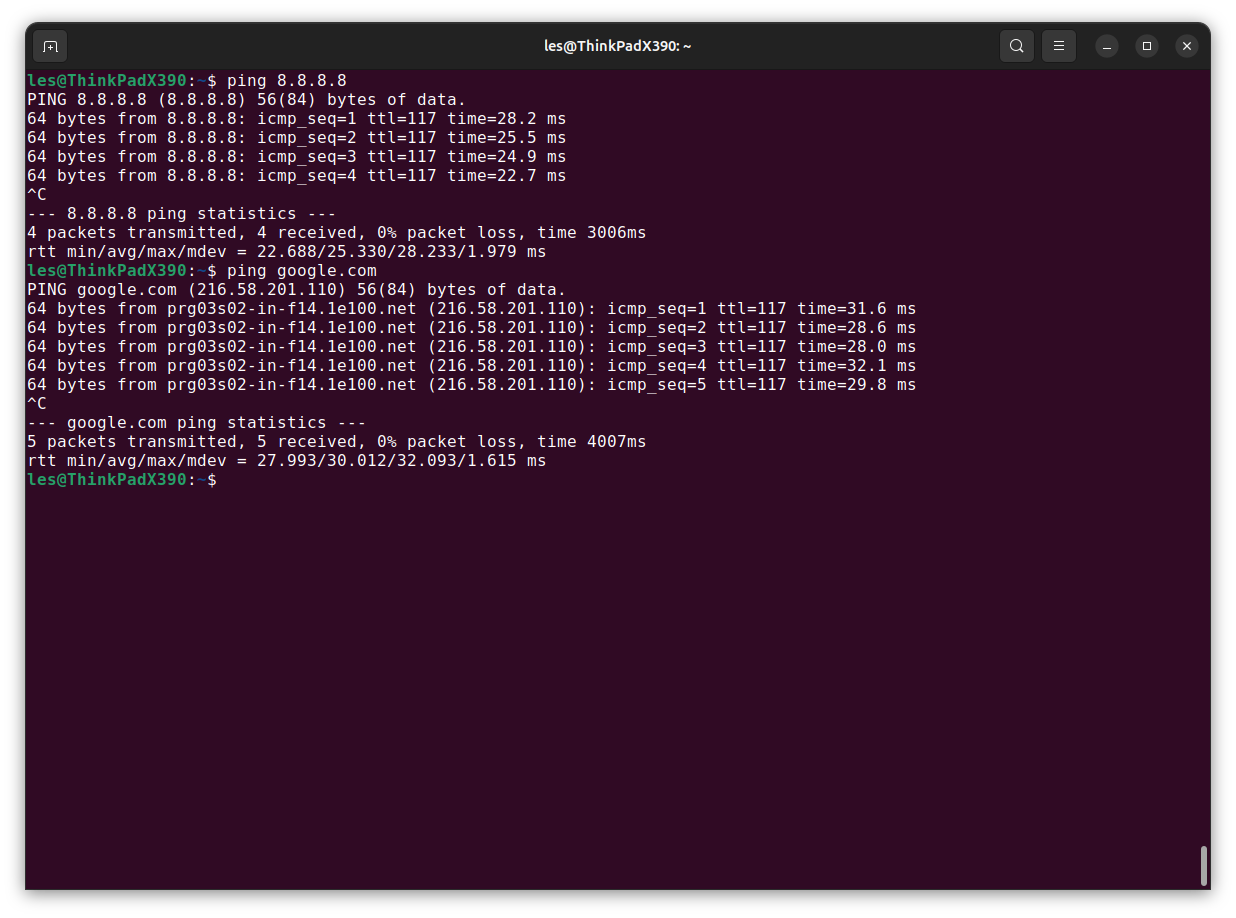

Leave A Comment?