Situatie
Solutie
Run Java Installer with Administrator Rights
Java’s installer requires various permissions to install the utility on your PC. It’s possible the installer is lacking the required rights, leading to an unsuccessful installation.
In this case, launch the installer with admin privileges to resolve the issue.
- Locate the Java installer you’ve downloaded on your PC
- Right-click the file and select Run as administrator
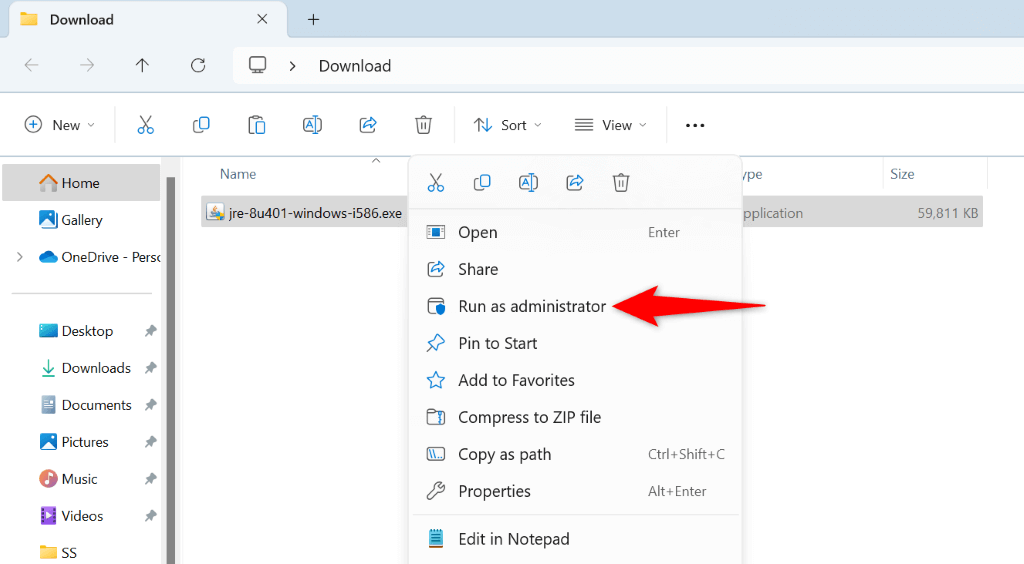
- Choose Yes in the User Account Control prompt
- Follow the on-screen installation instructions.
Turn Off your Antivirus before installing Java
If Java’s installation still fails, your antivirus program might be interfering with the process. These restrictions sometimes cause the tool not to install. In this case, temporarily turn off your antivirus protection and run the installer file.
The steps to turn off antivirus protection vary by the program you use. In most programs, though, you simply have to turn off the main protection toggle to disable the protection. If you’re a Microsoft Defender Antivirus user, use these steps to temporarily deactivate protection:
- Open the Start menu, find Windows Security, and launch the app
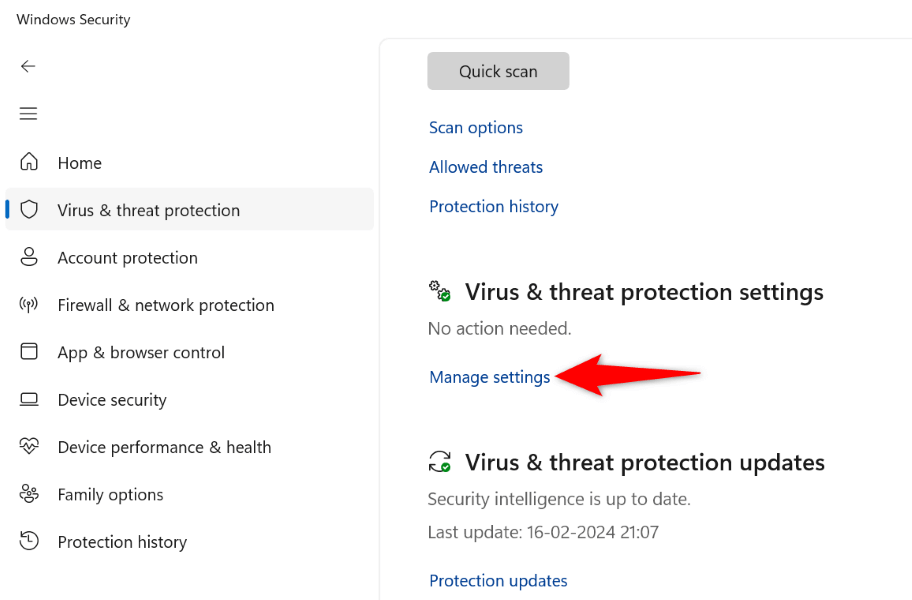
- Select Virus & threat protection in the app
- Choose Manage settings under the Virus & threat protection settings header
- Turn off Real-time protection
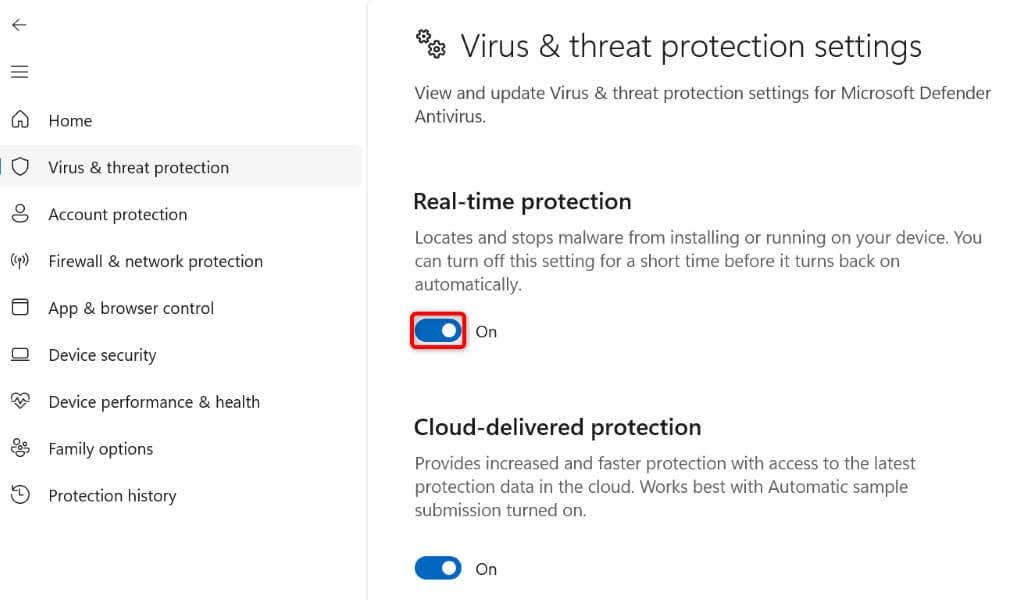
- Choose Yes in the User Account Control prompt
- Launch the Java installer file
- After installing Java, re-enable antivirus protection by turning on Real-time protection
Giving your Windows PC a reboot helps fix many minor system problems. It’s possible these minor glitches are causing Java not to install, which you can fix by rebooting your machine.
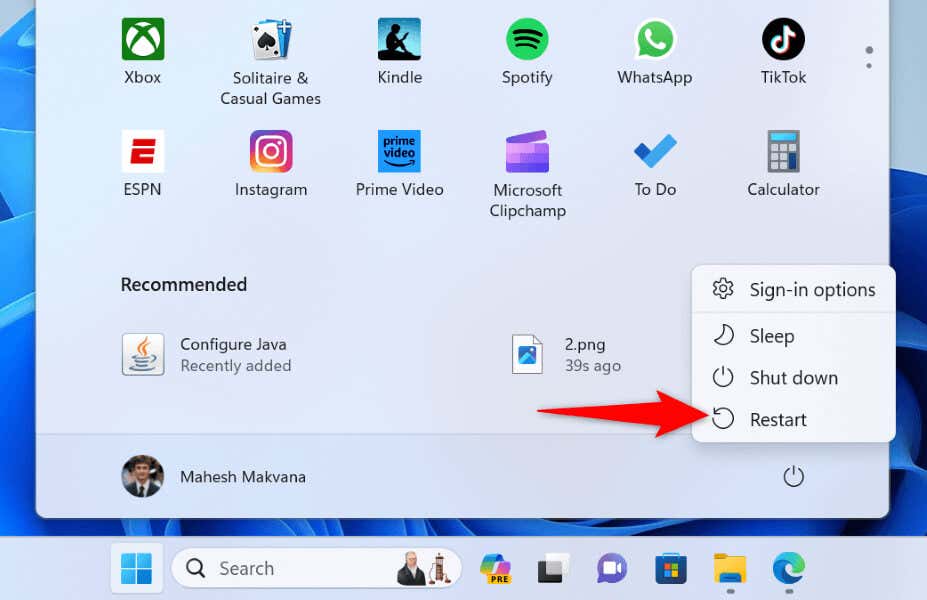
- Open the Start menu by selecting the menu icon or pressing the Windows key
- Select the Power menu icon
- Choose Restart in the menu
- Run Java’s installer when the PC turns on.
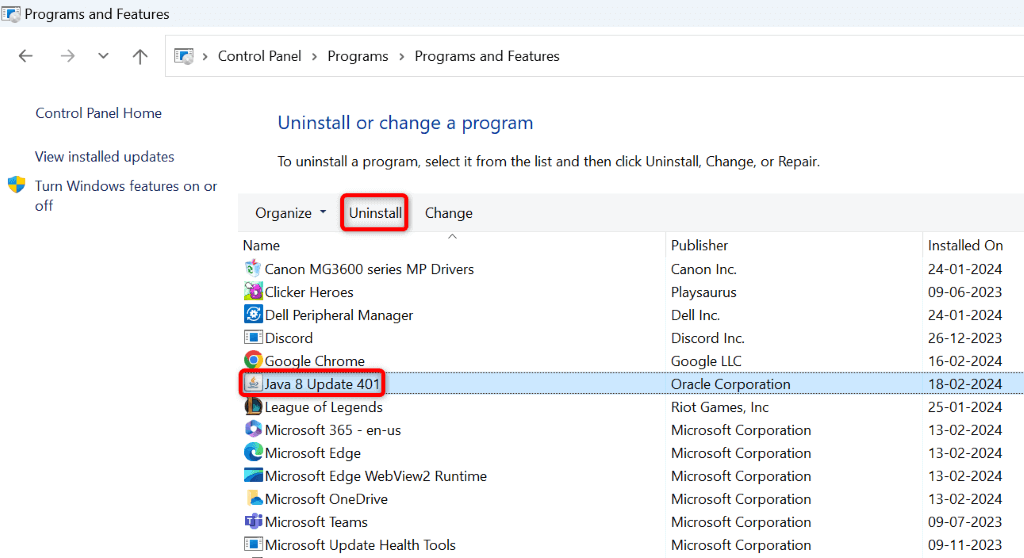
Uninstall Existing Java Versions before Installing New Java
If you have an old Java version installed on your PC, that installation might be conflicting with the new version you’re trying to install. In this case, remove that installation before installing the new one.
- Open the Start menu, find Control Panel, and select the utility.
- Select Uninstall a program in Control Panel.
- Choose Java on the program list and select Uninstall at the top.
- Select Yes in the open prompt
- Restart your PC
- Open a web browser, head to the Java offline installer site, and download the installer
- Run the installer to install Java on your PC.
Turn Off Java in Browser before Installing Java
If the error 1603 persists, turn off Java’s option for browsers before running the installer. This option helps fix certain installation problems.
You can re-enable that option after you’ve successfully installed the current Java version.
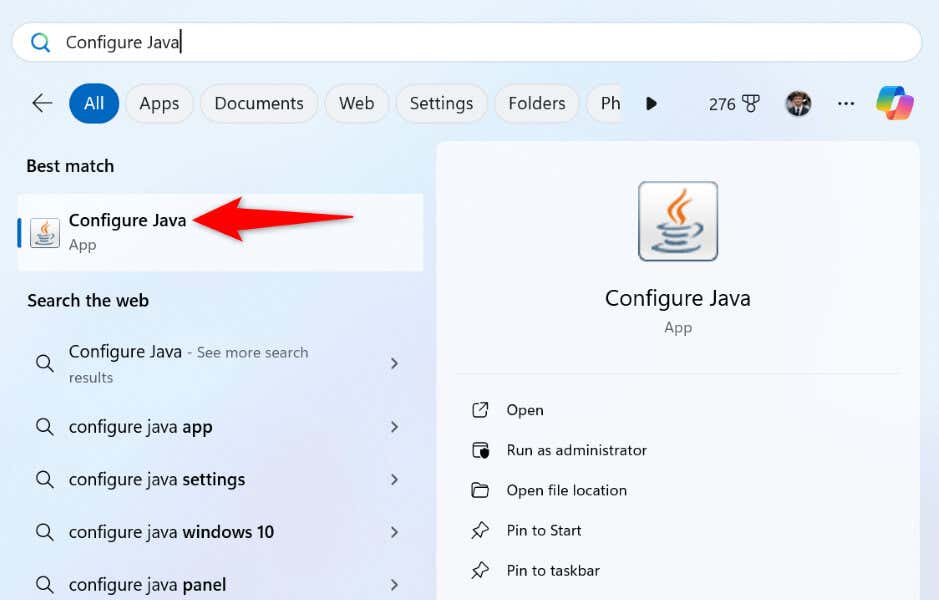
- Open the Start menu, find Configure Java, and select the item with that name.
- Access the Security tab in Java Control Panel.
- Turn off Enable Java content for browser and Web Start applications.
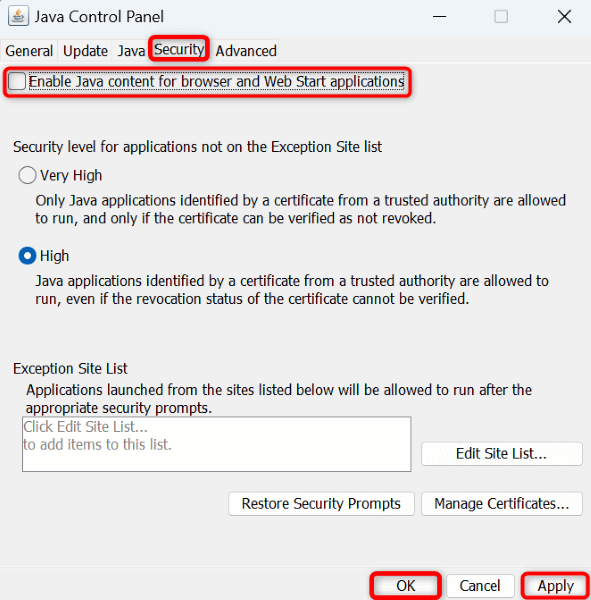
- Select Apply followed by OK.
- Close the open window and run the Java installer.
Clean Boot Your Windows PC
If you still have problems installing Java, a third-party app installed on your PC might be the culprit. You can verify that by clean booting your Windows PC. Doing so ensures your system only loads the essential files, letting you check if third-party items are the culprit. Windows will still load all the system features for you to use.
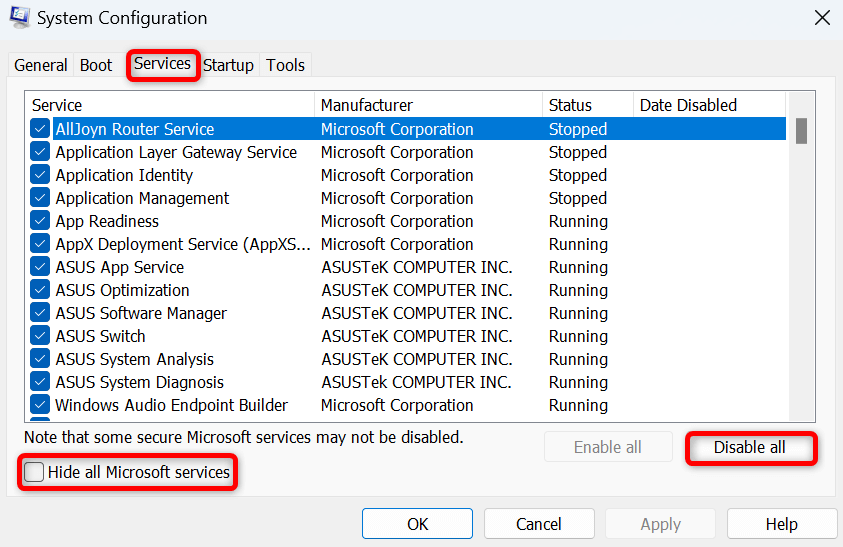
- Open Start, find System Configuration, and launch the tool
- Open the Services tab, enable Hide all Microsoft services, and choose Disable all.
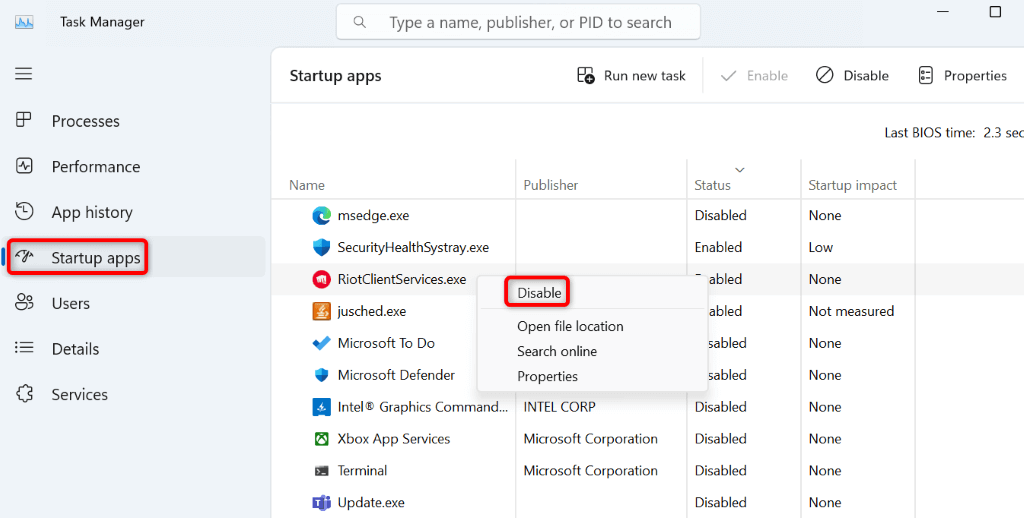
- Access the Startup tab and select Open Task Manager
- Right-click each app that has Enabled in its Status column and choose Disable. This prevents these apps from automatically launching when you clean boot your PC.
- Close the Task Manager window
- Select OK on the System Configuration window
- Restart your PC
- Run the Java installer file.
Leave A Comment?