Situatie
Solutie
How to configure Sudo on Windows 11
- Open Settings.
- Click on System.
- Click the For developers page on the right side.
- Turn on the Enable sudo toggle switch.
- Click the sudo setting to reveal the available option.
- Click the sudo setting to reveal the available option.
- Select the sudo behavior with the “Configure how sudo runs applications” setting:
- Inline: The command runs in the same window, identical to Linux and macOS.
- With input disabled: The command runs in a new window but doesn’t accept additional inputs.
- In a new window: The command triggers a new, elevated window.
Once you complete the steps, you can use the Command Prompt or PowerShell with a standard session and run elevated commands with the Sudo command.
To run commands as an administrator with Sudo is a straightforward process:
- Open Start.
- Search for Command Prompt (or PowerShell) and click the top result to open the console.
- Type the following example to use the Sudo command and press Enter: sudo COMMAND-SYNTAX
In the command, change “COMMAND-SYNTAX” for the command you want to run elevated. For example, this command renames a text to “mycode.txt” in the root of “C” that usually requires elevation: sudo ren codefile.txt mycode.txt
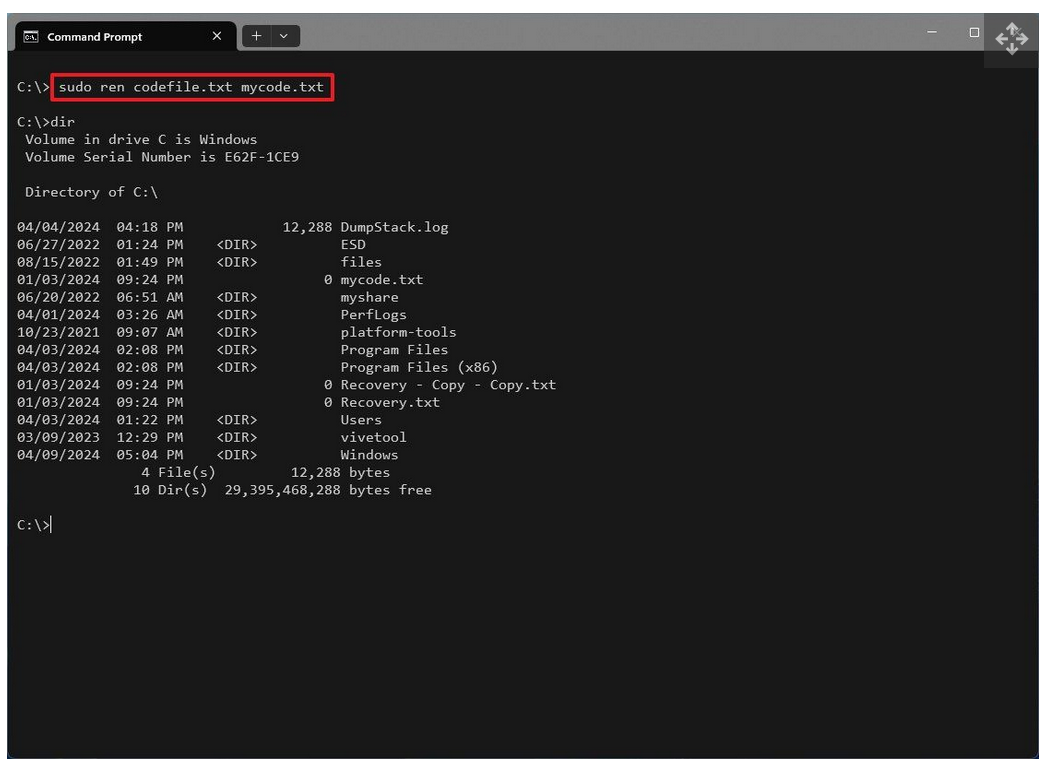
After you complete the steps, the command will run elevated from the standard console.

It’s important to note that the Sudo version for Windows 11 allows you to delete protected files, run commands that require elevation, and open new sessions to perform different tasks. However, it’s limited compared to the version for Linux. For example, the Linux version includes around 29 options.
On the other hand, the one for Windows 11 only includes seven options.