Situatie
Ever wished you had a secret passage to navigate the internet? Well, a Virtual Private Network (VPN) is kind of like that! It creates a secure, encrypted tunnel between your device and a remote server run by a VPN provider. Think of it like a hidden pathway for your online traffic.
Here’s why a VPN is so useful:
Enhanced Privacy: Using a VPN is like wearing a mask online. It hides your real IP address, making it appear as if you’re browsing from the location of the VPN server. This keeps your online activity more private and harder to track.
Encrypted Messages: Imagine scrambling your messages so only the intended recipient can understand them. That’s what encryption does! When you use a VPN, your internet traffic is encrypted, making it unreadable to anyone trying to snoop on your connection. This is especially important when using public Wi-Fi networks.
Bypassing Restrictions: Sometimes, websites or online content might be restricted based on your location. A VPN can help you access these by virtually placing you in a different location (the location of the VPN server).
Backup
How to set up a VPN on Windows 11:
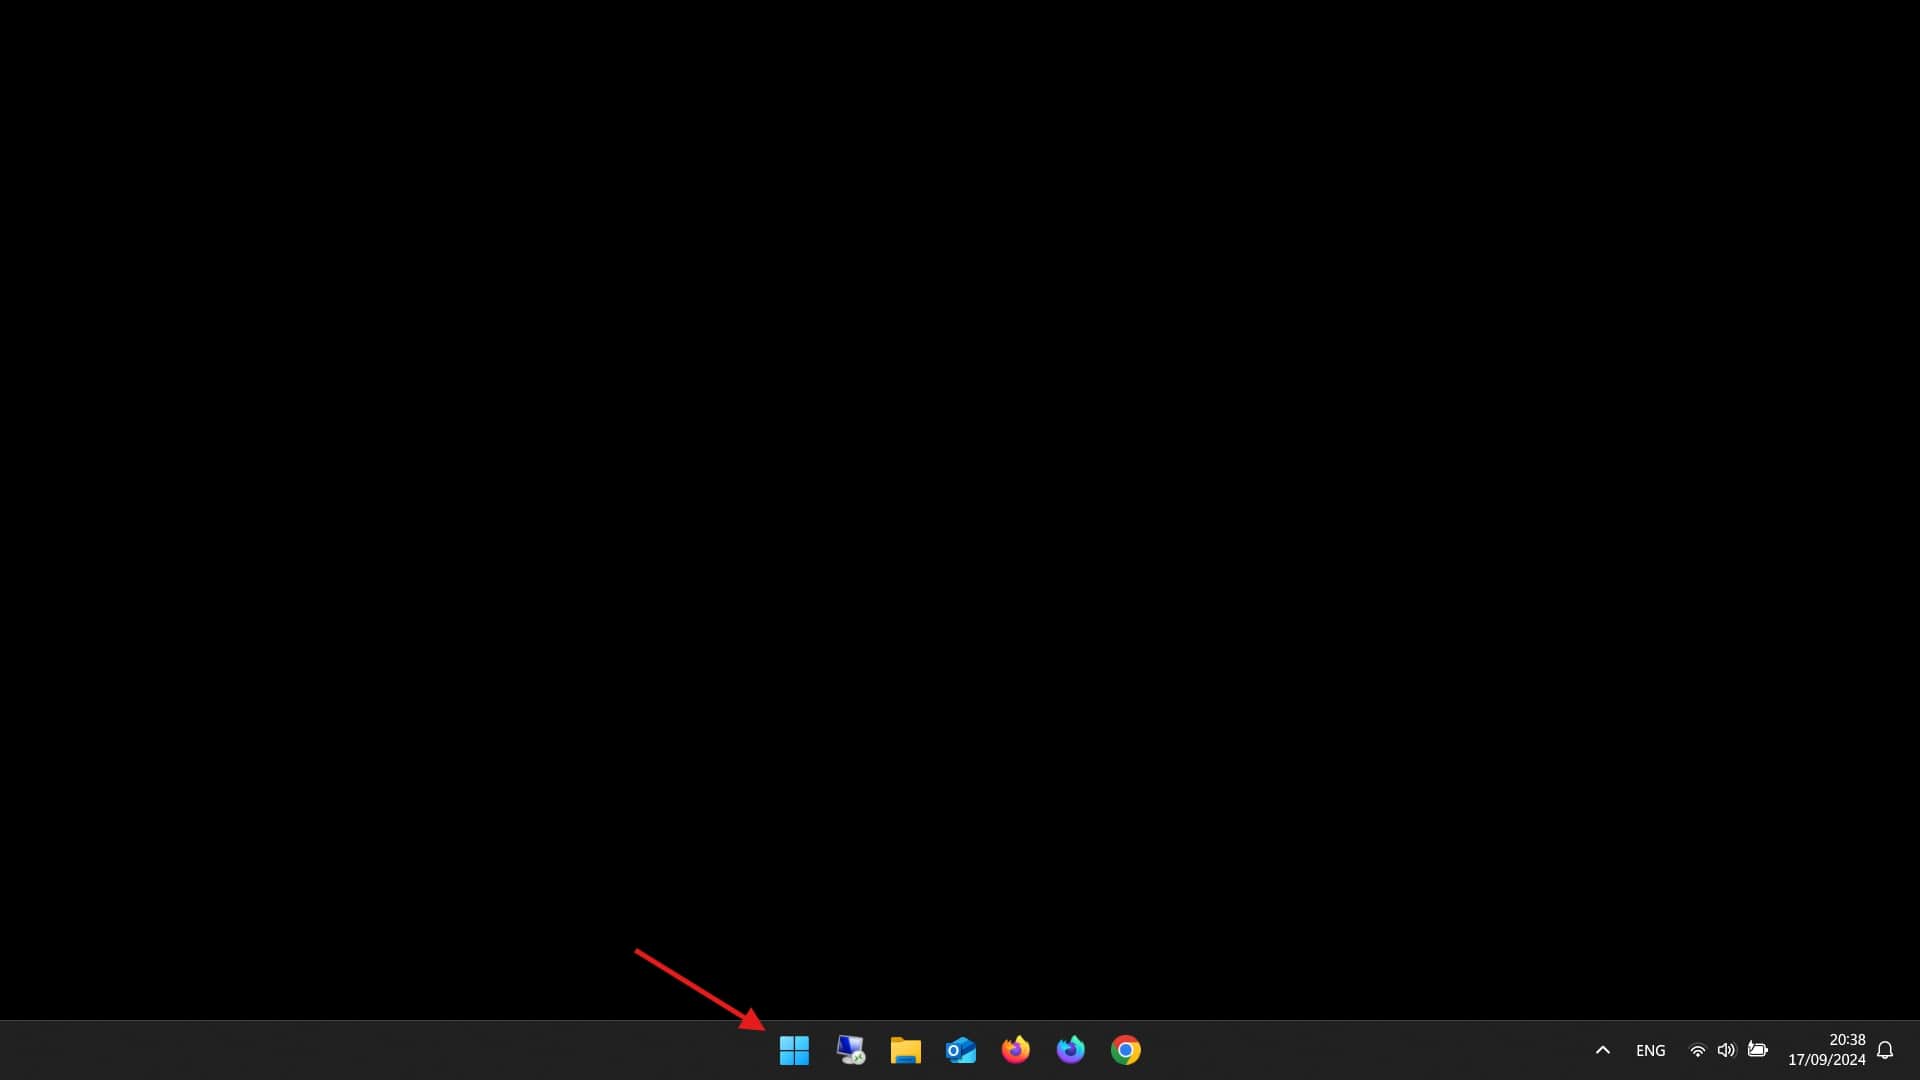
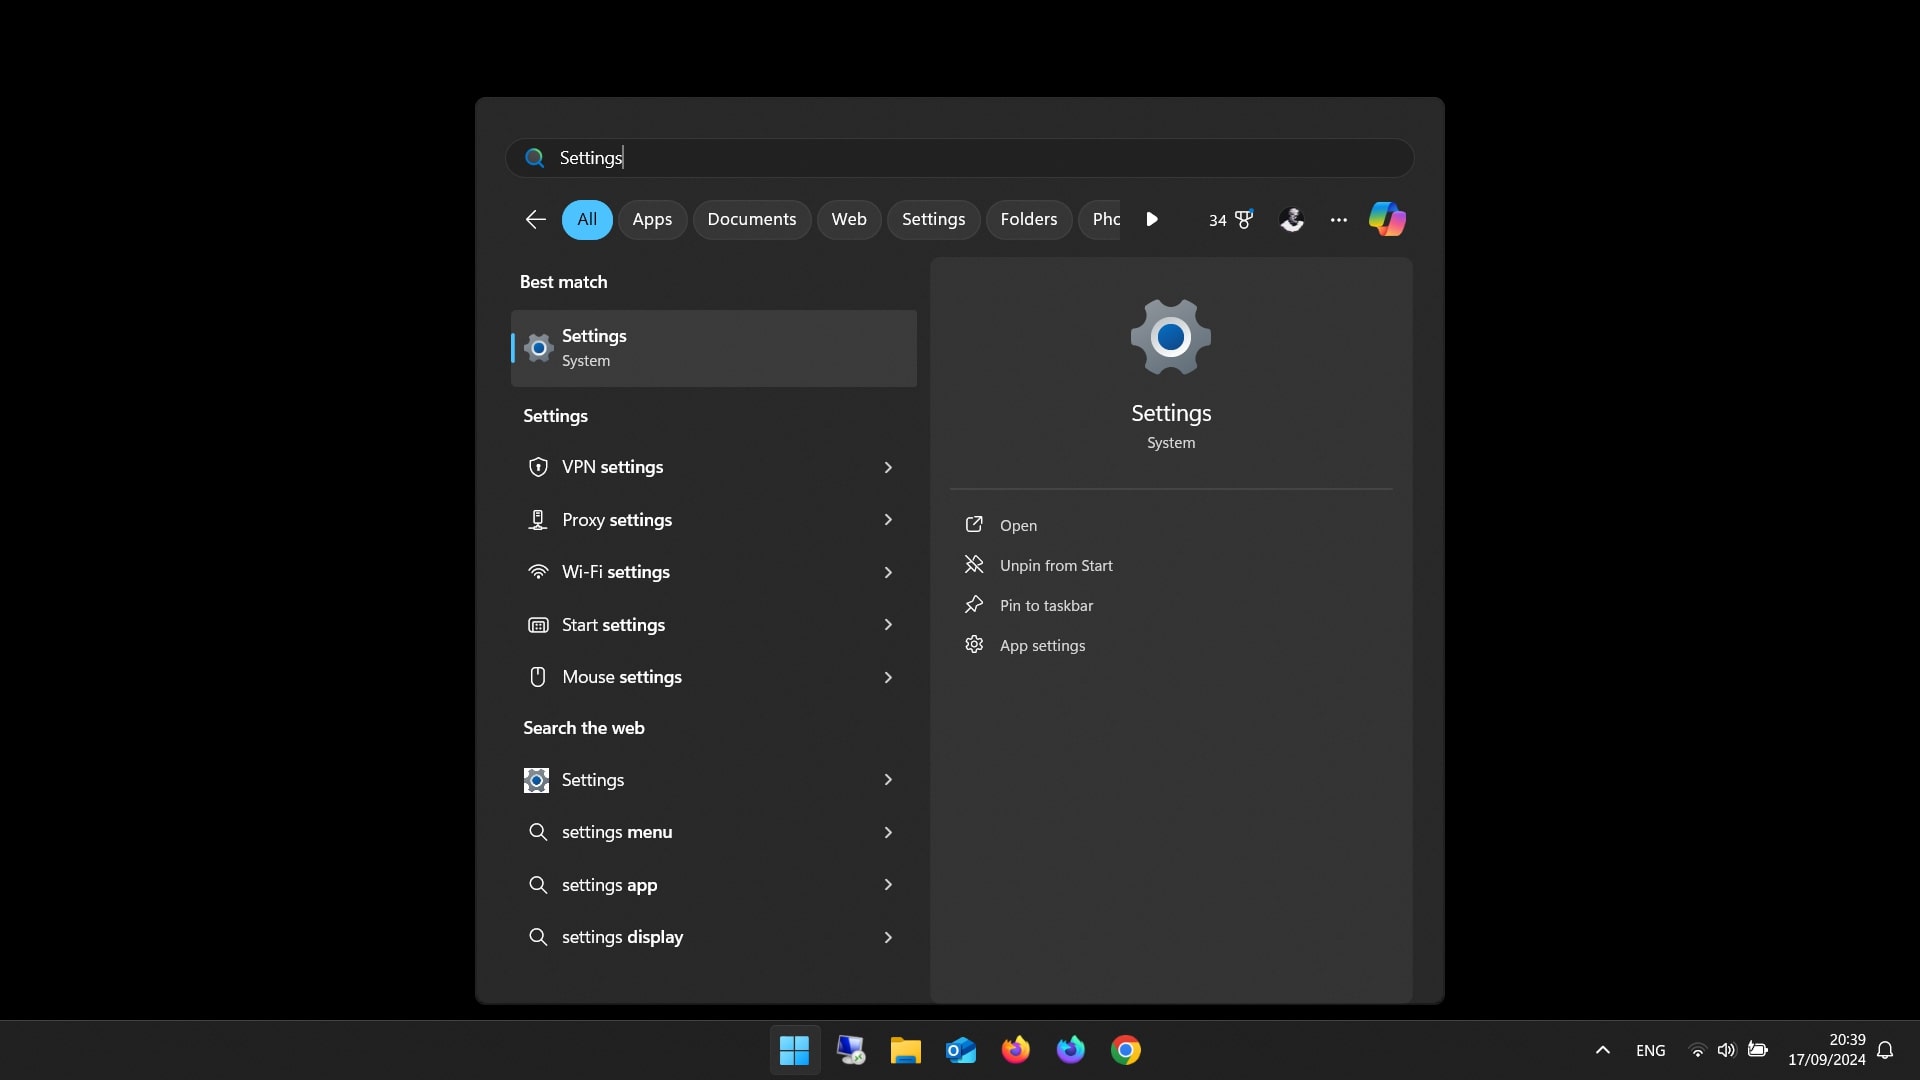
- Had into Settings.
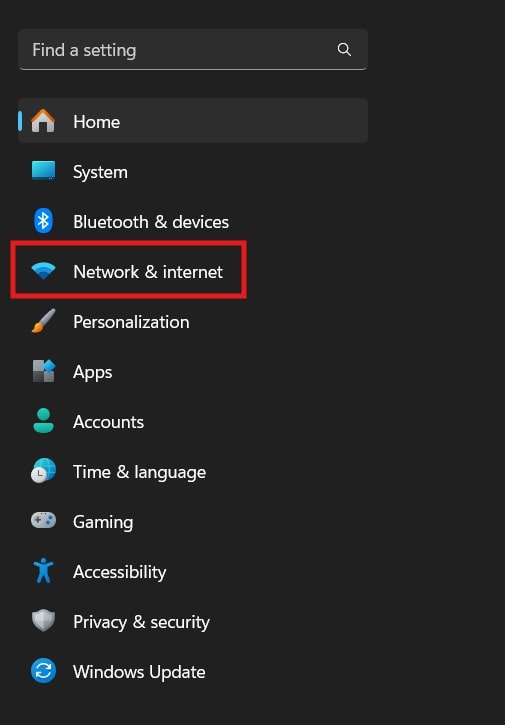
- Click on Network and internet and then choose VPN.
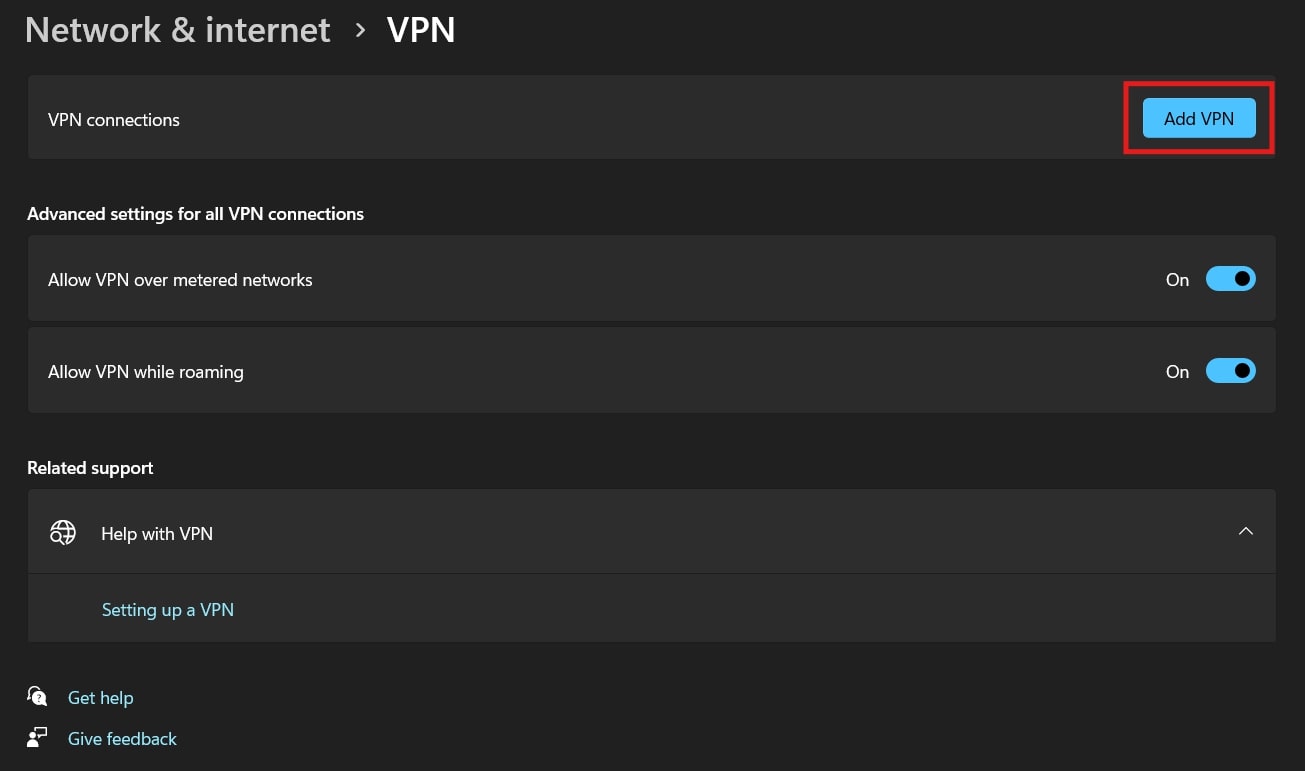
- Click Add VPN.
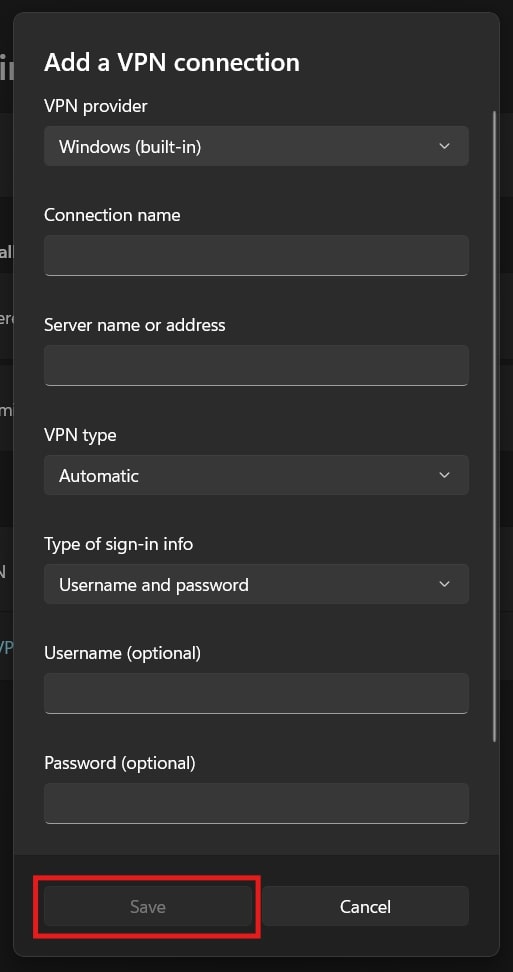
- Now, fill in the fields: select Windows (built-in) for your VPN provider, name your connection under Connection name, enter the server name or address, select the VPN type, and choose the type of sign-in info. The server name and address will be provided by the VPN service provider.
- Click on Save.
- Now go back to Settings, click on Network and internet then choose VPN, and click on your VPN name.
- Then click on Connect and enter a password.
Leave A Comment?