Situatie
Solutie
Pasi de urmat
1 – Try searching for the “Registry Editor“.
2 – Click the “Registry Editor” as the best match in the search result.

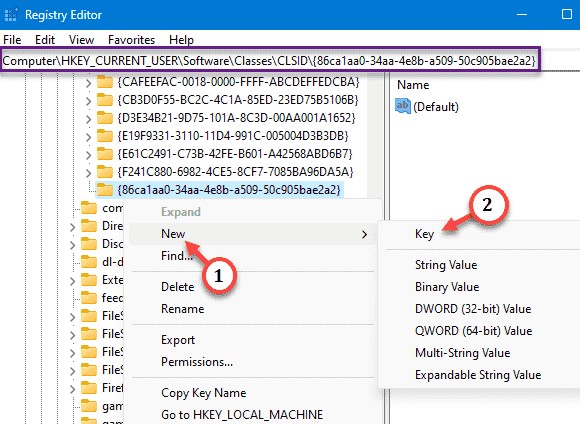
3 – After entering the Registry Editor, tab go to the CLSID tab –
HKEY_CURRENT_USER\SOFTWARE\CLASSES\CLSID
4 – You have to create a new sub-key under CLSID. So, right-click that one and tap “New>” and tap “Key“. This key will get a generic name “New Key #1“. You have to rename it on your own.

5 – To rename this key, right-click this and tap “Rename“.

6 – Write or copy-paste this name in that key to rename it as such.
{86ca1aa0-34aa-4e8b-a509-50c905bae2a2}
7 – Select the new “{86ca1aa0-34aa-4e8b-a509-50c905bae2a2}” key. Then, right-tap it and click “New>“, “Key” to create a new key.
8 – You have to name this key as “InprocServer32“. When you creates a new key, a “Default” value is automatically gets assigned to it.
9 – What you have to do is to doublet-tap this “(Default)” value.

10 – Wipe out any data you see in that ‘Value data:’ box. Make sure it is clean.
11 – Now you have to save it using the “OK” option.

- Quit the Registry Editor.
- Now, don’t go ahead and try to test the results just now! You have to wait.
- Restart your computer. When the system does come back, go to your desktop and right-click there.
Leave A Comment?