Situatie
WordPress is a content management system (WCM) which is a tool that organizes the whole process of creating, storing, and showcasing web-content in an optimal way. But, the process of creating a WordPress is not that easy it requires a lot of understanding of the topic. To make this easy Amazon Web Service(AWS) has launched a tool named Amazon Lightsail which is the easiest way to get started with virtual servers, storage, databases, and networking, plus a cost-effective, monthly plan.
Solutie
Pasi de urmat
Create/ Login to Amazon Web Service(AWS) Account
The first step is the basic step to simply create/login to your AWS account. After the AWS Dashboard is opened type Lightsail in the above white search bar on the page.
Create a WordPress Instance
To create a WordPress instance follow these steps:
- Click on the Create Instance button and choose your instance location and instance image.
- Select the Blueprint, in our case select the WordPress icon.
Choose the Instance Plan, in our case we will use the free trier plan which gives free access to Lightsail for one month (up to 750 hours).
Enter the name of the Instance. It Must be unique within each AWS Region in your Lightsail account. It Must contain 2 to 255 characters. It Must start and end with an alphanumeric character or number. And it can include alphanumeric characters, numbers, periods, dashes, and underscores.
Choose Create Instance
Connect Instance via SSH
In order of connecting your instance via SSH follow these steps:
1. On the Instances tab of the Lightsail home page, choose the SSH quick-connect icon for your WordPress instance (as shown in the figure by the red arrow).
2. After the browser-based SSH client window opens, enter the following command to retrieve the default application password:
cat $HOME/bitnami_application_password
3. Make note of the password which will display on the screen after the above command runs.
Sign in to the administration dashboard of your WordPress website
1. In place of PublicIpAddress type the public IP address of your instance. By logging on to: http://PublicIpAddress/wp-login.php
Log into your instance.
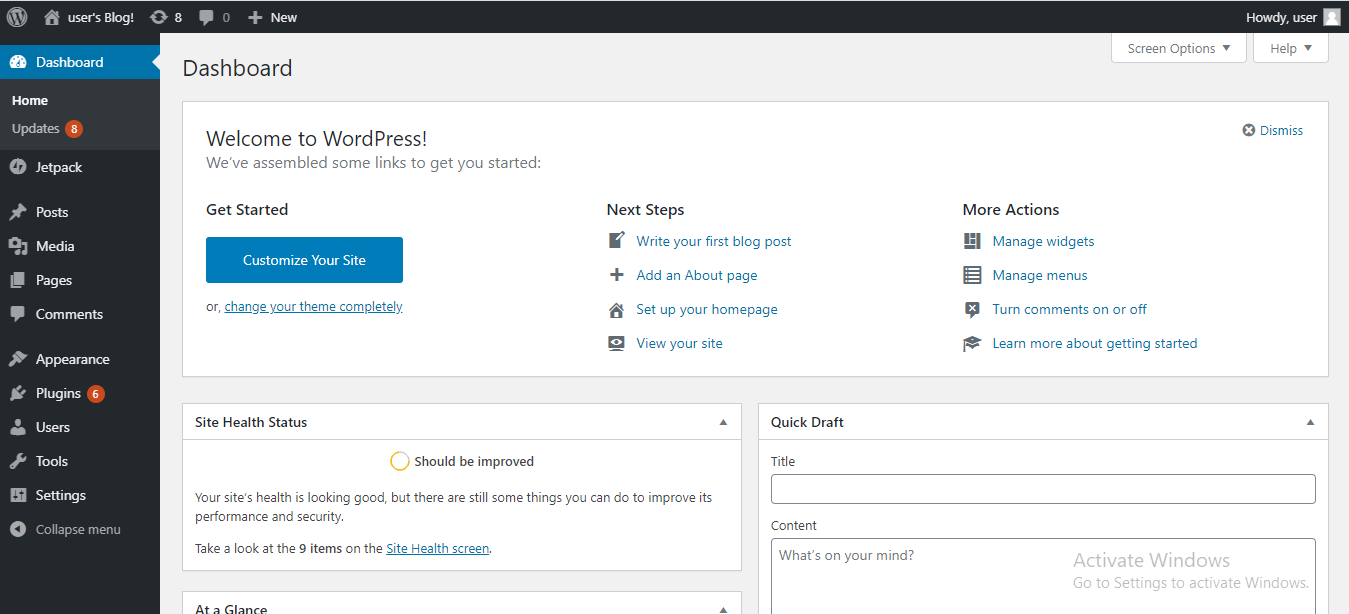
You are now signed in to the administration dashboard of your WordPress website where you can perform administrative actions.
Leave A Comment?