Situatie
SSH (Secure Shell) is a network protocol used to establish encrypted connections between devices. It is commonly used for remote server administration and secure file transfers. Configuring SSH on a Linux server is essential for system administrators because it enables managing a server from anywhere without physical access, ensuring both security and efficiency in remote management.
Solutie
Step 1: Install the SSH Server
The first step is to install the OpenSSH Server package if it’s not already installed on your Linux server. Open a terminal and run the following commands:
sudo apt update
sudo apt install openssh-server
![]()
Step 2: Check the SSH Service Status
After installation, check if the SSH service is running properly by using this command:
sudo systemctl status ssh
![]()
If SSH is running correctly, you should see an output similar to this:

Step 3: Configure the SSH Server
sudo nano /etc/ssh/sshd_config
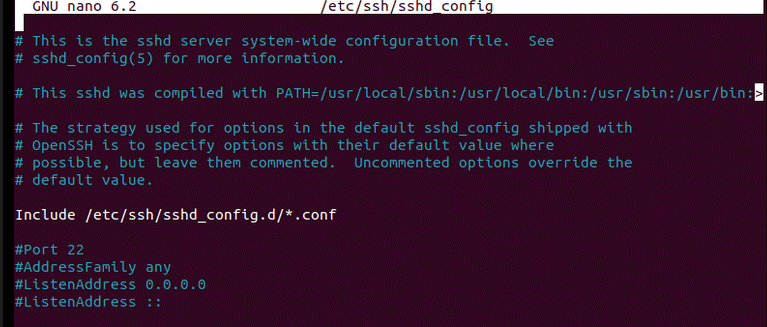
In this file, you can modify various settings such as the port on which SSH runs (default is 22) or access permissions for the root user. After making the necessary changes, save and close the file.
Step 4: Restart the SSH Service
To apply the changes, restart the SSH service using this command:
sudo systemctl restart ssh
Step 5: Test the SSH Connection
To verify everything is working correctly, try connecting to the server from another device using SSH. The typical command to connect is:
ssh username@server_ip_address
Replace username with your actual user and server_ip_address with the server’s IP address.
Leave A Comment?