Situatie
There are a load of reasons why you might want to do this, but before you go off in this direction consider why you are doing this in the first place. For example, if the user requesting this does not need an Exchange mailbox, i.e. because they only use their Gmail account then it’s probably a better idea to make them a mail-user. (That’s an AD user account, that has an external mailbox, and does not have an Exchange mailbox). For staff e.g. external contractors, part time staff, holiday cover staff, Mail-users might be a better fit.
If you are still reading you have a user with an Exchange mailbox, and you want to forward their email to an Email address outside your organisation, there are many ways of enabling forwarding, but fundamentally there’s only two things to consider;
- Do you still want mail to get delivered to their Exchange mailbox while forwarding?
- What is the external Email address you want to forward to?
Armed with this information you can decide what approach you want to take to achieve this.
Solutie
Pasi de urmat
Get The User to Set Up Mail Forwarding in OWA
From within Outlook Web App open your ‘Options’
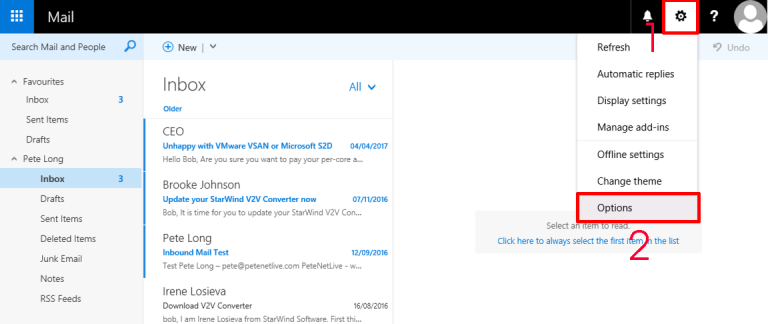
Mail > Inbox and Sweep Rules > Inbox Rules > Add
Note: On older versions of OWA look in Organize email > inbox rules > Add.
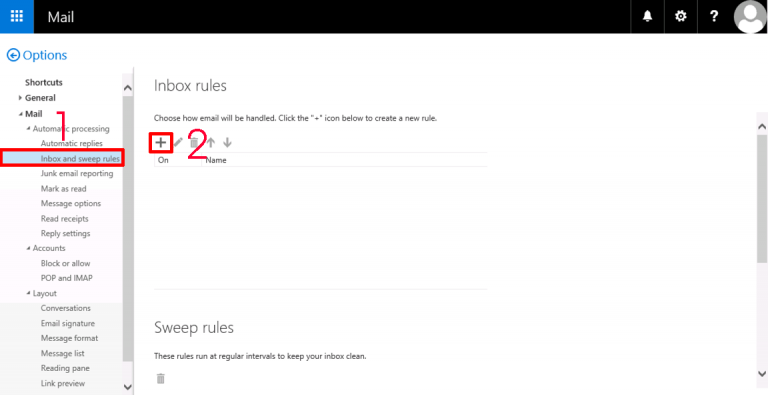
Give the rule a name > Set to [Apply to all messages] > Forward Redirect or Send > Forward Message To.
Note: Setting Redirect instead of Forward will NOT keep a copy in you local Exchange Mailbox.
Enter the external email address to forward to > Save.
Enable Mail Forwarding In Exchange Admin Center
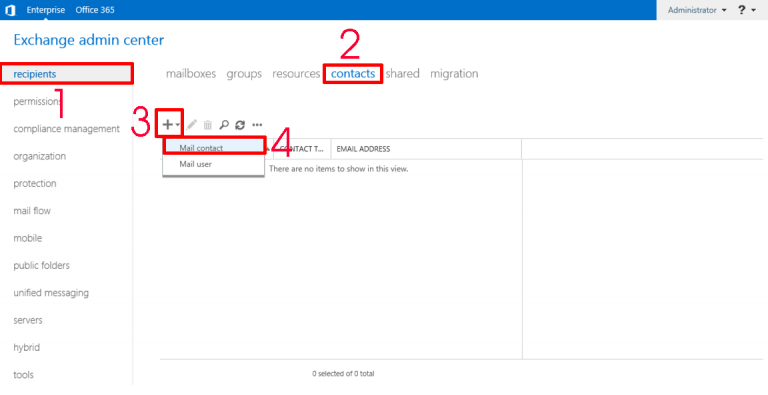
To forward mail externally for an ‘Exchange Mailbox User’, you need to create a ‘Contact’. A contact is an active directory object (not a user) that has an email address (in our case the external one). Log into Exchange Admin Center > Recipients > Contacts > Add > Mail Contact.
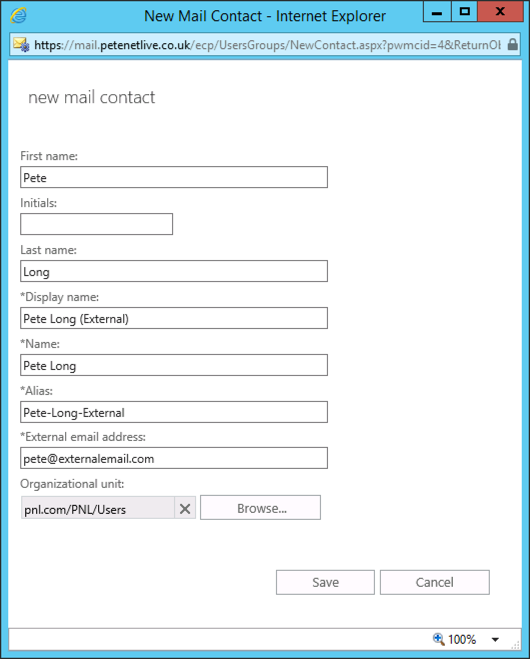
Create a contact and give it a sensible name (so when it appears in the Global Address List it’s obvious what it is*)
*Note: You can hide them from the GAL if you like, with the following PowerShell;
Set-MailContact ALIAS-NAME -HiddenFromAddressListsEnabled $true
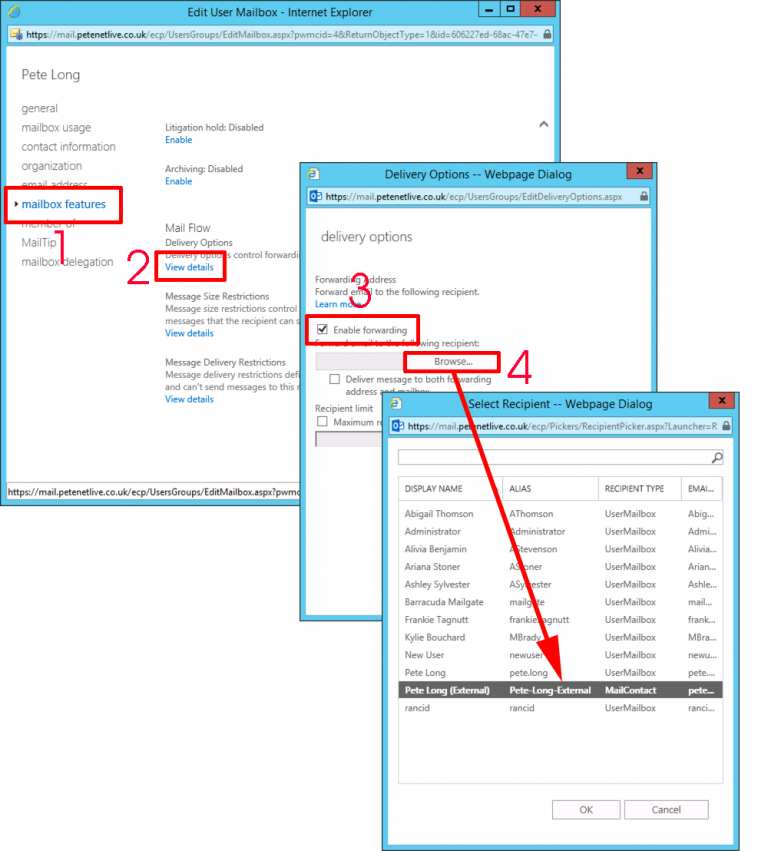
On the Mailbox Tab, locate the user you want to setup forwarding for, and edit them.

Mailbox Features > Scroll Down to ‘Mail Flow‘ > View Details > Tick ‘Enable Forwarding‘ > Browse to the CONTACT you created earlier > OK.
Note: You may also want to select “Deliver message to both forwarding address and mailbox”.
Leave A Comment?