Situatie
How to Add Rows or Columns
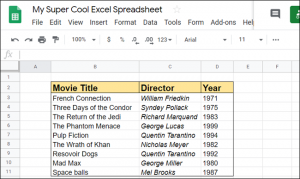
Fire up your browser and head to the Google Sheets home page. Open a spreadsheet in which you want to insert a few rows or columns.
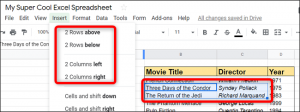
Next, click on a cell where you want to insert a column or row next to. After, select “Insert” from the toolbar.
From the Insert menu, you’ll see a few options for inserting rows and columns into your spreadsheet. You can insert rows above or below and columns to the left or right of the selected cell.
If you want to insert more than one row or column at a time, highlight as many cells as you want to add. For example, highlight two vertical cells to insert two rows or highlight two horizontal cells to insert columns.
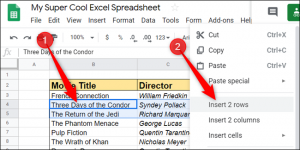
You can insert rows and columns from the right-click context menu as well. Highlight the cell you want to insert them next to, right-click the selection, and then choose “Insert Rows” or “Insert Columns.”
When removing rows and columns in Google Sheets, you can use these shortcuts if you’d prefer to keep your fingers on your keyboard the whole time. Highlight the cells from the row or column you want to remove, and then press the keyboard shortcut for the command you want to execute.
Again, because Google wants to be difficult, here are the browser-specific keyboard shortcuts for Windows, Linux, and Chrome OS:
- Alt+E, then D (Chrome) or Alt+Shift+E, then D (Other browsers): Delete rows.
- Alt+E, then E (Chrome) or Alt+Shift+E, then E (Other browsers): Delete columns.
If you use macOS, you can use the following keyboard shortcuts to remove rows or columns:
- Ctrl+Option+E, then D: Delete rows.
- Ctrl+Option+E, then E: Delete columns.


Leave A Comment?