Situatie
Solutie
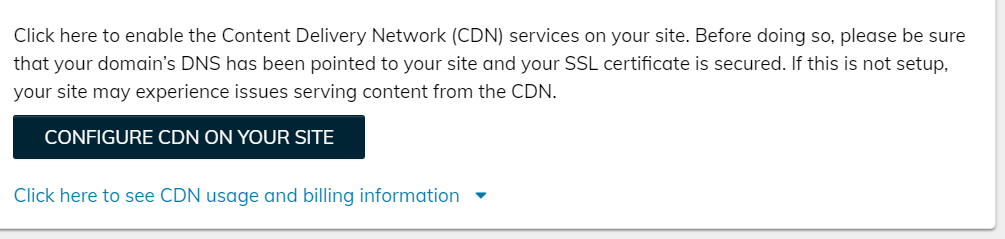
Step 1: Enable Nexcess CDN
-
Log in to your Nexcess portal for your site. Select the Plan Dashboard for the correct site.

- Go to the Performance tab in the portal.
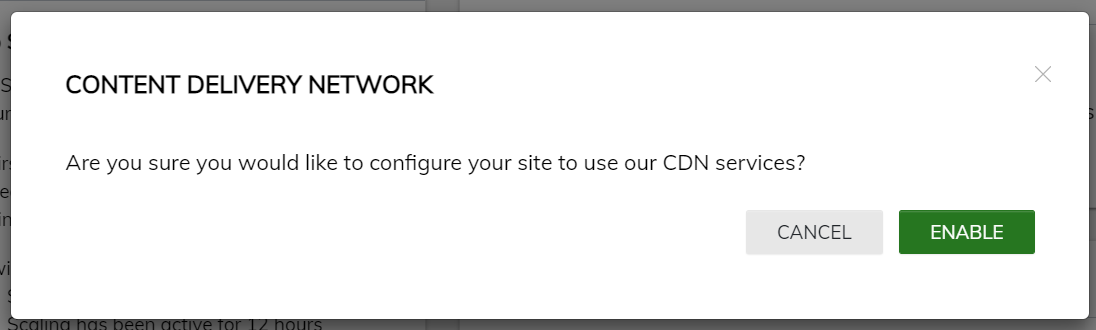
- Click on the Configure CDN on Your Site and follow the steps to enable the CDN for your site.


Step 2: Configure WP Rocket
-
From your WordPress admin panel, select Settings > WP Rocket.
-
Go to the CDN tab in WP Rocket you will need to toggle on Enable Content Delivery Network.

-
In the CDN CNAME field type your origin CDN URL. For example, https://eadn-wc02-876771.nxedge.io/cdn.
-

- You can set which assets or paths you want to exclude from the Nexcess CDN in the Exclude files from CDN section in the CDN tab of the WP Rocket plugin.

- Click Save Changes.
- Since you are already using WP Rocket you can get some extra performance gains for site users by setting the CDN URL to be DNS prefetched. Go to Settings > WP Rocket > Preload.

- Enter the URL to be DNS prefetched, an example would be //eadn-wc02-876771.nxedge.io/cdn then save the changes in WP Rocket.
- When you are testing the site using the Nexcess CDN using GTmetrix or WebPageTest it should be tested from multiple continents, if you’re testing from a geographical region close to the origin server, the performance benefit will not be as apparent as it would to a test done in a different region.
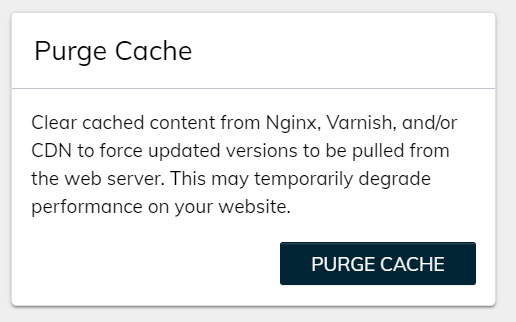
- If you do need to purge the content being stored in the Nexcess CDN you can purge the CDN directly from the portal in the performance tab.
-
Leave A Comment?