Situatie
A bootable Windows 11 USB drive is the best way to install Windows 11. You can easily create one with a flash drive, a free download from Microsoft, and a Windows PC. To use the Media Creation Tool, you need a PC running Windows 10 or 11 as well as a USB drive that is eight gigabytes or larger. An external solid-state drive (SSD) or external hard disk drive (HDD) would also suffice.
Solutie
Pasi de urmat
Microsoft provides an application to automatically create a bootable Windows 11 USB drive on their website. Scroll down until you see a section titled “Create Windows 11 Installation Media.” Then, under that, click “Download Now.”

When it finishes downloading, hit Ctrl+J to open the downloads menu on your browser. Every browser is a little different, but you’re looking for a file named “MediaCreationToolW11.exe.” Click it to start the installation.
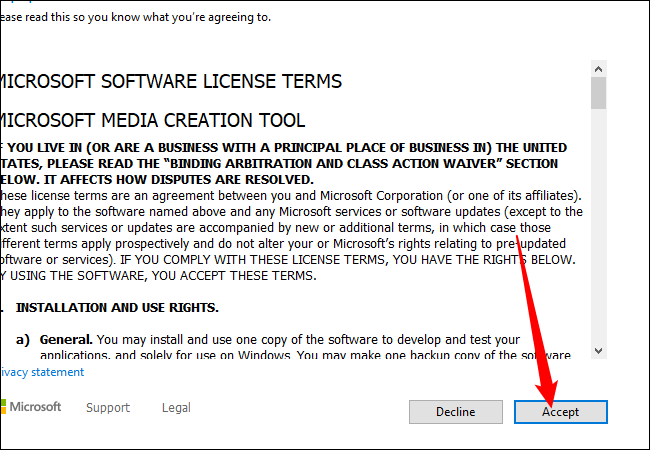
The first page is the terms and conditions — just hit “Accept.”
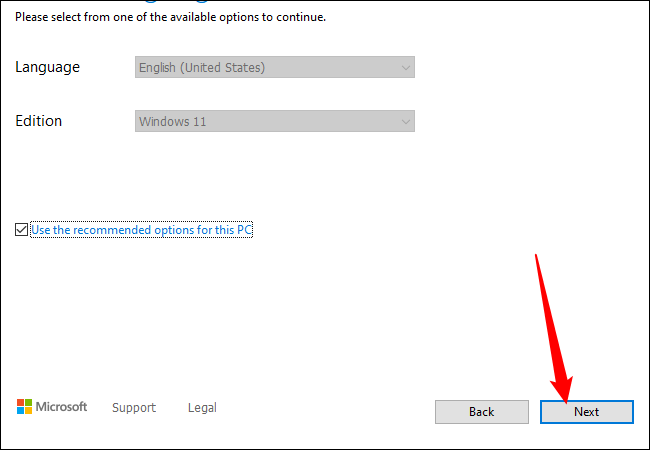
The next page has a few options — if you’d like to install Windows 11 in a different language, untick the box “Use the recommended options for this PC” and select a language. Otherwise, click “Next.”
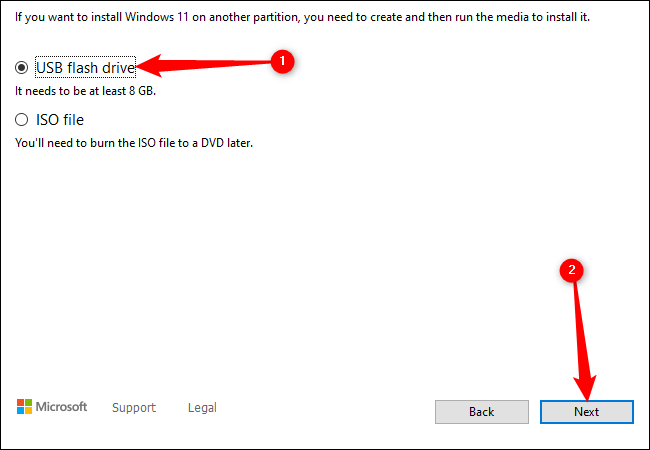
Ensure “USB Flash Drive” is selected, then click “Next.”
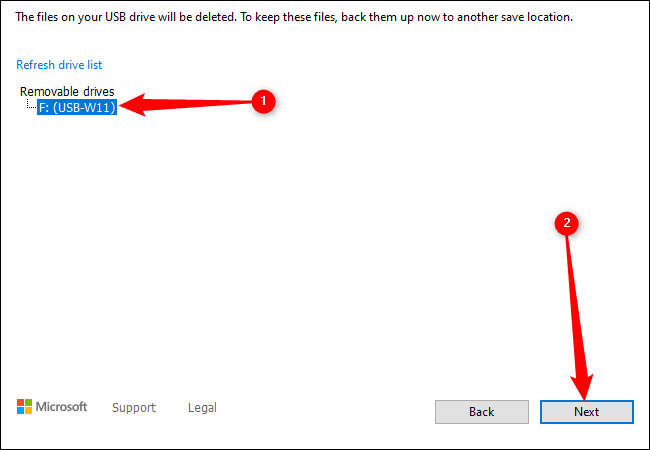
Select the USB drive you want, and then click “Next.”
Now wait. The Media Creation Tool will download Windows 11 from Microsoft’s servers. This may take a while depending on your internet speed. When it is done, click “Finish.”

Safely eject the drive by clicking the small USB icon on your taskbar, and then by clicking the name of the USB drive.
Your bootable Windows 11 USB drive is now ready. It is easy to change your PC’s boot order in the BIOS if you want to use the drive to install Windows 11, either by itself or with a Linux dual boot setup.
Leave A Comment?