Situatie
When a critical error is encountered by the Windows operating system, the system throws a blue death screen (BSOD). This blue death screen then throws the error code into the lower left region and then restarts the computer. This error is caused mainly by the fact that some internal system processes or files have ceased to function as expected. Sometimes files from DLLs or dynamic link files have malfunctioned, or any critical process inside the system has caused an error. Well, in this case, often the task the user is currently doing is left behind and forced by the system. This involves a greater loss of work that the user did not save on their computer. Therefore, to disable this, you must disable Automatic Restart.
Solutie
Pasi de urmat
First of all, we would recommend you to create a System Restore point. Because we will be playing with registry files and modifying some really critical Windows settings. Having done this, we will continue on our quest of disabling Automatic Restart on System Failure in Windows 10.
1: Using Startup and Recovery Settings
First of all, start by hitting they WIN + R combination to launch the Run utility.
Now, type in sysdm.cpl and then hit Enter to launch System Properties. Next, click on the tab called Advanced and under the section labeled as Startup and Recovery, click on the button that says Settings.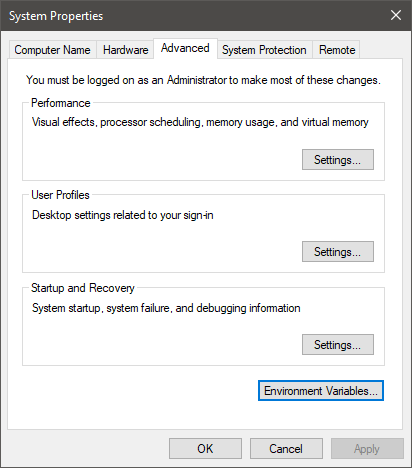
A new pop-up window will now open. Under the section called System failure, uncheck the option labeled as Automatically restart.
Now, click on OK then on Apply and then again on OK.
Reboot your computer now for the changes to take an effect.
2: Using Command Prompt with Admin Level Privileges
Start by pressing WIN + X button combo or right-click on the Start button and click on Command Prompt (Admin) or just search for cmd in the Cortana search box, right click on the Command Prompt icon and click on Run as Administrator.
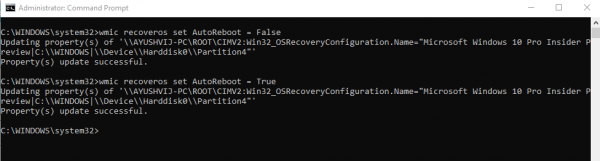
Now, type in the following command to disable Automatic Restart on System Failure:
Disable Automatic Restart on System Failure: wmic recoveros set AutoReboot = False
Or, you can type in the following command to enable Automatic Restart on System Failure:
Disable Automatic Restart on System Failure: wmic recoveros set AutoReboot = True
Type in exit and hit Enter to exit the Command Prompt.
Reboot your computer for the changes to take an effect.
3: Using the Registry Editor
First of all, start by hitting the WINKEY + R button combination to launch the Run utility.
Now type in regedit and hit Enter.
Or, you can search for Registry Editor in the Cortana Search box and select the appropriate option.
Click on Yes for the UAC prompt that you get.
Now, navigate to the following key location inside of the Registry Editor,
HKEY_LOCAL_MACHINESYSTEMCurrentControlSetControlCrashControl
Select CrashControl in the left pane and then double click on AutoReboot on the right pane.

Now, a new mini-window will pop-up. Inside the Value Data field, enter the value as 0 (ZERO). Click on OK.
Reboot your computer for the changes to take an effect.
4: Using Advanced Startup Options
Start by booting in the Advanced Startup Options. You can learn more about booting in the Advanced Startup Options here in this article.
Now, after you are booted in the Advanced Startup Options, click on Troubleshoot.
Then out of the three options you get, click on Advanced Options.
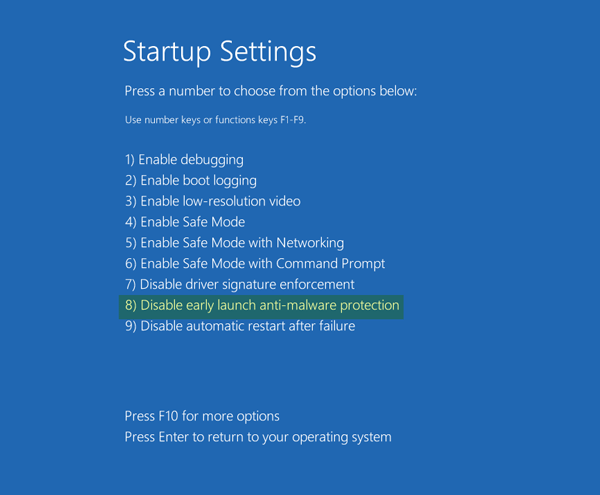
After that, click on Startup Settings. Then, click on the button labeled as Restart.
After the restart, the system will boot into Startup Settings, just hit the F9 key or 9 key in order to select the option to Disable Automatic Restart after failure.
Leave A Comment?