Situatie
You must edit the Windows registry to disable web searches in the Start menu.
Solutie
Pasi de urmat
To start, open the Registry Editor by hitting Start and typing “regedit”. Double-click the “Registry Editor” shortcut that appears (or press Enter) and click Yes to the UAC prompt.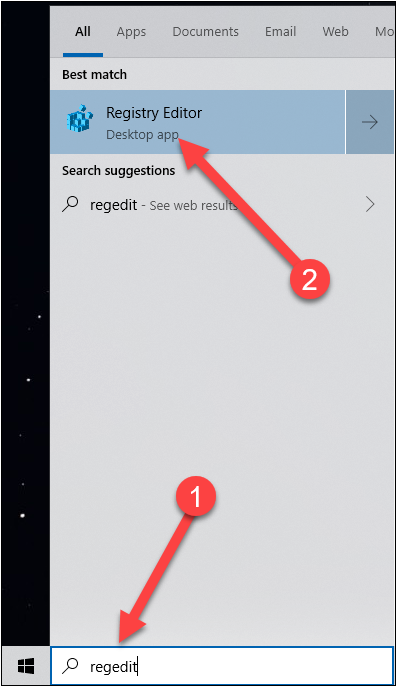
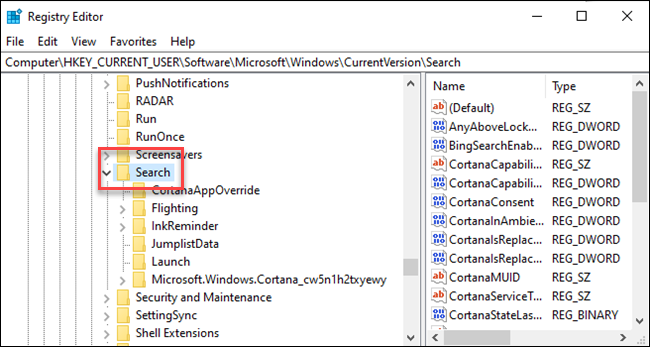
In the Registry Editor use the left sidebar to navigate to the following key:
HKEY_CURRENT_USER\SOFTWARE\Microsoft\Windows\CurrentVersion\Search

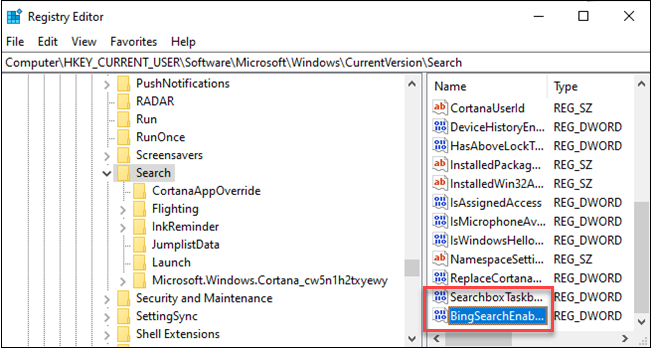
Right-click the Search icon and choose New > DWORD (32-bit) Value. Name the new value BingSearchEnabled.
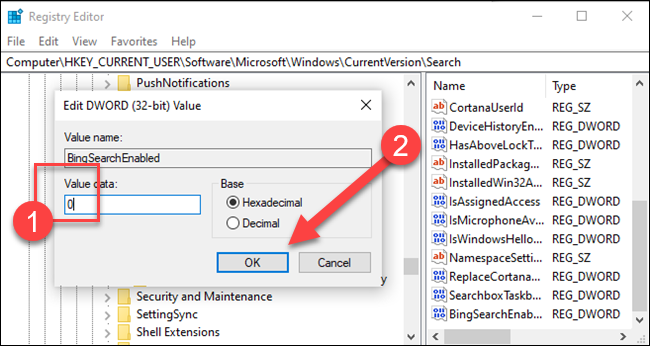
Double-click the new BingSearchEnabled value to open its properties dialog. The number in the “Value data” box should already be 0—just ensure it’s still 0. Click OK to continue.
Below BingSearchEnabled, you should see CortanaConsent. Double-click this value to open its properties dialog. Change its “Value Data” box to “0”.
If you don’t see CortanaConsent, create it by following the same steps you used to create BingSearchEnabled.

You can close the Registry Editor now. If you search your start menu, you should now see only local results. If the change doesn’t take effect immediately, restart your PC.

Leave A Comment?