Situatie
When your hard drive is nearly out of free space, Windows will warn you with a little pop-up box. This can be handy the first time but that’s usually where the usefulness stops.
Follow the easy steps below to turn off the low disk space checks in Windows.
Solutie
The steps below apply to Windows 10, Windows 8, Windows 7, Windows Vista, and Windows XP.
Open Registry Editor.
The steps for opening Registry Editor are a little different in some versions of Windows, so follow that link above if you need specific help.
However, no matter which version of Windows you’re using, this command, when used from the Run dialog box (Windows Key + R) or Command Prompt, will open it right up:

- Locate the HKEY_CURRENT_USER folder under Computer and click the expand sign (either (+) or (>) depending on your Windows version) to expand the folder.
- Continue to expand folders until you reach the HKEY_CURRENT_USERSoftwareMicrosoftWindowsCurrentVersion registry key.
- Select the Policies key under CurrentVersion.
- From the Registry Editor menu, choose Edit, followed by New, followed finally by Key.
- After the key is created beneath Policies, it will initially be named New Key #1.
- With the new key, Explorer, still selected, choose Edit, followed by New, followed finally by DWORD (32-bit) Value.
- After the DWORD is created beneath Explorer (and displayed on the right-hand side of Registry Editor), it will initially be named New Value #1.
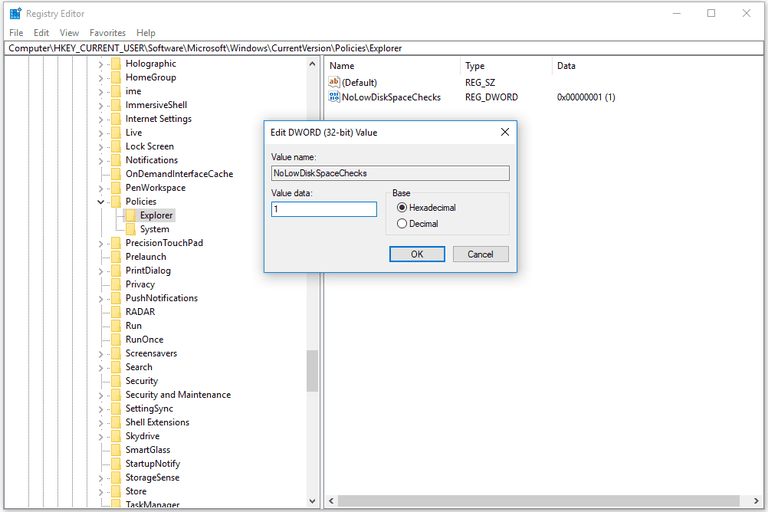
- Right-click on the new NoLowDiskSpaceChecks DWORD you just created and choose Modify….
- In the Value data: field, replace the zero with the number 1.
- Click OK and close Registry Editor.
Leave A Comment?