Situatie
Solutie
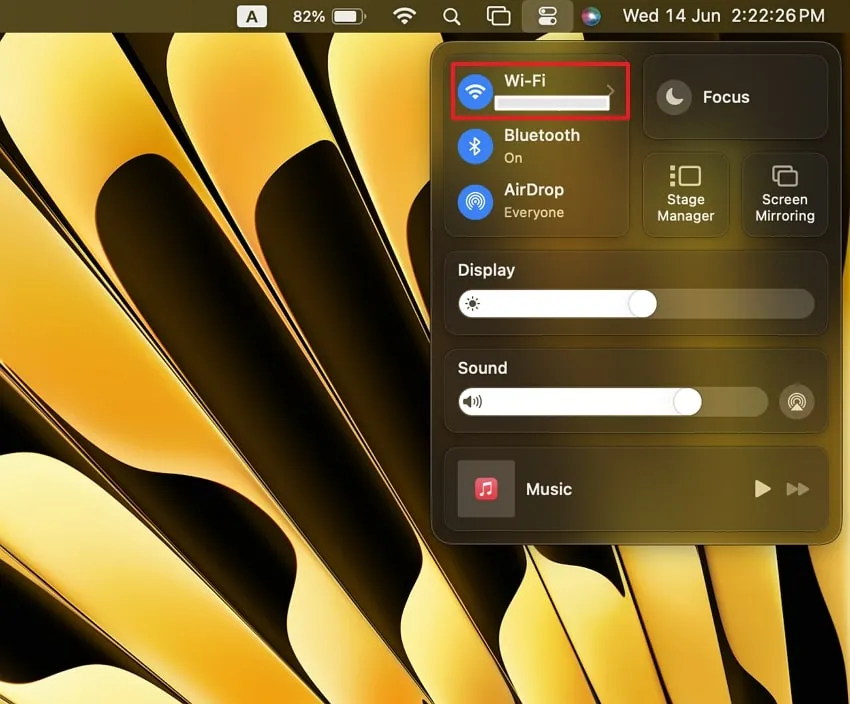
Tip 1: Disable and Enable Wi-Fi
Start by moving the cursor to the menu bar at the top of your Mac screen. Now, tap the “Wi-Fi” icon and toggle the switch next to the “Wi-Fi.” This will disable your Wi-Fi connectivity. Again, toggle the same switch to turn it on and check if the connectivity has been restored.
Tip 2: Power Off and Power On Your Router
In case you are still facing trouble with your internet after enabling the Wi-Fi, try turning off your router and turning it back on. You can do this by using the “On/Off” switch at the back of the router. Also, make sure that all the cables are connected correctly. After you turn on the router again, wait at least 2 minutes before trying to connect again.
Tip 3: Disconnect All External Devices
Make sure the devices you connect to your MacBook have shielding. If they don’t, they might make your Wi-Fi or internet stop working. First, disconnect every device from your Mac, like the mouse, keyboard, and hard drive. Then, try connecting to the internet again. If you can go online now, it means one of your devices is causing the problem.
To resolve this, connect your devices back one by one to notice which one is causing trouble. If you find the one causing the problem, get it repaired or buy a new one.
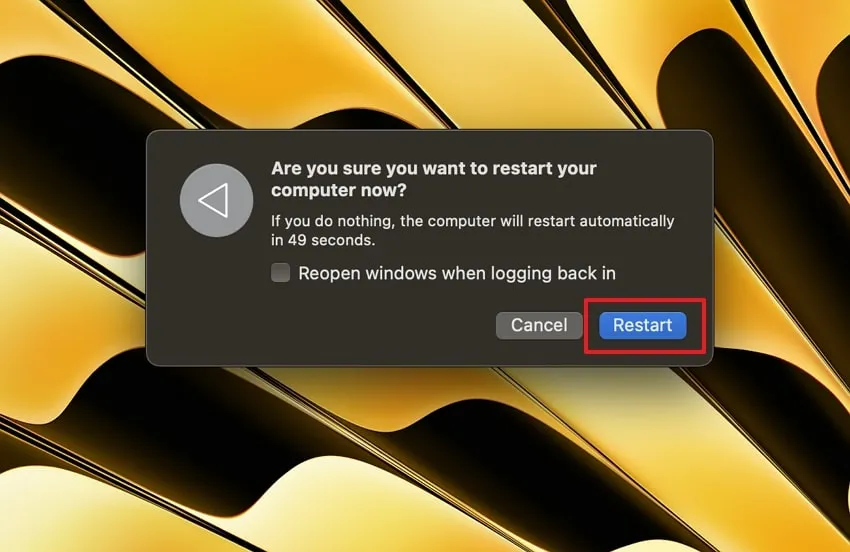
Tip 4: Restart Your Mac
On your Mac, in the top left corner, hit the “Apple” icon. As the drop-down list appears, tap the “Restart” option. Then, in the pop-up window, press the “Restart” button again to switch Mac off. Afterward, wait a few seconds, and it will turn on again.
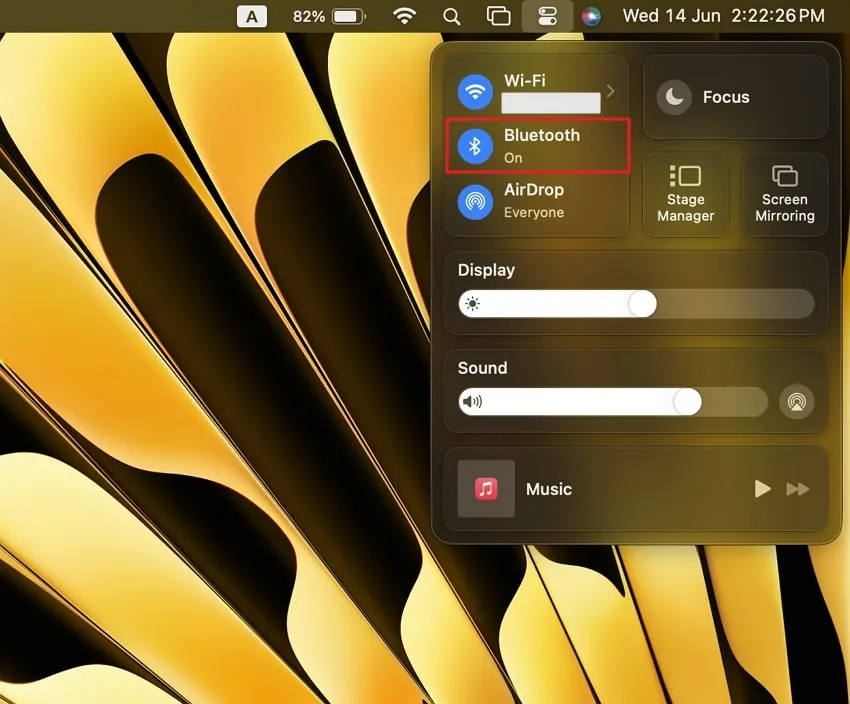
Tip 5: Disable Bluetooth
Head to the top-right corner and select the “Control Centre” icon. Then, from the available options, click “Bluetooth” and toggle the switch to the off position. This will disconnect Bluetooth on your Mac.
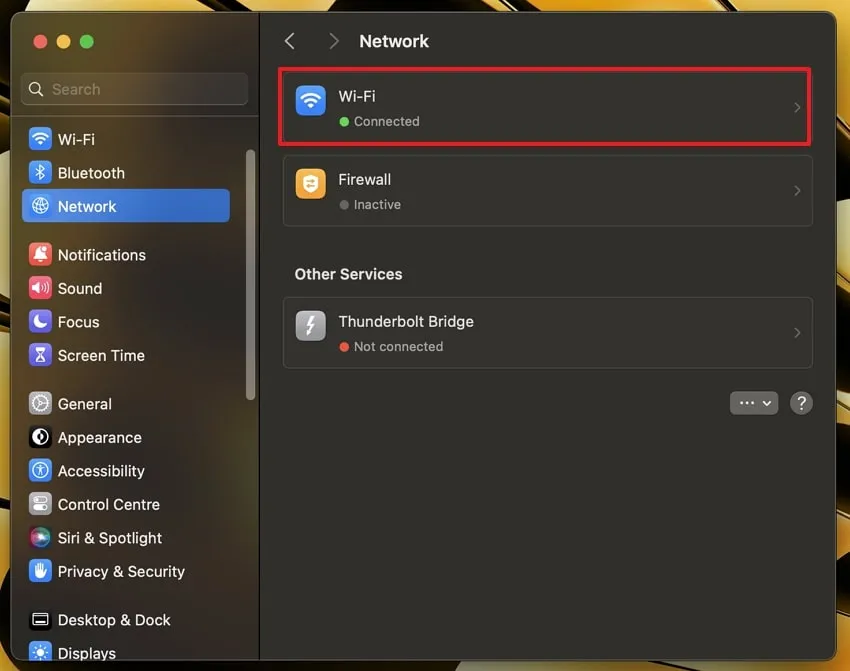
Tip 6: Re-add Wi-Fi Connection
Step 1: Hit the “Apple” icon at the top-left on your Mac screen and then select “System Settings” from the list. Now, from the left sidebar, tap the “Network” option and choose “Wi-Fi” from the right side.
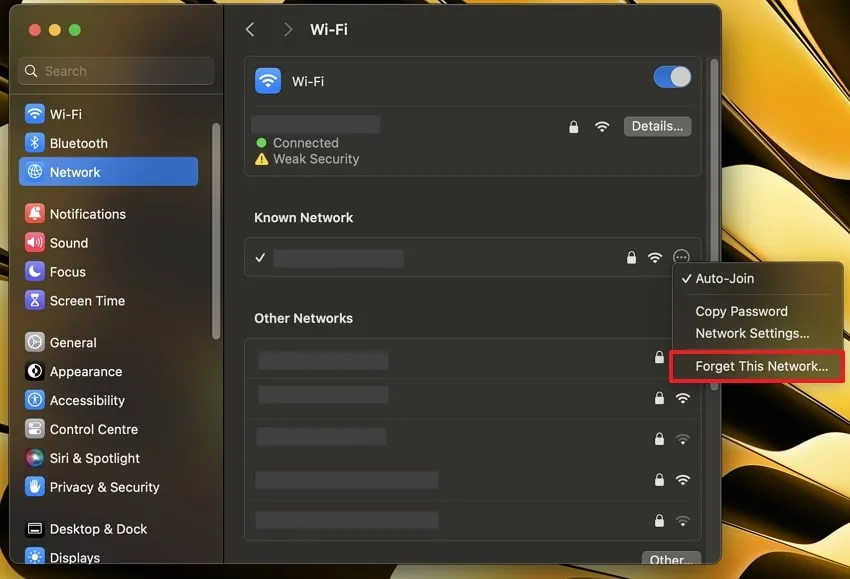
Step 2: Afterward, under the “Known Network” section, you will see a connected Wi-Fi. There, tap the three dots and select “Forget this Network.” Following this, hit the “Remove” button to unjoin the network.
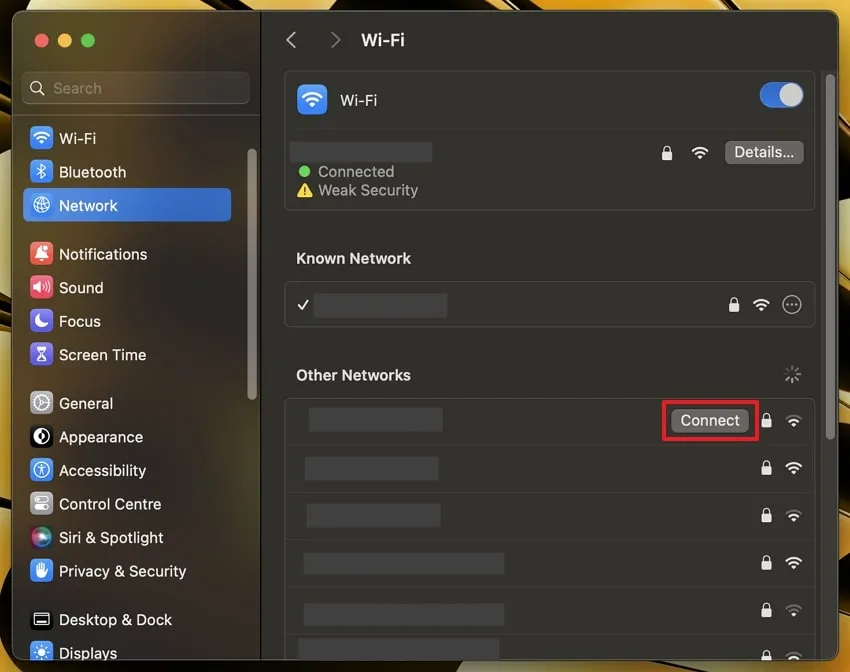
Step 3: Once removed, search for the desired network under the “Other Networks” section. When you place the cursor on the network, you will notice a “Connect” button. Select it, and type the “Password” for that network. Finally, press the “OK” button to re-add the connection.
Tip 7: Turn Off the Firewall
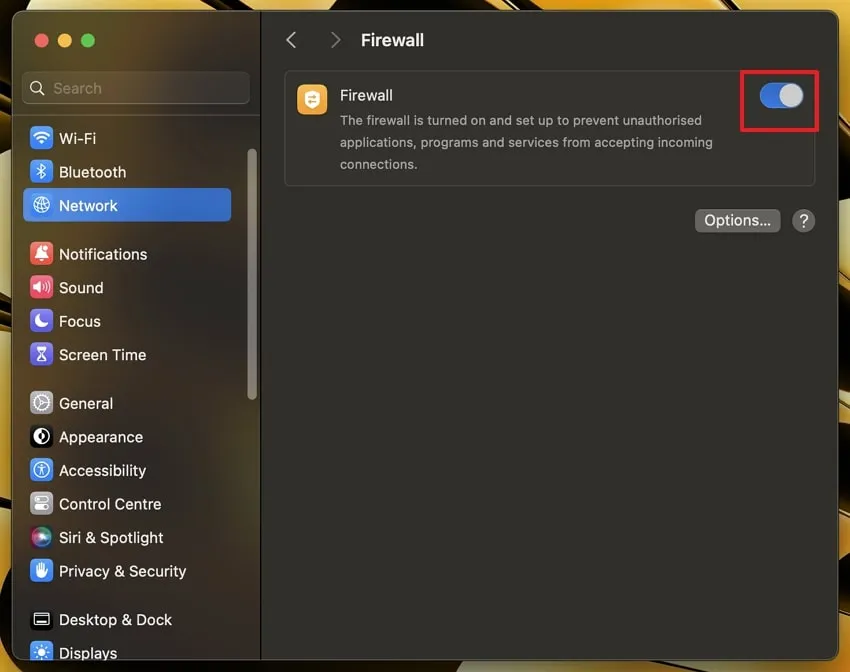
In the “System Settings” on your Mac, hit the “Network” option from the left sidebar. Continue tapping the “Firewall” option in the “Network” section window. Toggle the switch to turn off the Firewall for your Mac.
Tip 8: Move Closer to Router
Usually, when your Mac is far from the Wi-Fi router or network, it may have trouble connecting. Even if it shows connected, the signal might need to be stronger to give you a good internet connection. The bars in the Wi-Fi symbol on your Mac’s menu bar show how strong the signal is. Move and place your Mac where the signal bars reach at least three. This will build a stronger Wi-Fi connection.
Part 2. 3 Professional Ways to Fix Wi-Fi Not Working After MacOS Sonoma Update
If the Wi-Fi not working issue is not resolved after applying the basic tips, some other things might be interfering with your network. Considering this, we have some professional ways to help you figure out the Wi-Fi not working after the macOS Sonoma update issue.
Way 1. Delete the VPN
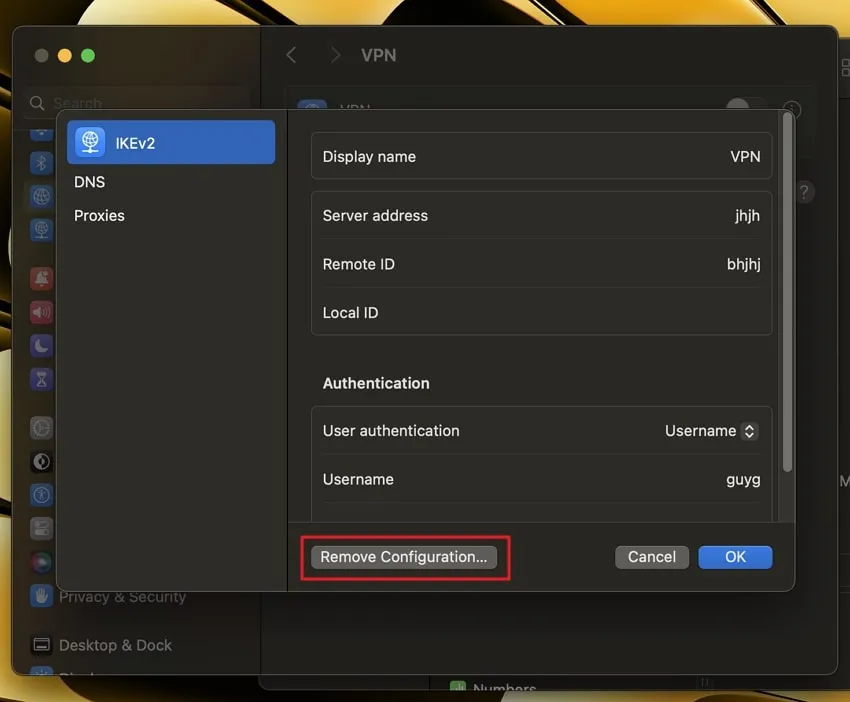
You need to navigate to the “System Settings” first, then under the “Network” option, tap on “VPN.” This will show the connected VPN on the right side. Toggle the switch off, tap on the “i” icon next to the VPN, and at the bottom left, click “Remove Configuration.” This will delete your VPN network.
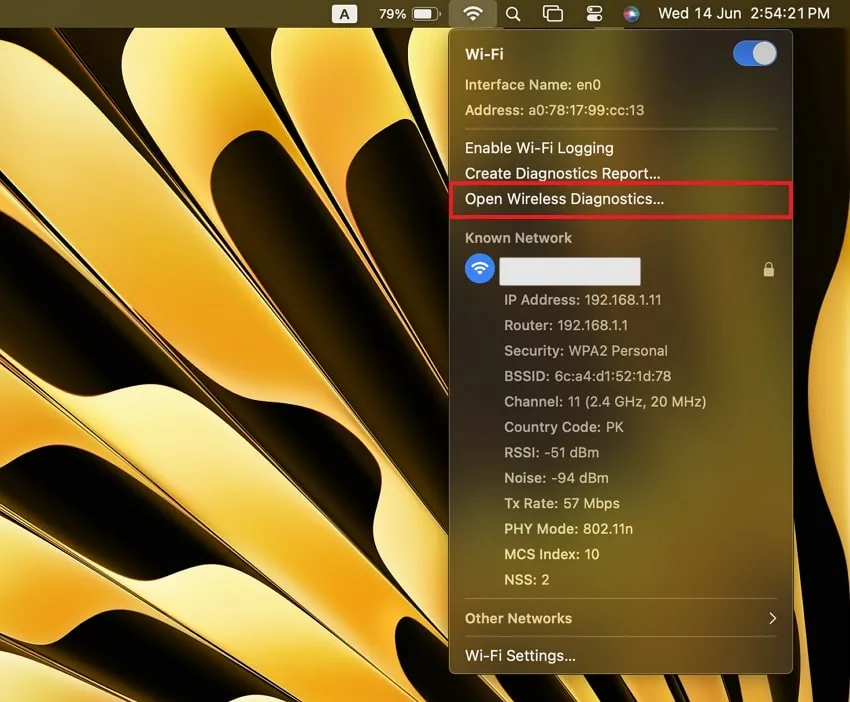
Way 2. Run Wireless Diagnostics
Locate the Wi-Fi icon from the top right side of the MacBook toolbar. Afterward, click on the Wi-Fi icon while holding the “Option” key. This will open the details related to your Wi-Fi network. Next, choose the “Open Wireless Diagnostics” option and press the “Continue” button to initiate the diagnostics process.
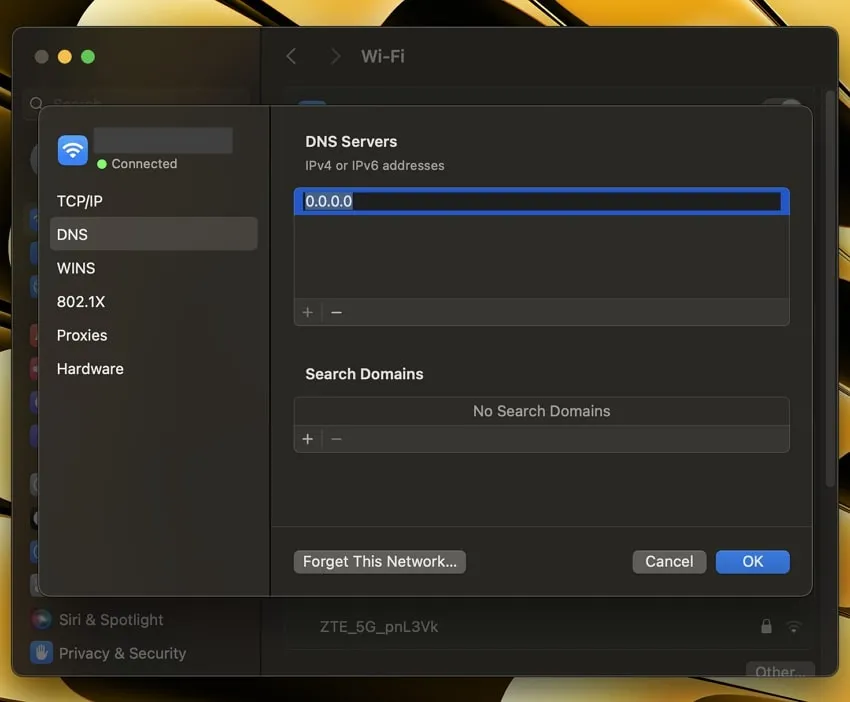
Way 3. Update DNS Settings
Access and open the “Network” section on your Mac from “System Settings.” Then choose “Wi-Fi” and locate and press the “Details” button next to your Wi-Fi name. Access the “DNS” tab from the left sidebar. Afterward, under the “DNS Servers” box, hit the “+” icon and insert the addresses “8.8.4.4” or “8.8.8.8,” and tap the “OK” button to start browsing again.
Leave A Comment?