Situatie
If you have a Microsoft Excel sheet that you need someone to verify, confirm, or agree to, you can have them sign it. Here, we’ll show you how to add and customize a signature line in your Microsoft Excel spreadsheet. We mostly think about signature lines in terms of things like contracts, legal documents, and real estate agreements. You may create these types of documents and request signatures using Microsoft Word. But with Excel’s usefulness for tracking company finances, employee timesheets, logs, and such, you may need a signature in a spreadsheet as well.
Solutie
Open your Microsoft Excel workbook on Windows 10 as well as the sheet that you want to use. As of this writing, the Signature Line object is not available in Microsoft Excel online or for Mac. Go to the Insert tab, and on the right side of the ribbon, click “Text.” In the drop-down box, choose “Signature Line” and then “Microsoft Office Signature Line.”

A customization window will pop open for you to set up the signature line per your preference. Although each item is optional, you may find one or more beneficial to the document requiring the signature.
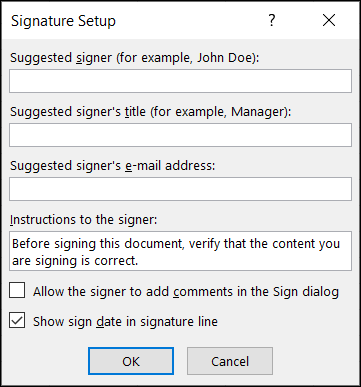
When you finish adjusting these items, click “OK” to insert the signature line. You can then move the signature line by dragging the enclosing box, or you can resize it by dragging an edge or a corner.

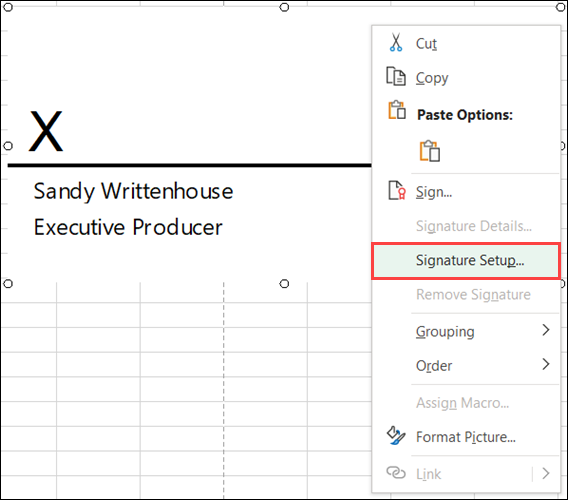
If you want to edit the Signature Setup items listed above after you insert the signature line, this is easy. Right-click the signature line box in the sheet and pick “Signature Setup.”
Now that you have the signature line in your Microsoft Excel sheet, you can save the workbook. Share or print it to obtain the signature.
Leave A Comment?