Situatie
When you install phpMyAdmin on CentOS 7, you get to enjoy a new, intuitive user interface through your browser, instead of using the command line. Through this web interface, you can perform all the typical operations like managing databases, tables, columns, relations, users etc, while at the same being able to execute any SQL statement directly.
To increase its adoption rate, phpMyAdmin is translated into 72 different languages and supports both RTL (right-to-left) and LTR (left-to-right) languages.
Some other phpMyAdmin features:
- create, browse, edit, and drop databases, tables, views, columns, and indexes
- display multiple result sets through stored procedures or queries
- create, copy, drop, rename and alter databases, tables, columns and indexes
- maintenance server, databases and tables, with proposals on server configuration
- load text files into tables
Solutie
1. Access Your VPS
Before we start, we’ll need to access our VPS server using SSH!
2. Install an Apache Web Server
The first prerequisite of phpMyAdmin is an Apache web server. Use the following command to install Apache on your CentOS 7 virtual private server:
yum install httpd -y
Next, check the status of apache with the command:
systemctl status httpd
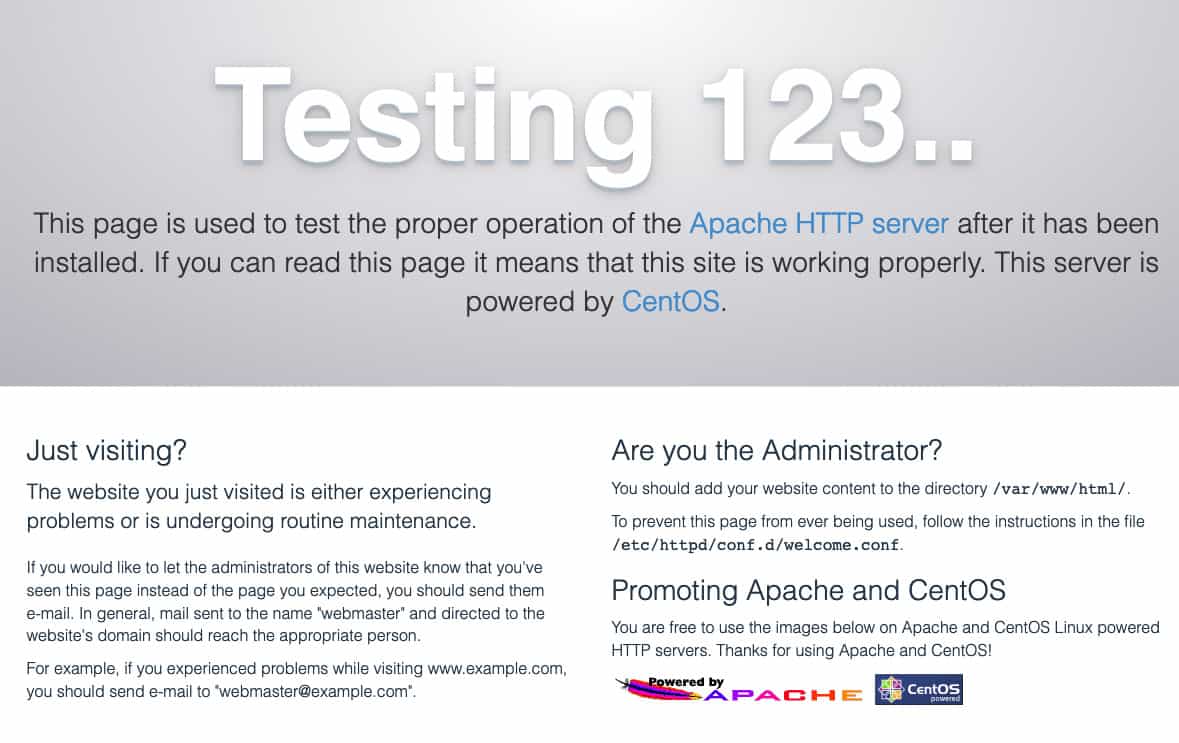
Next, we should make sure that Apache is running. Enter your server’s IP address into a browser address bar. You should see the Apache testing splash screen:
3. Install the EPEL Repository
phpMyAdmin comes in the EPEL repository (Extra Packages for Enterprise Linux). To access EPEL you need to install a special package – epel-release. Use the following command to install epel-release on your CentOS:
sudo yum install epel-release
Now that the EPEL repo is made available, we can proceed to install phpMyAdmin on CentOS 7.
4. Install phpMyAdmin on CentOS 7
Issue the following command:
sudo yum install phpmyadmin
Once the installation is complete, you will have to edit the phpMyAdmin configuration file.
5. Configure the phpMyAdmin.conf File
The edit will make sure that you can access your phpMyAdmin client remotely. We’ll open the phpMyAdmin.conf file located in the directory /etc/httpd/conf.d/ using the vim editor:
vim /etc/httpd/conf.d/phpMyAdmin.conf
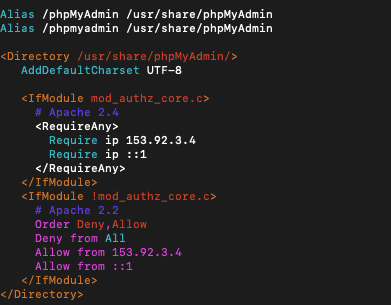
Here you will see four different require ip strings matched with long IPs. The default value is 127.0.0.1. Replace that value with the IP of the machine you will be using to access phpMyAdmin. You can use a tool like WhatsMyIP to check your IP. Save and exit the file by hitting escape and typing in :wq.
You can see an example of the phpMyAdmin.conf file below:
6. Restart the Apache Web Server
Next we’ll restart the Apache web server by entering the following command in the command line:
systemctl restart httpd
7. Check if phpMyAdmin is Working
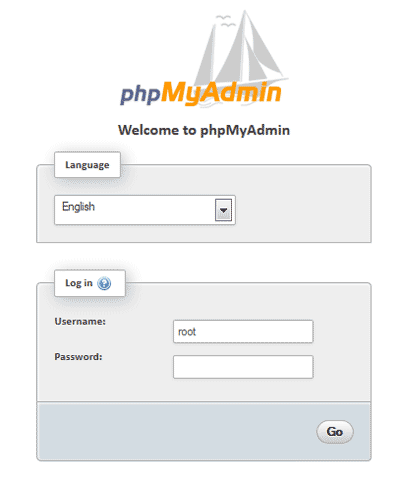
Finally, we can open phpMyAdmin utility by entering in your server’s IP address in a browser’s address bar with the addition /phpmyadmin string like so – 127.0.0.1/phpmyadmin. There you should see the login screen.
8. Locate Your phpMyAdmin Username and Password
Your username and password will be located in the file config.inc.php. The file will be in the phpMyAdmin installation directory. For us it is /etc/phpMyAdmin.
Open the file using the vim editor:
vim config.inc.php
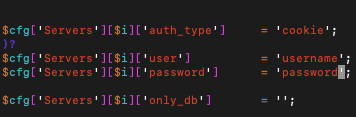
Inside you can set the username and password, as shown in the screenshot below:
Save and exit the file by hitting esc and :wq as before.
9. Change Alias
Open phpMyAdmin.conf using a text editor:
sudo vim /etc/phpMyAdmin/config.inc.phpNear the top, you should see two lines:
Alias /phpMyAdmin /usr/share/phpMyAdminAlias /phpmyadmin /usr/share/phpMyAdmin“Alias” is how the internet will see your phpMyAdmin configuration. Since the default configuration is an easy target for bots and hackers, consider changing the alias setting. Just put a ‘#’ sign before the existing entries so the program sees them as comments, rather than instructions. Then add your own line:
Alias /MySecretLogin /usr/share/phpMyAdminNow, when you go to your login screen, you’ll have to type https://IP_OR_DOMAIN/MySecretLogin (or whatever you choose) to gain access.
Once you’re finished making changes, save the file.
10. Restart Apache
Regardless of which configuration you use, you’ll need to restart the Apache service to see your changes:
sudo systemctl restart httpd.serviceConclusion
That’s it, now you can log in! You have completed the phpMyAdmin install on CentOS 7.
Leave A Comment?