Situatie
This teaches you how to open an XPS file on your Windows computer.
Solutie
Pasi de urmat
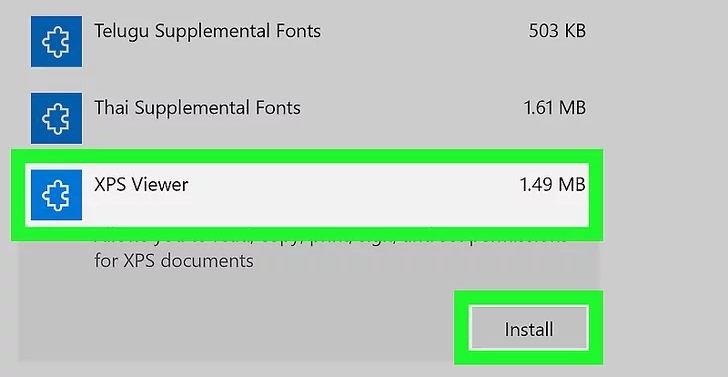
Add XPS Viewer to your computer if necessary. XPS Viewer is installed on Windows 10 computers by default, but you’ll need to reinstall it if you’ve cleared your computer’s optional features in the past:
-Open Start, then click Settings.
-Click Apps, then click the Manage optional features link.
-Click Add a feature at the top of the page.
-Find and click XPS Viewer, then click Install.
-Restart your computer once XPS Viewer finishes installing
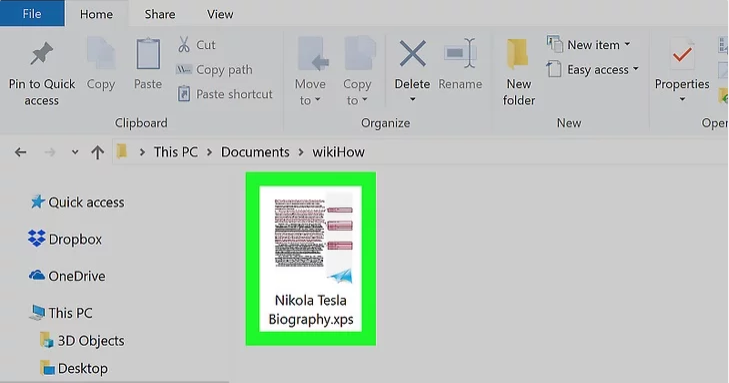
Find the XPS document. Go to the location of the XPS document you want to open.

Double-click the XPS document. Doing so will prompt the XPS document to begin opening in your computer’s XPS Viewer app.
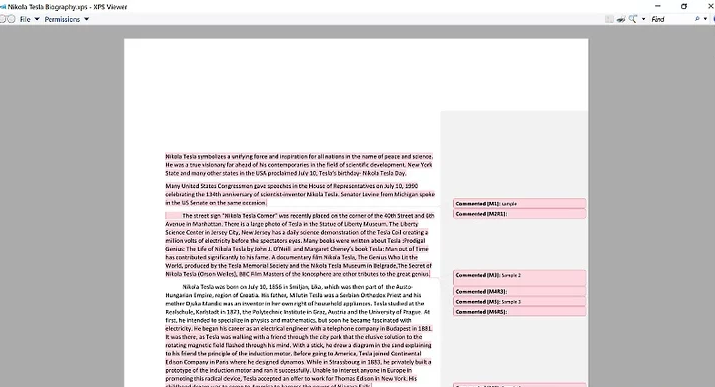
Wait for the document to open. This may take a few seconds depending on the document’s size. Once the document finishes loading, you should see it in the XPS Viewer window.
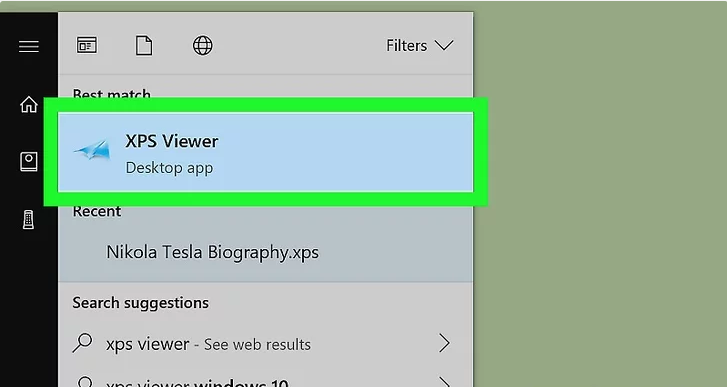
Open XPS Viewer by itself. If you want to open the program you use to view XPS documents, do the following:
-Open Start
-Type in xps viewer.
-Click XPS Viewer in the list of search results
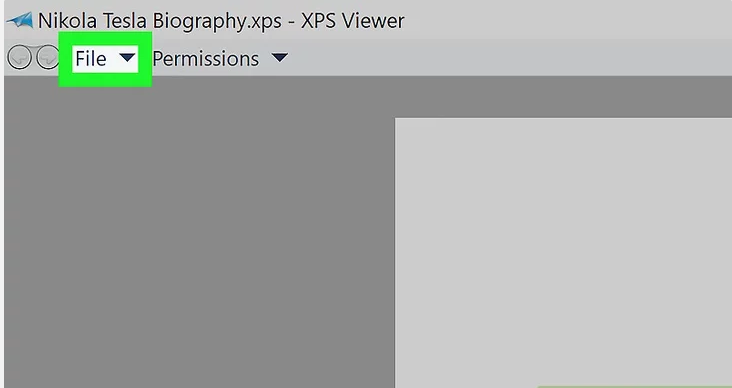
Click File. It’s in the XPS viewer window at the top. This will open a drop-down menu.
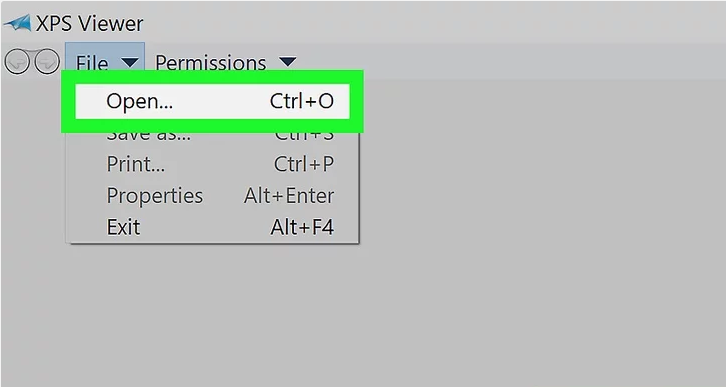
Click Open. It’s the first option at the top of the drop-down menu. This will open a new file explorer window for you to choose the XPS file you want to open.
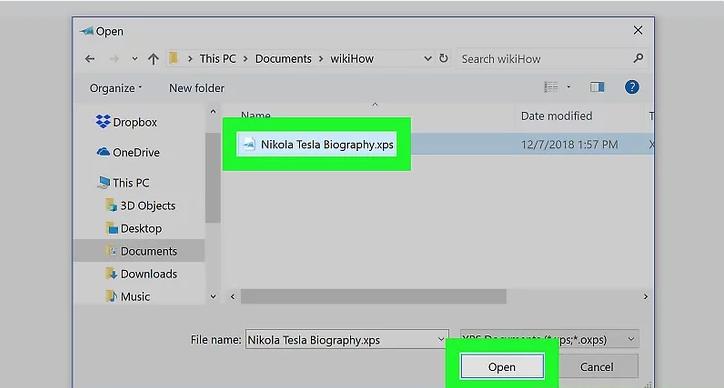
Select your XPS file and click Open. Select the location of your XPS file on the left side of the file explorer window (such as *Documents* or *Downloads*) and then click on the XPS file to select. Then click the Open button on the bottom-right corner of the file explorer window. This opens your XPS file in the XPS viewer.
Leave A Comment?