Situatie
With the powerful Recycle Bin recovery tool – Recoverit Data Recovery software can help you recover permanently deleted files from Recycle Bin after empty. Follow the next solutions to restore Recycle Bin and get your lost file back.
Solutie
Pasi de urmat
How to Recover Permanently Deleted Files from Recycle Bin After Empty
Recovering files deleted from the Recycle Bin goes beyond the abilities of the Recycle Bin. However, Recycle Bin recovery tools such as Wondershare Recoverit make it easy to recover files deleted from the Recycle Bin.
Wondershare Recoverit is a popular name in the data recovery world and the go-to app for recovering lost data to millions of users in many countries of the world. If you frequently work with important files, having Wondershare Recoverit installed on your computer is close to a necessity. The recovery software allows you to retrieve all deleted or lost files back, undelete files from emptied Recycle Bin. Download and install Recoverit Recycle Bin Recovery software on Windows 10, and follow the 3-step to retrieve your deleted files back.
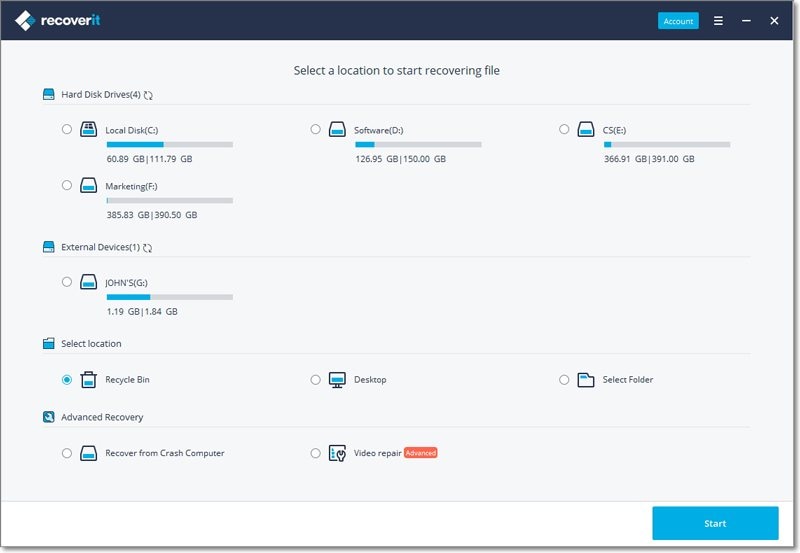
Step 1. Select Recycle Bin Folder
Launch Recoverit Data Recovery program on your PC, select the “Recycle Bin” location to get started.
Step 2. Scanning the Permanently Deleted Files
The recycle bin recovery software will start scanning the disk to searching the lost files, it will take for a minute to finished.
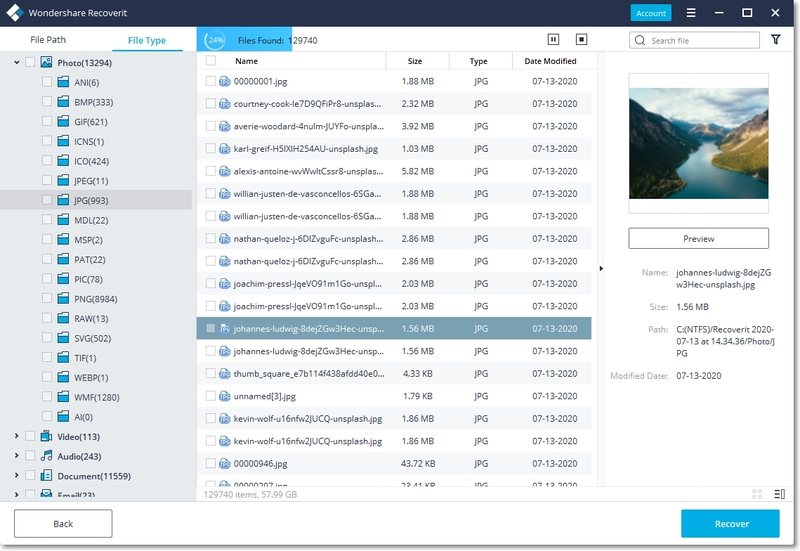
Step 3. Preview Recovered Files and Recover
At last, you can preview some recovered files such as photos, videos, music, and some office document files. Select your files by clicking the “Recover” button to save all files.

Alternative ways to Recover Files Deleted from the Recycle Bin Free
1. Recover Previous Versions
Windows 10 comes with interesting features related to file recovery, such as File History. File History helps you recover previous versions of the lost file —but only If you enabled File History on your Windows 10 device. To confirm this, go to the settings panel on your device, from the Update & Security tab, click Backup. There, you’ll see if the option to back up your files automatically is turned on.
Steps to Recover Previous Versions of Files:
1. Type “restore files” into the search bar on Windows’ taskbar.
2. Select the “Restore your files with File History” option.
3. Look for the lost file (view all its versions by using the arrows)
4. Click “Restore” to save your preferred version of the file back to the location where you lost it in the first place. If you want to restore the file to a newer location: right-click “Restore”; Restore to a different location.
2. Use System Restore
Similar to the “Recover Previous Versions” procedure, this data recovery method is only useful if you enabled System Restore in Windows 10. System Restore attempts to restore your PC to a particular time called a system restore point. You will be able to restore all files created/apps installed before the restore point; however, you will lose files/apps created/installed after that point.
Steps to Recover Deleted Files by System Restore:
1. Type the phrase “Control panel” into the search box on the taskbar and choose Control Panel.
2. Type the word “recovery” into the Control Panel’s search box.
3. Select “Recovery” and then “Open System Restore.”
4. Click “Next” in the Restore system and files settings tab.
5. Finally, select your desired restore point from the list of results or see more results; scan the affected programs.
3. Try Windows File Recovery
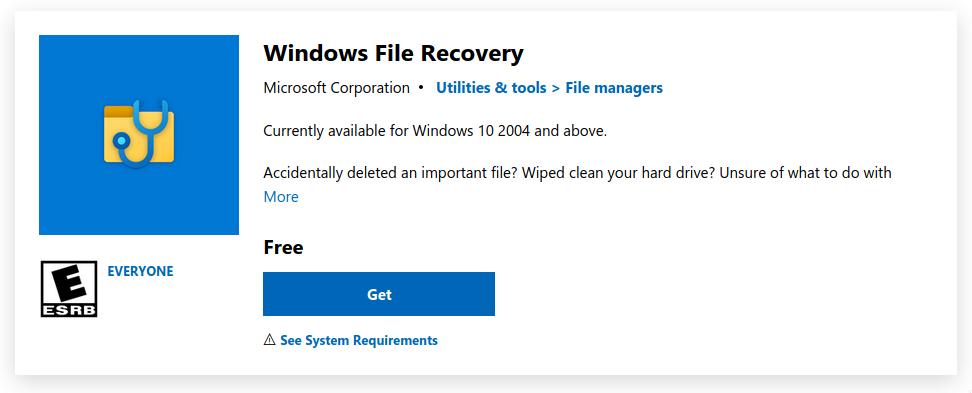
Windows File Recovery is a free data recovery tool developed and maintained by Microsoft. However, it isn’t built into Windows by default —you’ll have to install it from theMicrosoft store. Windows File Recovery is a command-line tool and required a bit of learning, especially if you have no prior knowledge of CLIs.
Steps to Recover Files on Window File Recovery
1. Install Windows File Recovery using this link.
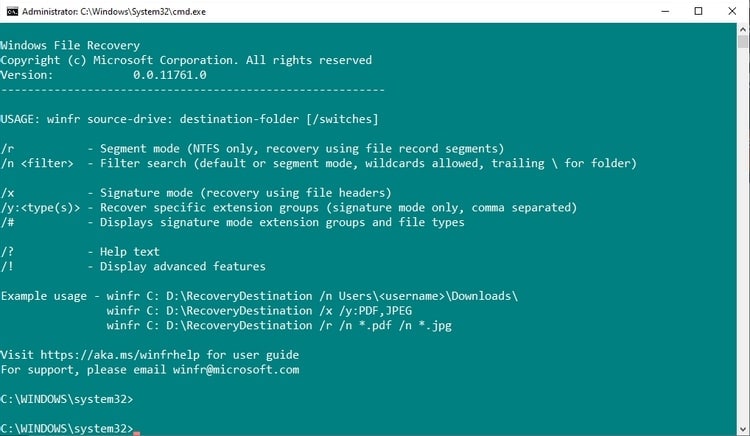
2. Restore a single file by typing in the command: winfr C: D: /n \Users\JaneDoe\Documents\Work\some_important_doc.docx to restore the file (if found) from drive C: to Drive D: Note that you can’t restore the file from C: and save it on the same C:
3. Restore specific file formats using the command: winfr C: D: /n \Users\JaneDoe\Movies\*.MP4 \Users\JaneDoe\Pictures\*.PNG. This command tells Window File Recovery to scan the Movies folder and Pictures folder for MP4 files and PNG files, respectively.
4. To recover a folder use the command: winfr C: D: /n \Users\JaneDoe\Documents\Personal\. This recovers the “Personal” folder located in Documents.
5. To search and recover documents containing certain phrases, use: winfr C: D: /r /n *account statement*
Windows File Recovery will then search for files that contained “account statement.”
If you’re interested in learning more advanced techniques using Windows File Recovery, refer to this link.
4. Check Your Cloud Backup Servers
For example, on Windows devices, your files might be stored on OneDrive —especially if your local file system is in sync with OneDrive. If a copy of your lost file was saved for you, all you’ll need to do is re-download your file.
There are many reasons for using Cloud Storage Systems in this modern era; apart from the unreliability of data stored on local devices, people of the 21st Century use multiple devices and easily change devices. There are many Cloud Storage Servers at your service: Dropbox, Google Drive, OneDrive, etc. Using these free Cloud Servers for storing important files could save you from the unnecessary stress of recovering lost data. On Windows, for example, you can easily sync OneDrive with your local file system.
Leave A Comment?