Situatie
To access Windows 11 as an administrator with a Standard User account, follow these steps:
Solutie
1. Start the computer with Windows 11 USB bootable media
Quick note: To start your device with an installation media, you may need to change the UEFI settings. This process usually requires pressing one of the function keys (F1, F2, F3, F10, or F12), the ESC, or the Delete key. However, you should visit your PC manufacturer’s support website for more accurate instructions.
2. Use the “Shift + F10” keyboard shortcut on the Setup page to open Command Prompt.
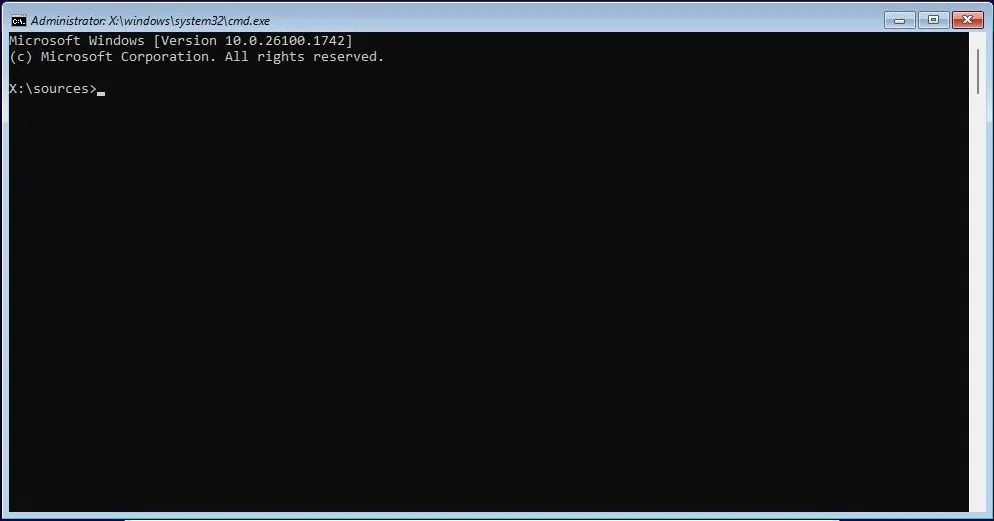
3. Type the following command to move from the X:Sources folder to the root folder of your Windows 11 installation and press Enter: c:
In the command, I use C: because it’s usually the drive letter used to access the hard drive after booting the device from USB, but you may need to try different drive letters to find the correct one. You can confirm the location using the dir command. You’re in the correct location if the result shows the “Program Files” and “Windows” folders. Usually, the drive will appear with the D: letter.
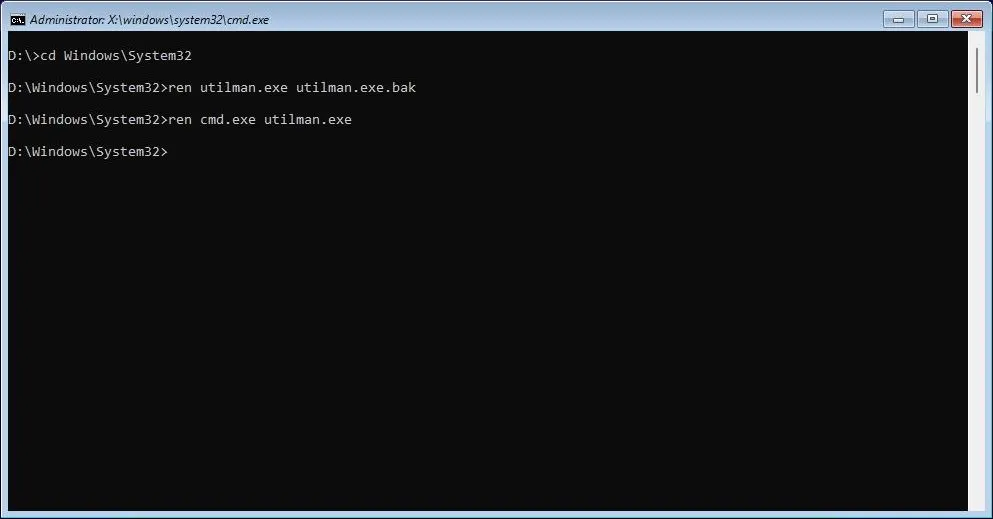
4. Type the following command to navigate to the System32 folder and press Enter: Cd Windows\System32
5. Type the following commands to replace the Utility Manager button with direct access to Command Prompt from the Sign-in screen and press Enter (on each line):
ren utilman.exe utilman.exe.bak
ren cmd.exe utilman.exe
6. Type the following command to restart the computer normally and press Enter: wpeutil reboot
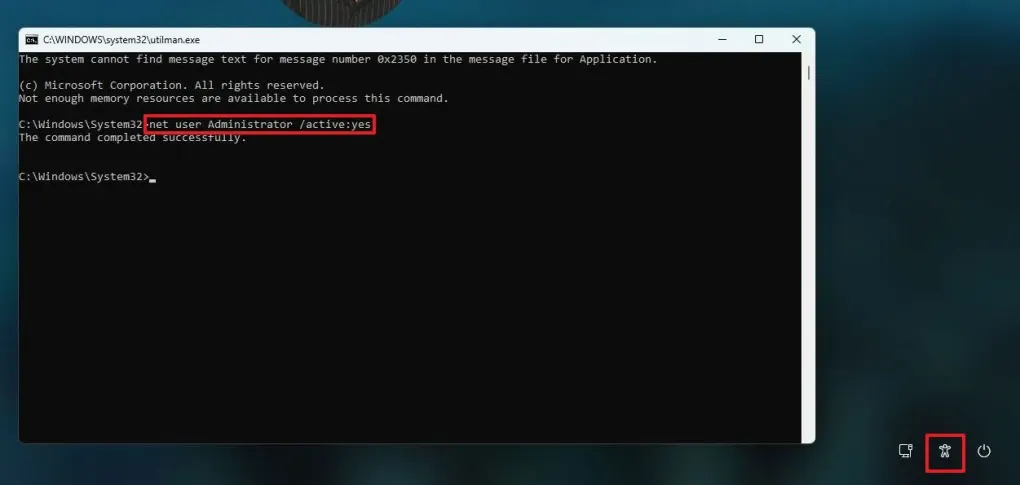
7. In the Sign-in screen, click the Accessibility button in the bottom-right corner to open Command Prompt.
8. Type the following command to enable the built-in Administrator account on Windows 11, and then press Enter: net user Administrator /active:yes
9. Click the Power button in the bottom-right corner and select the Restart option
10. In the Sign-in screen, select the Administrator account
11. Open Start
12. Search for Computer Management and click the top result to open the app
13. Expand the Local Users and Groups branch
14. Expand the Users branch
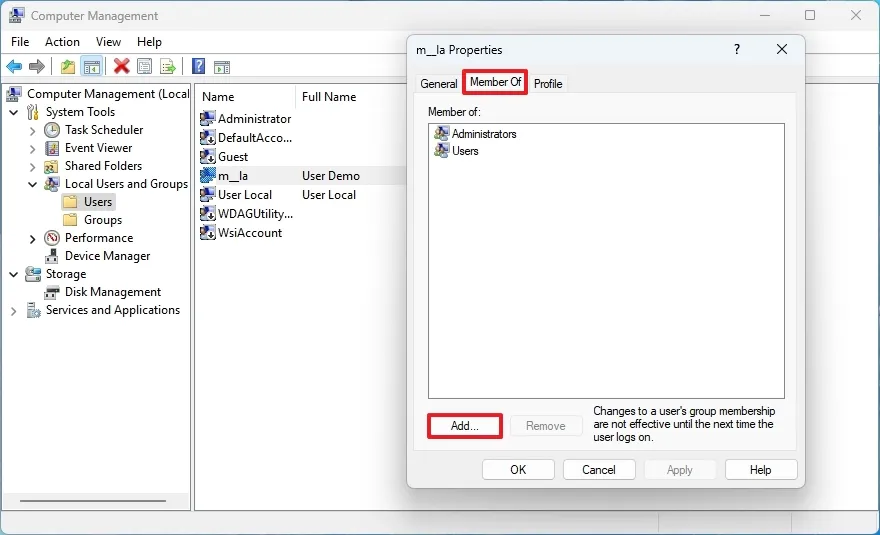
15. Right-click the account and select the Properties option
16. Click the “Member of” tab
17. Click the Add button
18. Click the Advanced button
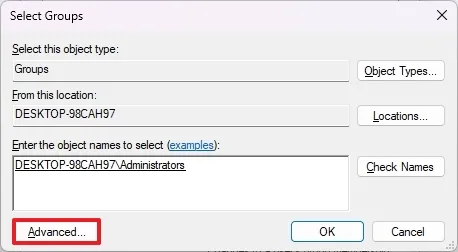
19. Click the Find Now button
20. Select the Administrators group to make the Standard User an administrator

21. Click the OK button
22. Click the OK button one more time
23. Click the Apply button
24. Click the OK button
25. Sign out from the Administrator account
26. Sign back in using your account that is now part of the “Administrator” group
27. Restart the computer using the Windows 11 USB bootable media again
28. Use the “Shift + F10” keyboard shortcut on the Setup page to open Command Prompt
29. Type the following command to move to the root folder of the Windows 11 installation and press Enter: c:
30. Type the following command to navigate to the System32 folder and press Enter: Cd Windows\System32
31. Type the following commands to replace the Utility Manager button with direct access to Command Prompt from the Sign-in screen and press Enter (on each line):
ren utilman.exe cmd.exe
ren utilman.exe.bak utilman.exe
32. Type the following command to restart the computer normally and press Enter: wpeutil reboot
Once you complete the steps, you can regain access to Windows 11 as an administrator.
Leave A Comment?