Situatie
Digital certificates are all about creating trust, but what happens when that trust is broken? If something happens to the certificate – say it’s compromised or stolen by a malicious third party, or perhaps it simply expired – then it is no long useful. In fact, in can be downright dangerous depending on the situation.
Solutie
Pasi de urmat
WARNING – Before we get into the specific steps for how to remove certificates from Windows 10, be aware of the problems that can arise from manually modifying certificates. In particular, be careful when dealing with root certificates, as messing around with them can cause serious and unexpected issues to occur. We recommend that you perform a backup before performing any of the steps below so that you’re protected in the event that something does go wrong.
We’ll be using Microsoft Management Console (MMC) to manage certificates on our Windows 10 machine. MMC lets you view three different types of certificate stores, all with a different scope:
- Local computer – shows all certificates for all users on the device
- Current user – only for certificates relating to the current user account on the device
- Service account – only for certificates relating to a specific service on the device
Regardless of which certificate store you want to view, the setup steps are the same:
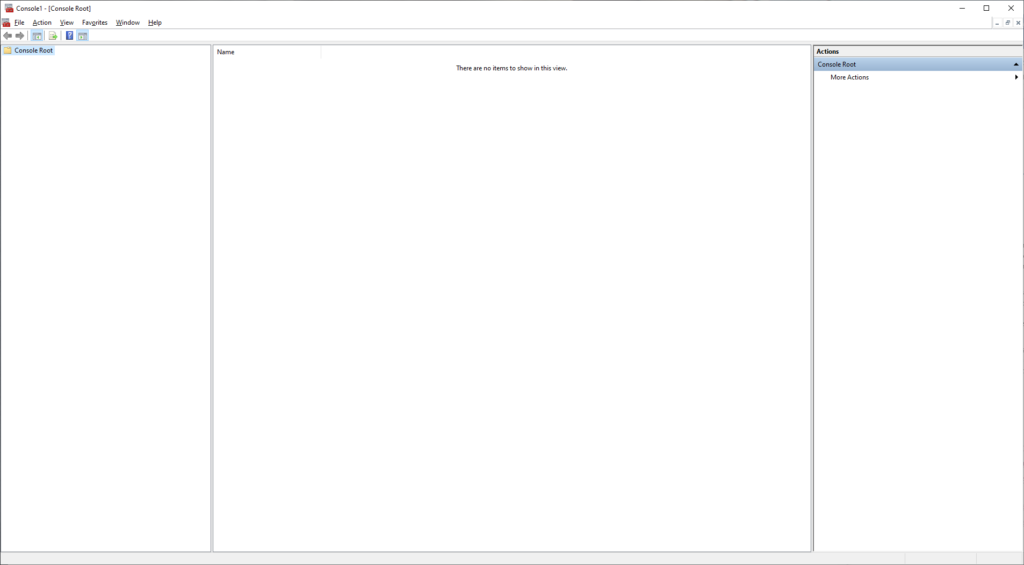
- Launch MMC by clicking the Windows icon on the taskbar and searching for “MMC”. You should see a toolbox icon with the text “mmc” below it – click it to open MMC.
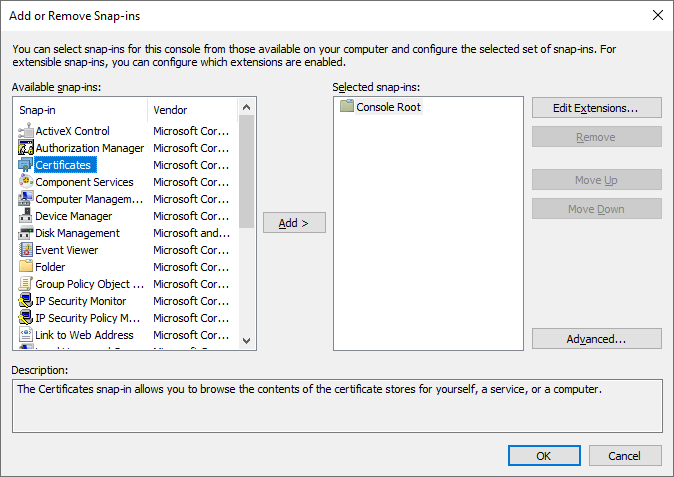
Next, you’ll want to add the certificate “snap-in” to MMC, which will allow us to ultimately remove certificates from Windows 10. The snap-ins are basically different toolsets that allow for various functionalities within MMC. Find “Certificates” on the left column. Click on it to select it, then click “Add” to move it to the right column. Then, click “OK” to continue.
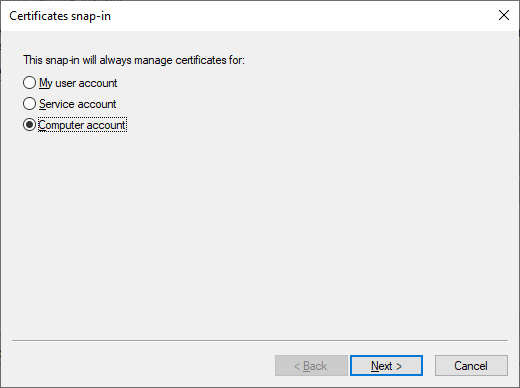
After hitting “Add”, you’ll have to decide the scope of the certificates you’ll be managing with MMC, which we touched on earlier. Choose “Computer account” to view certificates for all users on this machine and then hit “Next”.
On the next window, select “Local computer”, as seen below
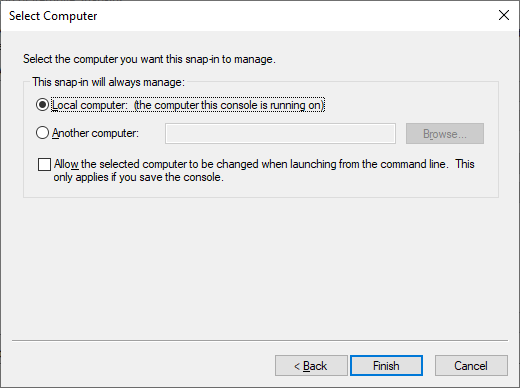
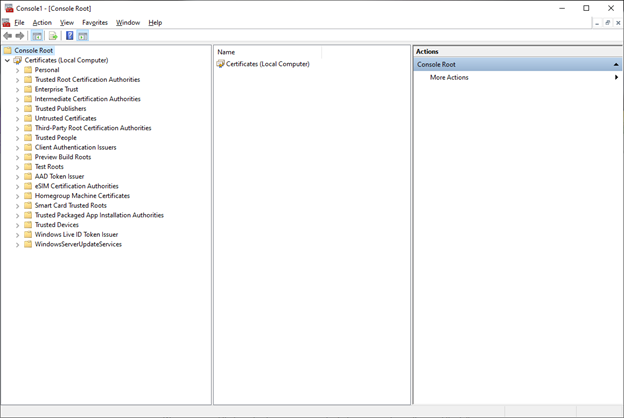
Hit “Finish”, and then hit “OK” to close the snap-in manager screen. You should then see a list of certificates on your local machine displayed in the left-hand column of MMC:
Now, you need to find the certificate that you want to remove. For the purpose of this exercise, let’s say you want to remove the “DST Root CA X3” root certificate, since it is expiring on September 30, 2021 anyway You’ll want to use the folder list on the left side to locate the certificate in question. It should be listed under “Third-Party Root Certification Authorities”:

Find the “DST Root CA X3” certificate and right-click on it. Click “Properties”. Then, in the “General” tab, you should see a section called “Certificate purposes”. Select the radio button that says “Disable all purposes for this certificate” and then click “Apply”.
Re-start your machine, and then you’re done!
Leave A Comment?