Situatie
Discord is an excellent, free chat application that was built for gamers, but is useful for anyone. It comes with Slack-style text chat, group voice chat channels, and plenty of tools to manage your users. It’s a great tool for getting a community together or talking with friends while you play games. Here’s how to set up your own server.
Solutie
Pasi de urmat
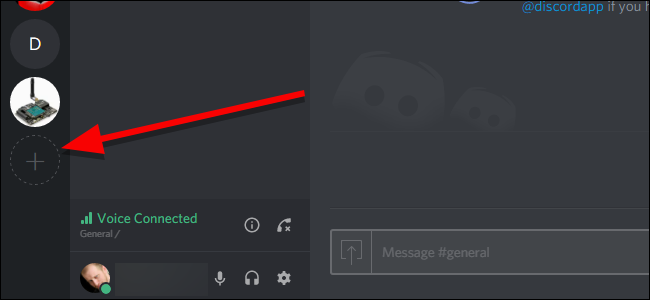
We’ll be demonstrating on the desktop version of the Discord app, but the steps should be largely the same on mobile as well. To create your own server, open the Discord app and create an account if you don’t already have one. Then, click the plus icon in a circle in the server selection column on the left side of the screen.
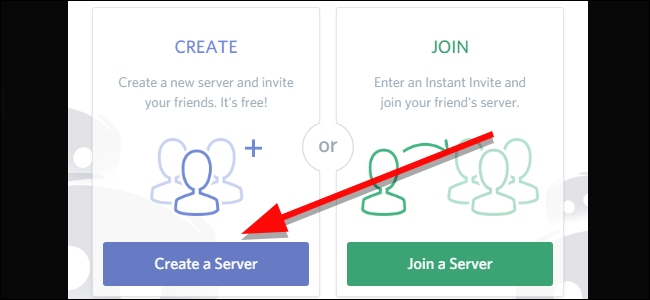
Click “Create a Server” on the left.
Give your server a name under Server Name.
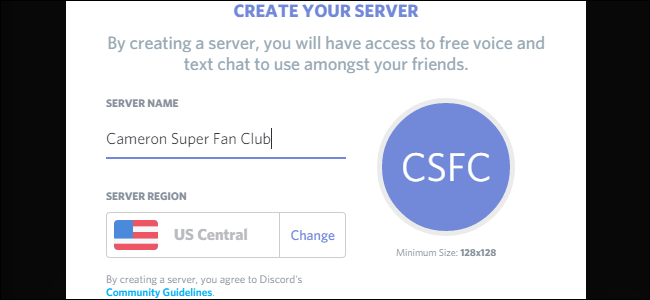
Optionally, click the circle on the right to upload a thumbnail picture to represent your server. If you join several servers, this will be the primary way you distinguish between them, so pick something unique that identifies your server at a glance.

That’s all it takes! Just a few short clicks and you have your very own Discord server.
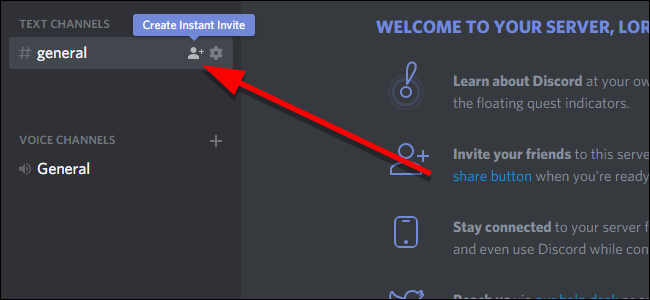
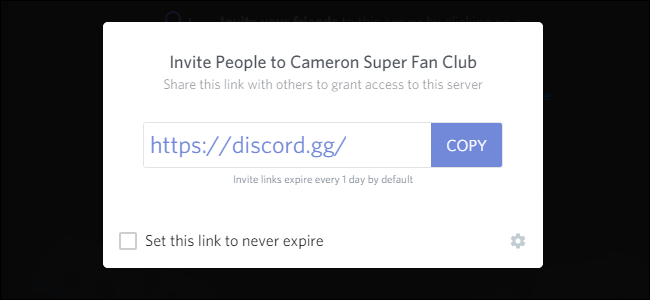
Now that you’ve created your server, you’ll want to make it feel like home. Start by inviting friends to join you. Hover over any text or voice channel and click the Create Instant Invite icon.
In the window that pops up, you’ll get a temporary invitation link. Copy this and share it to anyone you want to add to your server. If they don’t already have a Discord account, they’ll be prompted to create one when they sign up. By default, these invitations will expire after one day. If you click the gear icon, you can change how long until they expire, and even limit how many users can use a link.
Leave A Comment?