Situatie
Solutie
Step 1: Define Your Normal Style
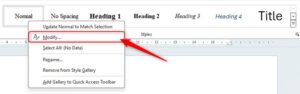
The first step is to define your Normal style—the formatting that the text for each language will use before applying the language. To do this, in the “Home” tab on the ribbon, right-click “Normal” in the Styles group, and choose “Modify.”
Step 2: Define Your First Language Style
Now you have defined the formatting for your document, you’re ready to set up your first language style. We want to use Spanish and French in our document, so we’ll start off by telling Word to recognize Spanish.
Importantly, each time you set up a new language style, you must start with the Normal style and then modify that style. This is so that your document is consistently formatted, no matter which language you choose to use.
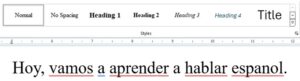
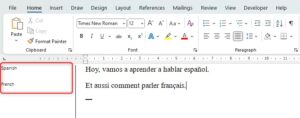
Using the Normal style you have already defined, type the first few words in the first language. Because we haven’t yet told Word to recognize this as Spanish rather than English, it will highlight our text with errors.
Place your cursor anywhere in the sentence and press Ctrl+Shift+S to open the Apply Styles dialog box. In the “Style Name” option, type the name of the language you’re typing in, and click “New.” Then, click “Modify” (this option will become available after you have clicked “New”).
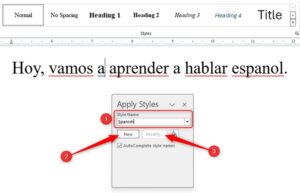
You will see that the new language style now appears in the Styles group at the top of your window.
In the Modify Style dialog box that has now opened, click “Format” and select “Language.”
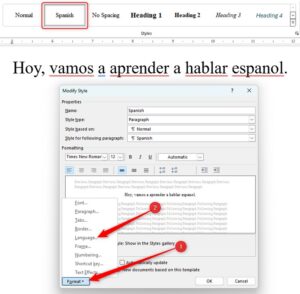
Now, choose your language, uncheck “Do Not Check Spelling Or Grammar”, and click “OK.”
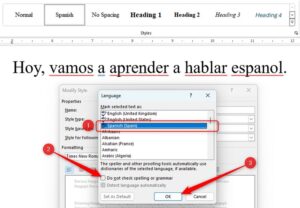
Word now recognizes this string of text as Spanish, meaning the sentence is no longer seen as containing lots of errors. In our example, the word “espanol” needs the letter “ñ”—we can either insert the accented letter manually or use Word’s spellcheck suggestions to correct it.
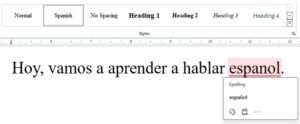
Any time you want to type in this language in your Word document, simply select the corresponding style and Word will do the rest for you.
Step 3: Define Your Other Language Styles
You can now define your other language styles. Press Enter to go to the next line in your document. Once you have clicked “Normal,” go ahead and type a few words in your second language.
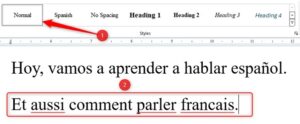
You’re now ready to create a new style for the second language just like we demonstrated previously.
Step 4: Use Your Language Styles
To see the different styles you’ve used in your Word document, open the “View” tab on the ribbon and click “Draft”
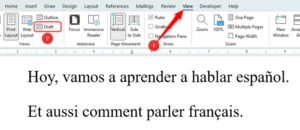
This will display the draft view, where you’ll see the Style Pane Area on the left, showing where you have used the different styles.
You can easily change the style of an existing paragraph by clicking anywhere within the text of the paragraph and changing the style in the Styles group of the Home tab.
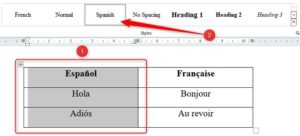
If you’re producing a vocab list with translations, create a table, highlight the cells, columns, or rows that will contain a specific language, and then select the correct language in the Styles group.
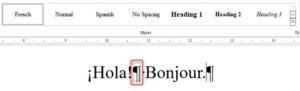
If you want to use two languages on the same line of a regular paragraph, you’ll need to use a style separator to tell Word that you’ve got two styles in the same section.
Finally, remember to define your Heading styles using the same steps if you also intend to have more than one heading language in your document. When you have finished typing your document with the various language styles, you can save it as a PDF to secure its formatting and layout.
Leave A Comment?